
Whether you’re a well done steak eater, or you like yours with a quick sear, I’ve got some universal tips to get you that perfectly seasoned, seared, and sliced steak!
So you need help to pan sear steak at home. Well, everyone’s definition of perfect is definitely different. Especially when it comes to cooking meat that can be consumed at various temperatures.
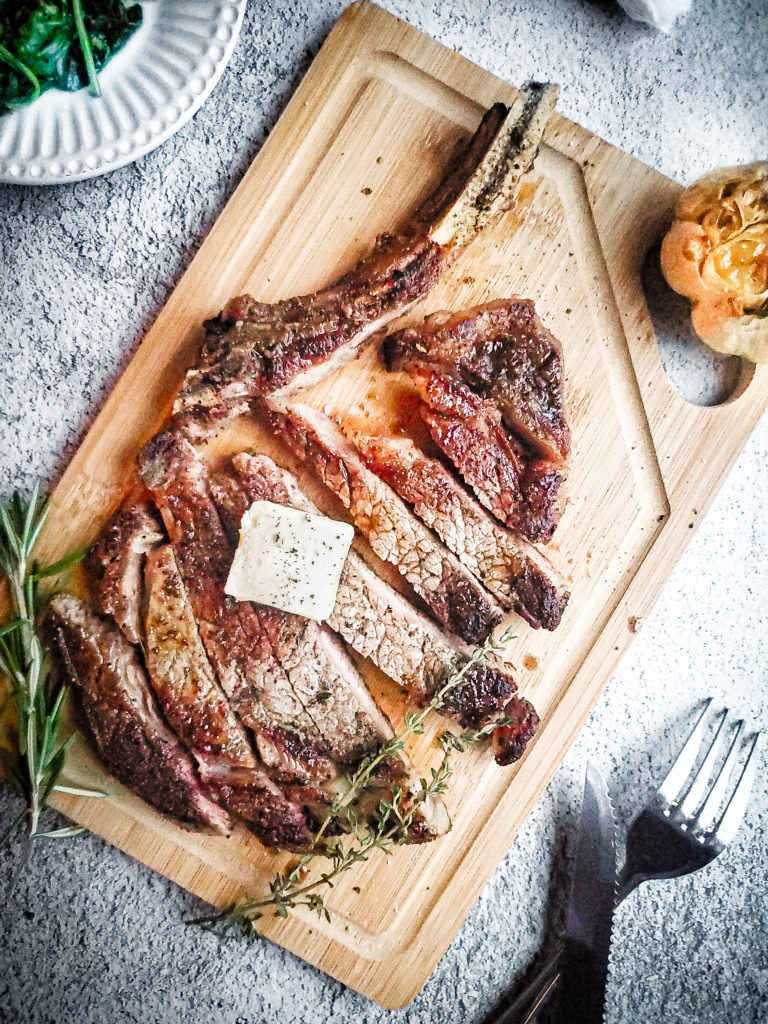
So many different cuts of steak exist in this meat-eater world, so the amount of time it cooks varies greatly. For this lesson, I’m using a bone-in ribeye.
There are 2 main points (with sub points) that involve your steak coming out delicious: the prep done to the steak before cooking, and the actual cooking process. All the steps are covered below!
Steps to take when prepping a steak to be cooked:
Slice off a little of the fat cap
Depending on the cut of steak you purchase, you’ll find a thick layer of fat on one side, which is called the fat cap. First let me say that fat means flavor! So you don’t want to remove this whole piece, but trimming off some of it is perfectly fine. Don’t worry though, that fat will get cooked, which will be brought up later.
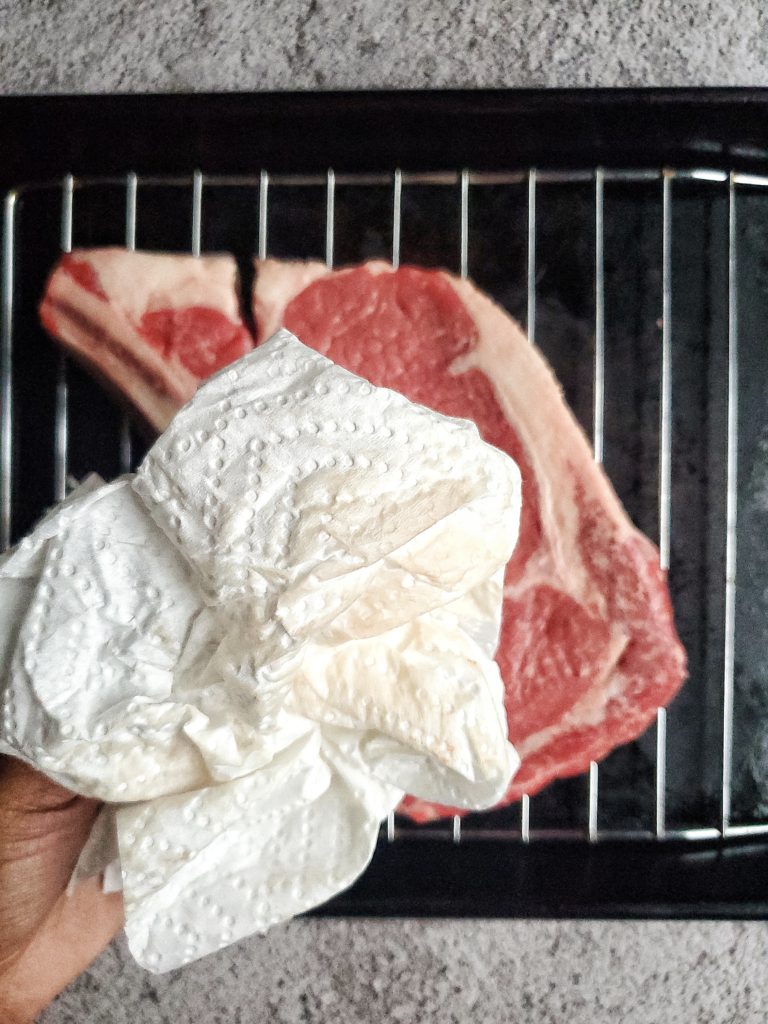
Pat the steak dry
Like with any protein you’re searing, you want the skin to be free of excess water. This is natural and nothing to stress over, but you’re gonna want that perfect sear for this. Grab a paper towel and pat both sides to remove the extra moisture.
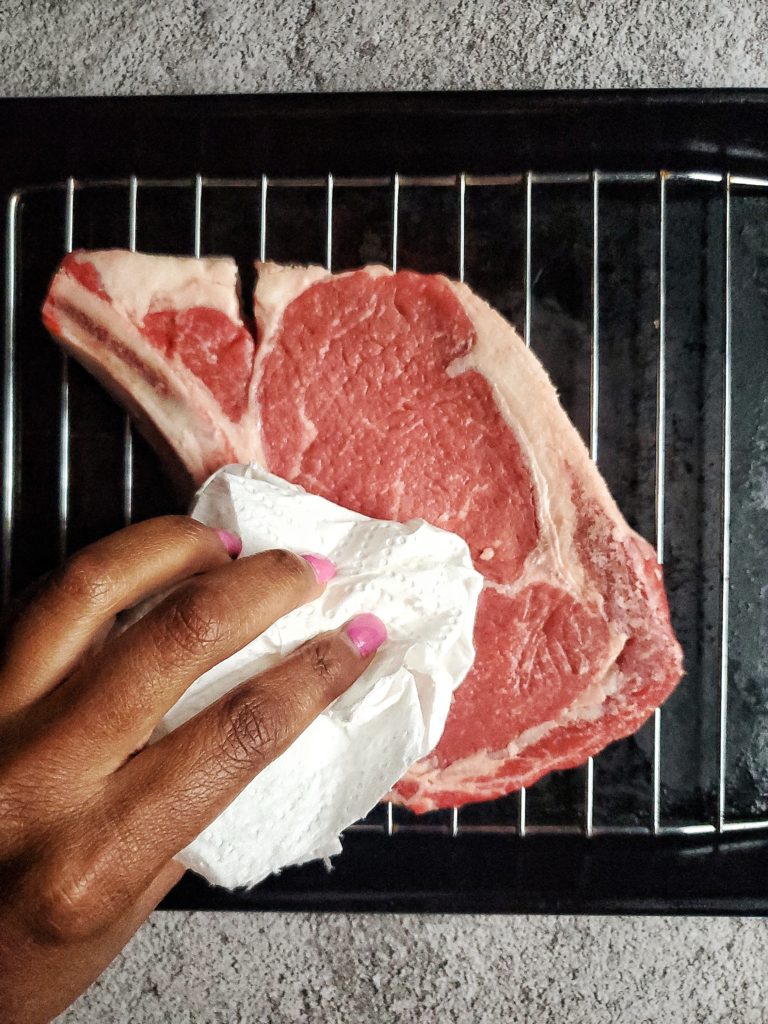
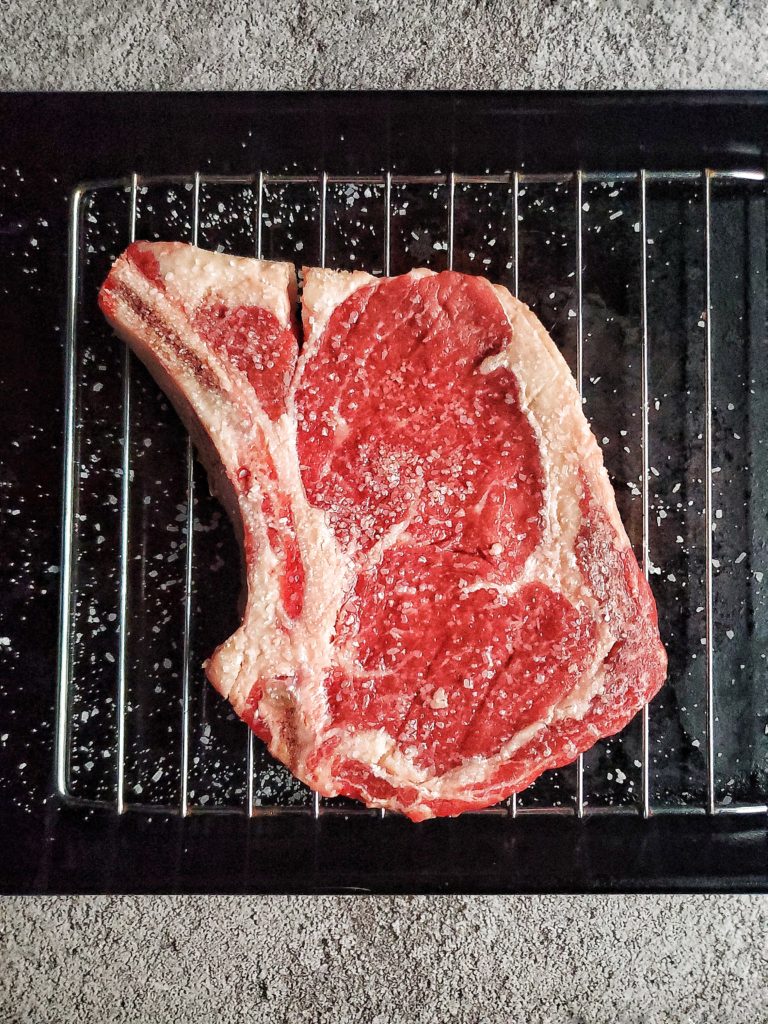
Sit the steak on a wire rack, if possible
If you have a wire rack, it’s the perfect time to use it!
Wanna know where I got this mini rack from? My toaster oven! It fits perfectly on my smaller cookie tray too. If you don’t have either one of these, no worries. A tray or plate is just fine.
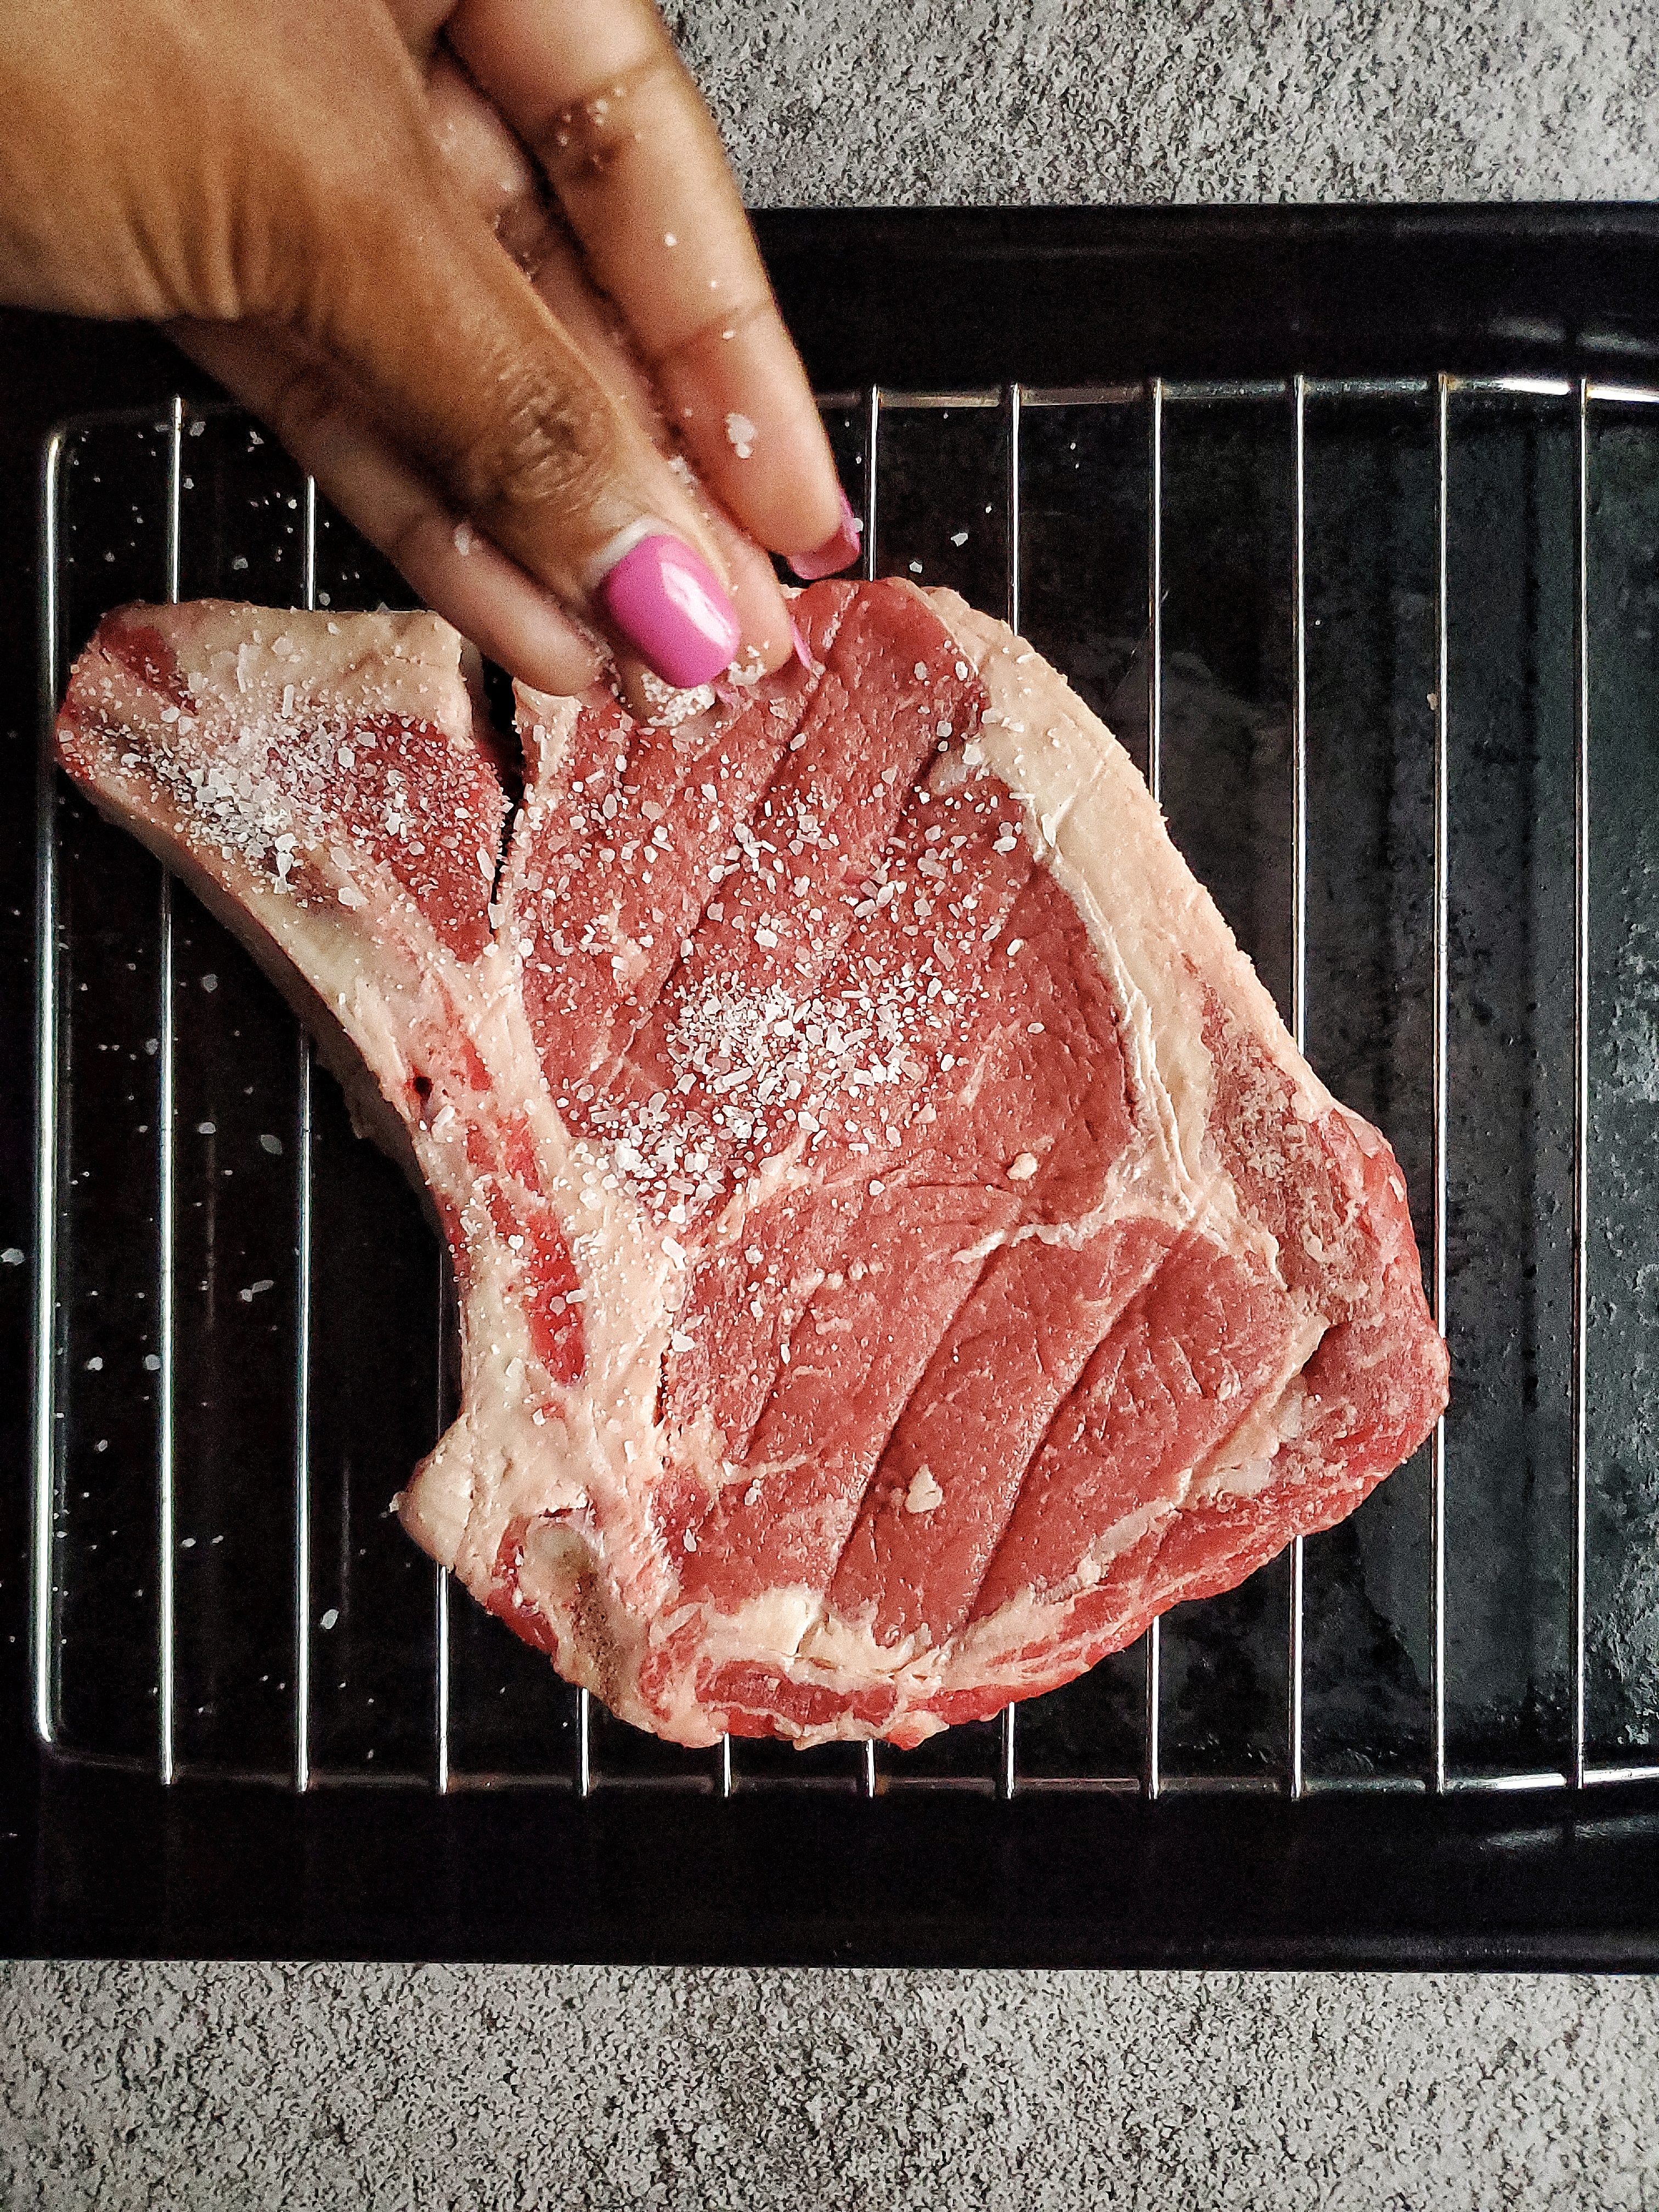
Sprinkle liberally with kosher salt
Now, this is some science-y sh*t about to happen. The salt will draw out additional moisture from the outside of the steak. While it’s doing this, the salt flavor will also penetrate into the steak itself.
Please note that when doing this, you should be using kosher salt. Do NOT use iodized!!!! The salt granules for iodized salt are very small, and will make your steak overly salty and that is NOT why we’re here. However, kosher salt granules are bigger, making less salt needed to season. More science-y sh*t.
Season that steak liberally on all sides, including that fat cap. You’re essentially marinating the steak.
Let rest 30 minutes per inch
Next, let the steak sit with the salt for 30 minutes per inch of thickness. Try not to go any longer than this, as the steak will be overly seasoned with the salt/science that I mentioned above, and will also pull out too much moisture. Again, we don’t want that. If you get side tracked (cuz life happens) an hour with the salt is fine. But pleeaasssse avoid going any further than that!
Let the steak sit at room temperature
Don’t put the steak back in the fridge. It’s better to cook meat when it’s not cold. The steak will cook more evenly when it’s closer to it’s ideal cooked temperature.
Believe it or not, you can let a raw steak sit out for a couple of hours, and it’ll still be safe to eat (as long as it’s straight from the fridge.)
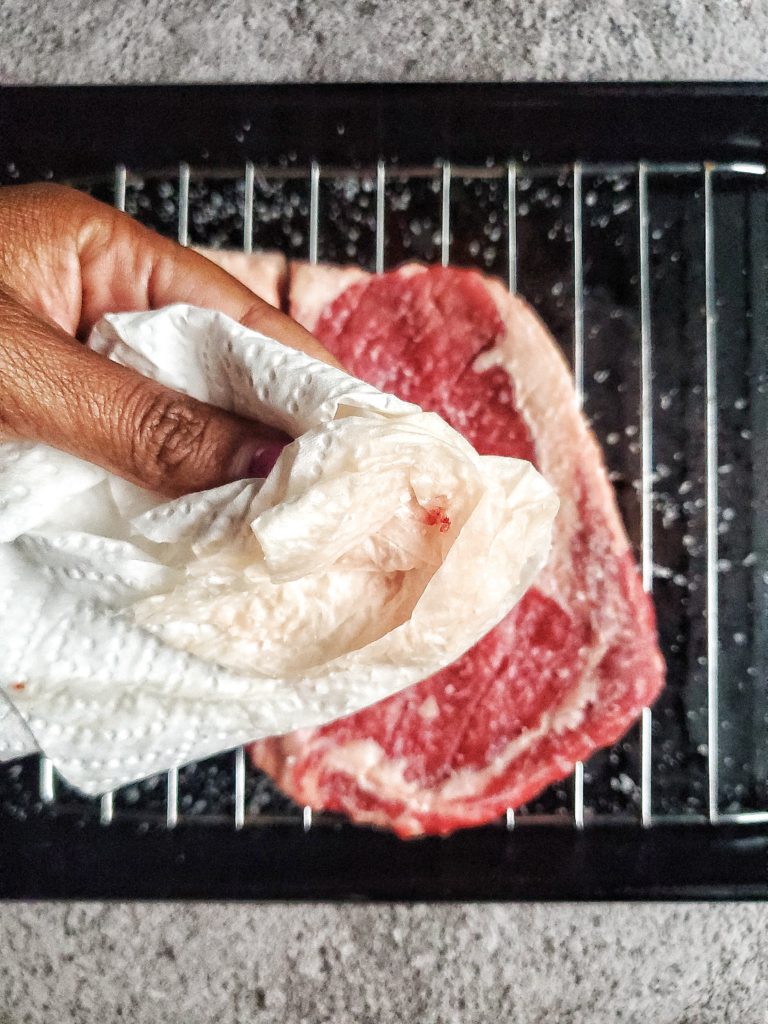
Pat steak dry again
After the allotted time that your steak has sat out with the salt, you’ll notice a bit more moisture! That’s the science I mentioned earlier. Pat the steak dry like you did in the beginning. Make sure you aren’t wiping the steak, so that the salt isn’t being removed.
Patting the steak with a paper towel will keep the salt on the steak while still removing that excess moisture. Also, getting rid of that excess moisture creates a better crust on the steak, helping it to sear in the pan instead of creating steam.

Season with pepper
This is optional since letting the salt sit with the steak helps to improve the flavor. But take it up a notch with some pepper. You do not need any other seasonings at this point.
Now that the steak has been seasoned to perfection, it’s time to cook that bad boy!
First, I must tell you to invest in a cast iron skillet. Not only is it perfect to pan sear steak, it’s basically a griddle, oven safe dish, and saute pan in one! A cast iron is definitely a kitchen staple, and my favorite kitchen tool! But anyways, on to the cooking part…
How to pan sear steak:
Medium-high heat with canola or blended oil
Heat your pan on medium-high heat. It’s best to get your pan on the stove to heat up when you pat your steak dry the second time. Once it starts to give off a little smoke, add in enough canola or blended oil to coat the pan.
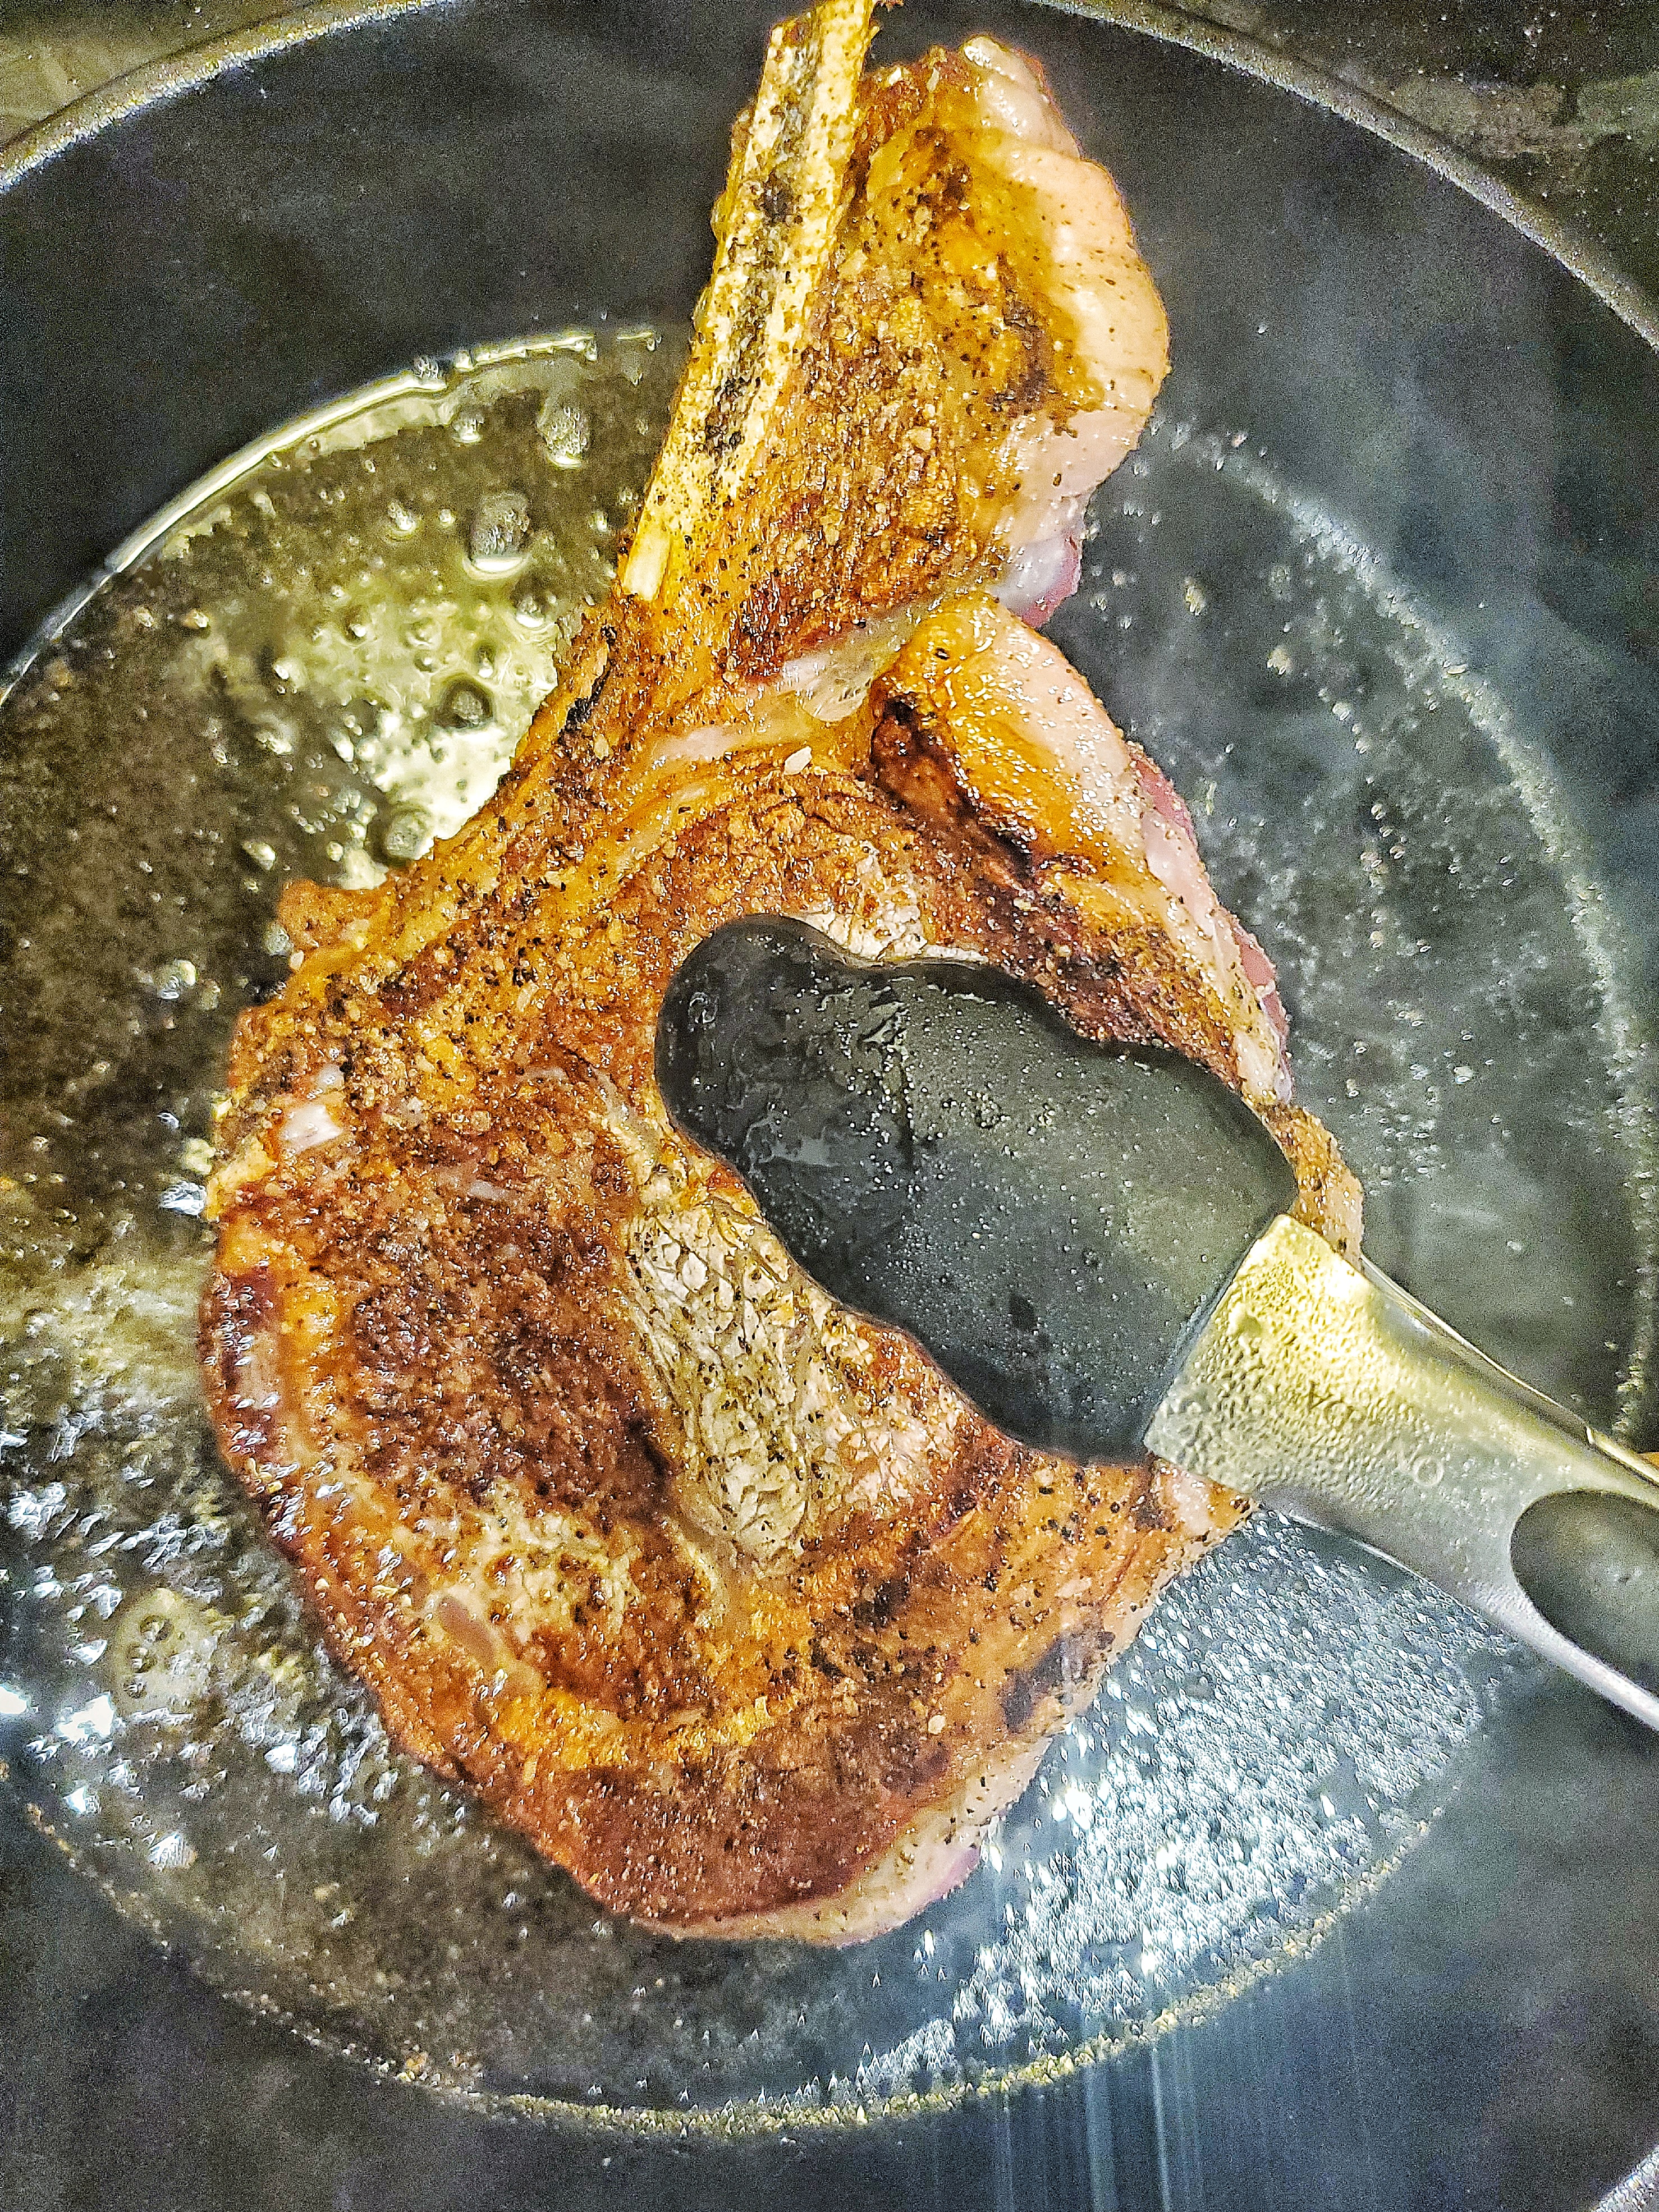
Put your steak in the pan, and just look at it for a bit
Next, carefully place your seasoned steak into the hot pan. And don’t move it. The only times you’ll touch this steak again is to flip it over and remove it from the pan. Moving the steak around will prevent the steak from getting that perfect sear. (FYI – this method counts for ANY protein or veggie you’re cooking on the stove that you want to have some color.) So just let it hang out.
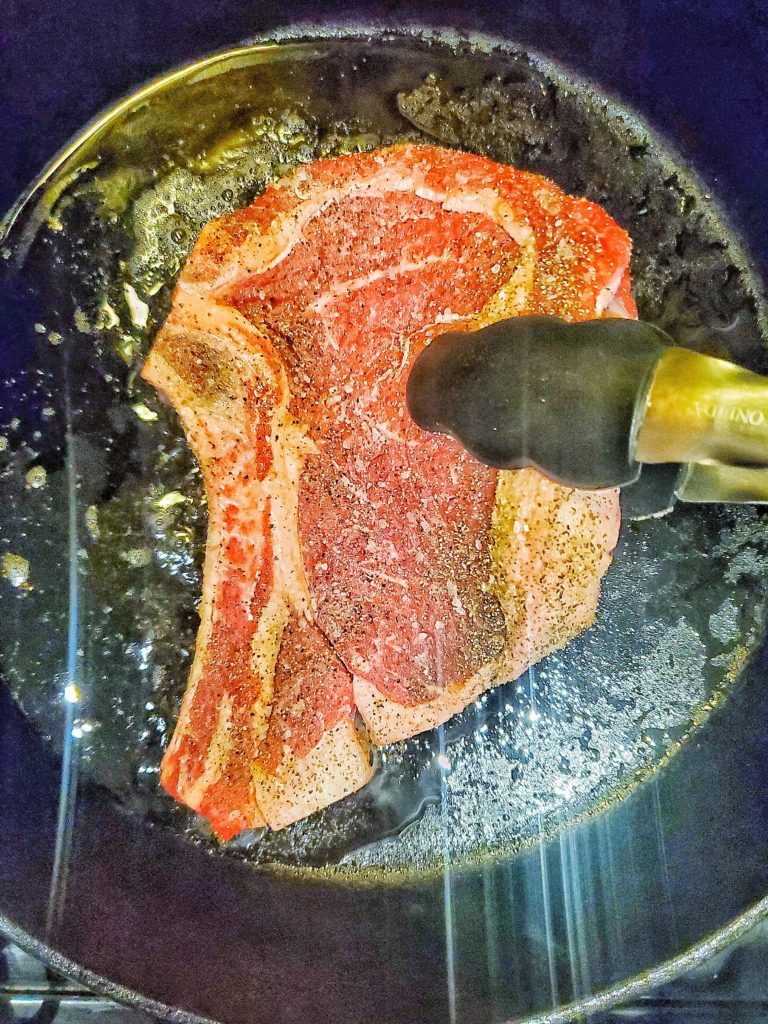
Don’t use a fork or knife to flip your steak!!! Seriously!!!
Use either a spatula or silicone tongs. When using anything other than those, you’ll be stabbing into the steak, piercing a hole for the juices to come out. And we don’t want that! Also avoid using metal tongs for this. More info on this topic a few points down.
How long to pan sear steak
I prefer my steaks cooked to medium. So this steak, which is 1 inch in thickness, was cooked on each side for 2 ½ – 3 minutes. If you’re a medium steak person like me but you have a thicker steak, add a minute per inch per side (so a 2 inch steak will cook for 3 ½ – 4 minutes each side) In turn if you have a thinner steak, subtract a minute per side. Same deal if you prefer your steaks cooked a degree more or less than medium.
For reference, I’ve added steak temperatures and their names below, along with my suggested cooking time for a 1 inch pan sear steak.
- Rare – 125 F, cool red center (1 minute per side)
- Medium rare – 135 F, warm red center (2 minutes per side)
- Medium – 145 F, warm pink center. (3 minutes per side)
- Medium well – 155 F, warm gray center with a little pink (4 minutes per side)
- Well done – 165 F, gray AF (5 minutes per side)
If you want to check the temperature of your steak with a thermometer to play it safe, wait until after the steak has rested, since we aren’t trying to pierce the steak and lose it’s juices.
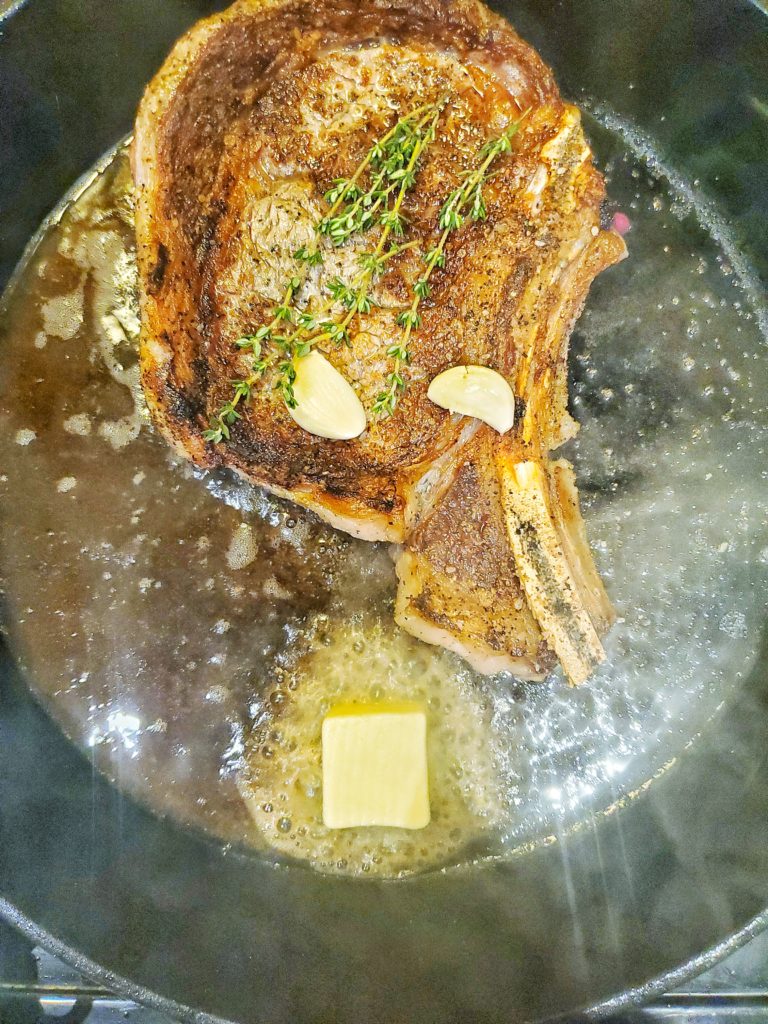
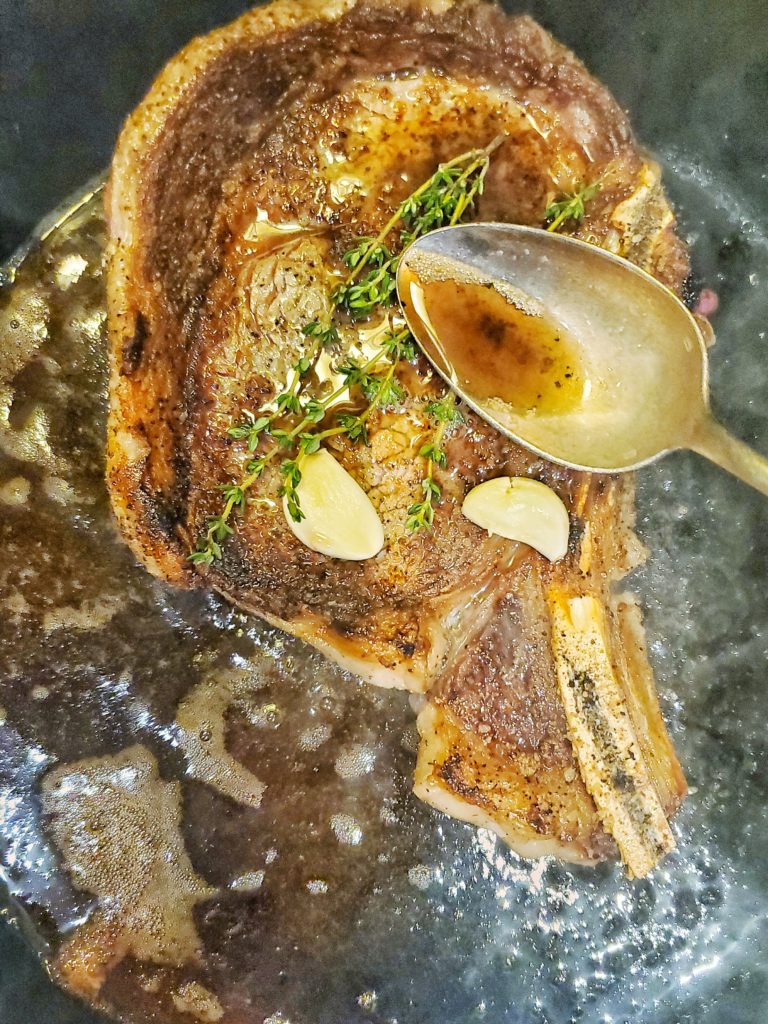
Baste it baby!
Again, fat means flavor. After you sear the first side of your steak and flip it, throw a big chunk of butter into the pan. This should be added in the last 2 minutes of completely cooking your steak. If you have it, also throw in a couple of crushed garlic cloves and a small handful of herbs.
Once the butter melts, spoon it onto the top of the steak. This is called basting (think of basting a turkey). Keep in mind that this basting does account for some of the cooking time, so you only need to do this for about 30 seconds.
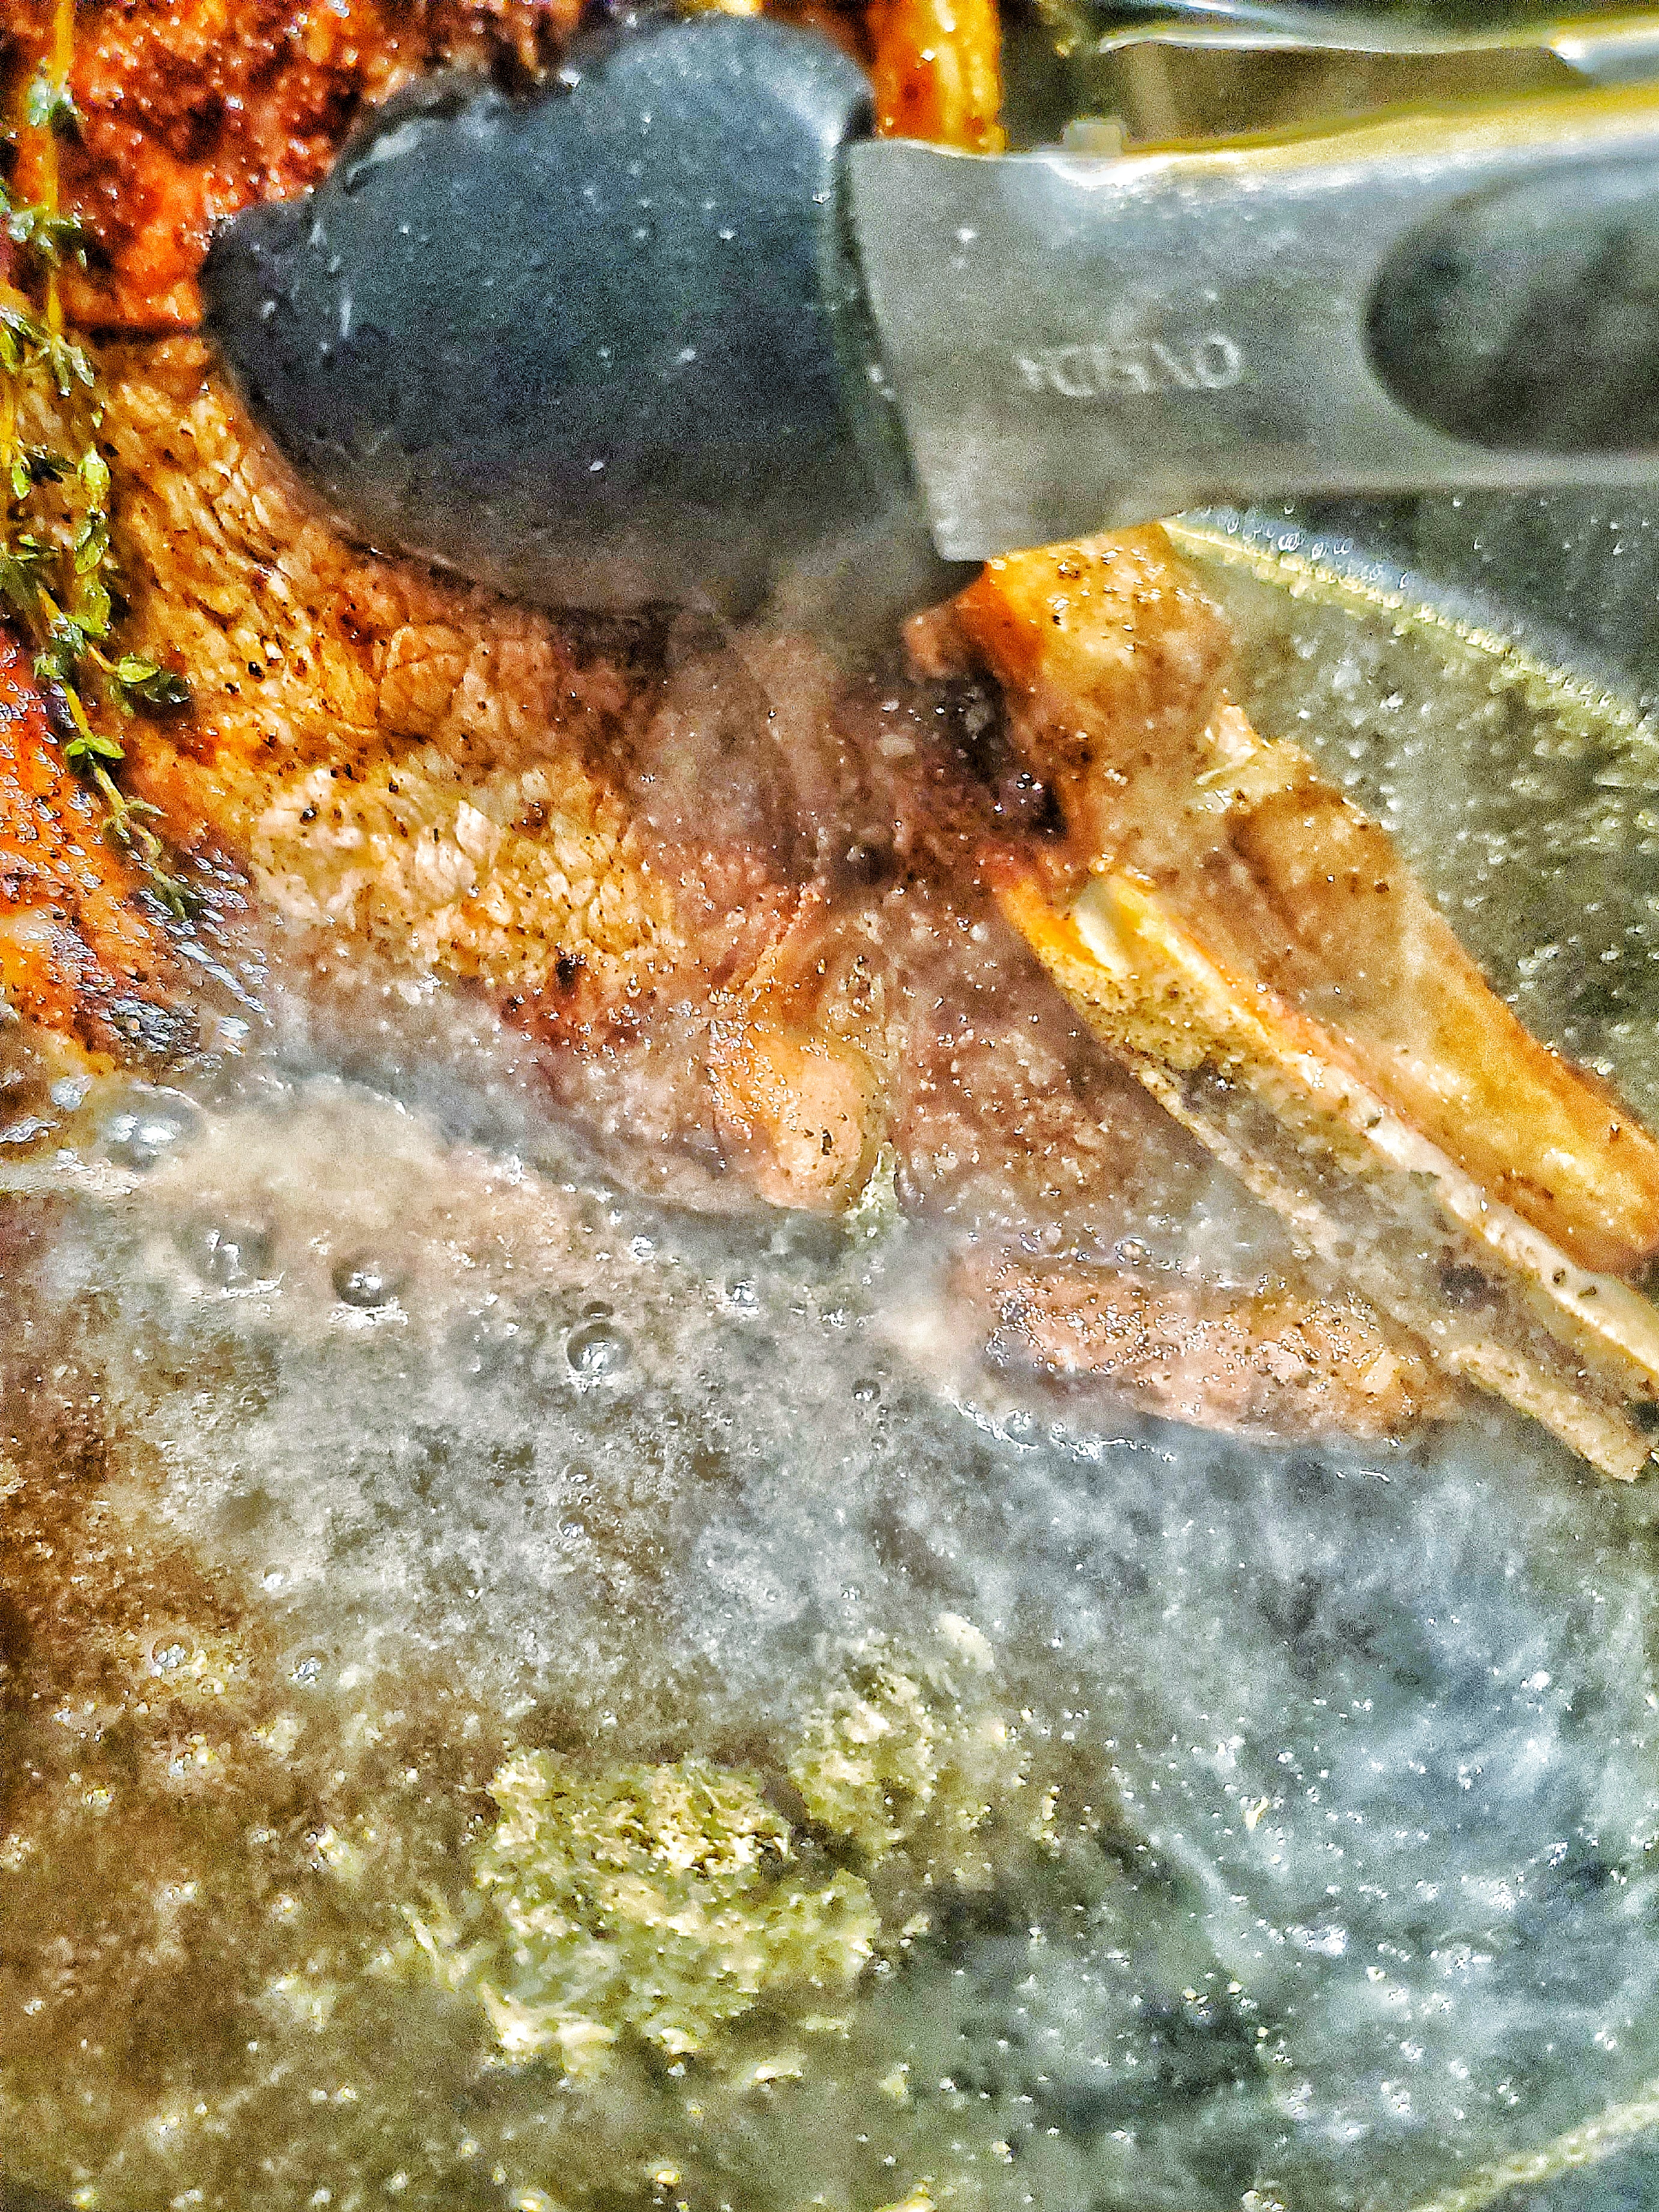
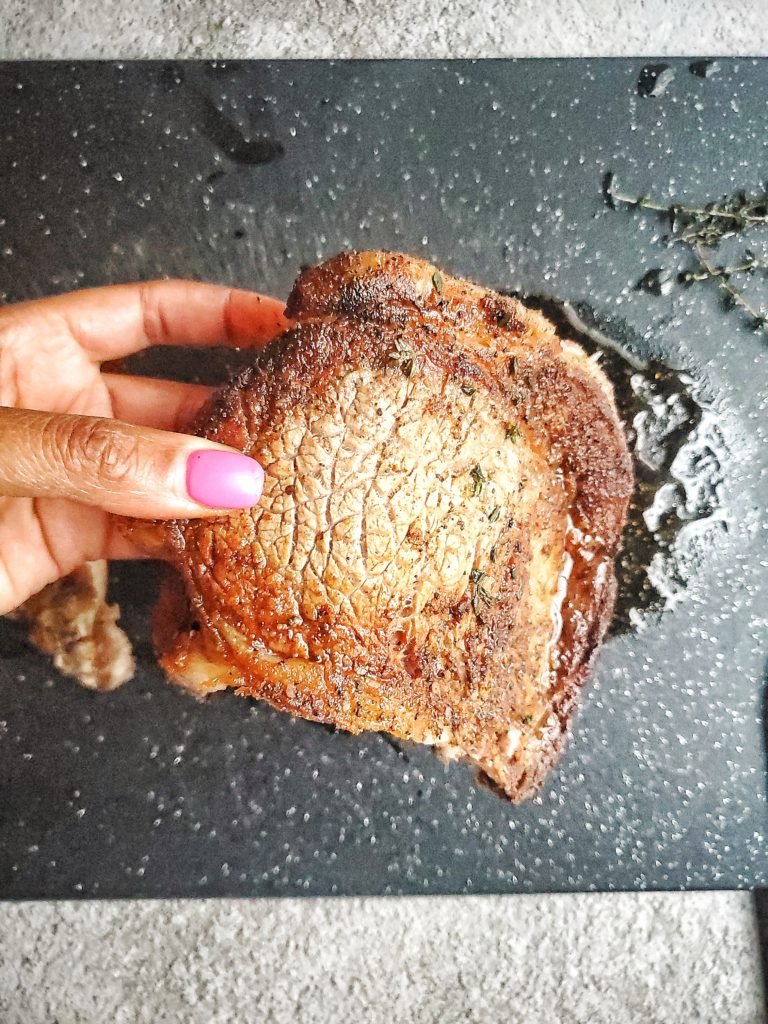
Sear the fat cap on your steak
We don’t want to chew on that raw fat! So grab your tongs, hold that steak on its side, and let the fat cap sit in that garlicky herb butter for 20-30 seconds. If your steak does not have a fat cap, you will skip this step.
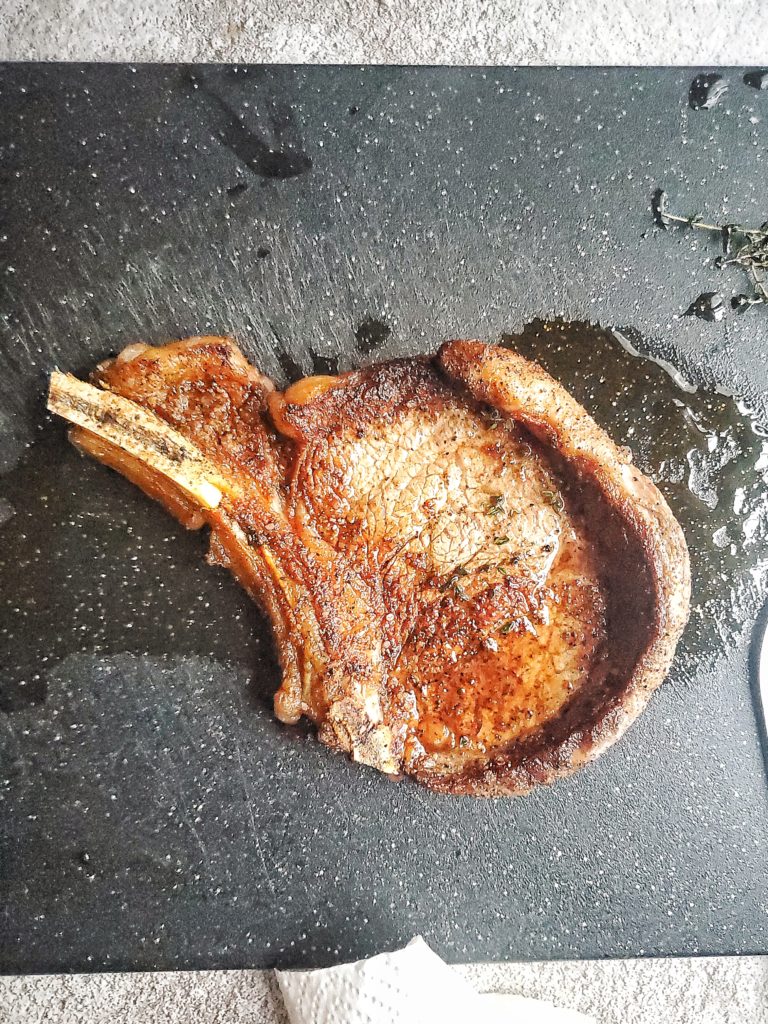
Rest for 3-5 minutes before slicing
After you pan sear steak, please don’t cut into your steak right away. I know you’re tempted to with the work you put into it, but just wait.
There’s some more science-y sh*t happening where the moisture in the steak is still moving around from cooking (think boiling water, but in the steak). Cutting the steak right when you remove it from the heat will cause the moisture to immediately seap out. That’ll then cause your steak to dry out, which would make all that hard (but still easy) work a waste of time. So let that steak sit on a cutting board or plate for at least 2 minutes, a couple more minutes if you can.
The thicker the steak, the longer the wait. Best number to set as your rest time is the amount of time you let your steak cook on 1 side. This is the absolute minimum amount of time (like if you’re rushing and hangry.) After it’s rested, you’re safe to stab it with a thermometer to make sure it’s doneness is to your liking before slicing.
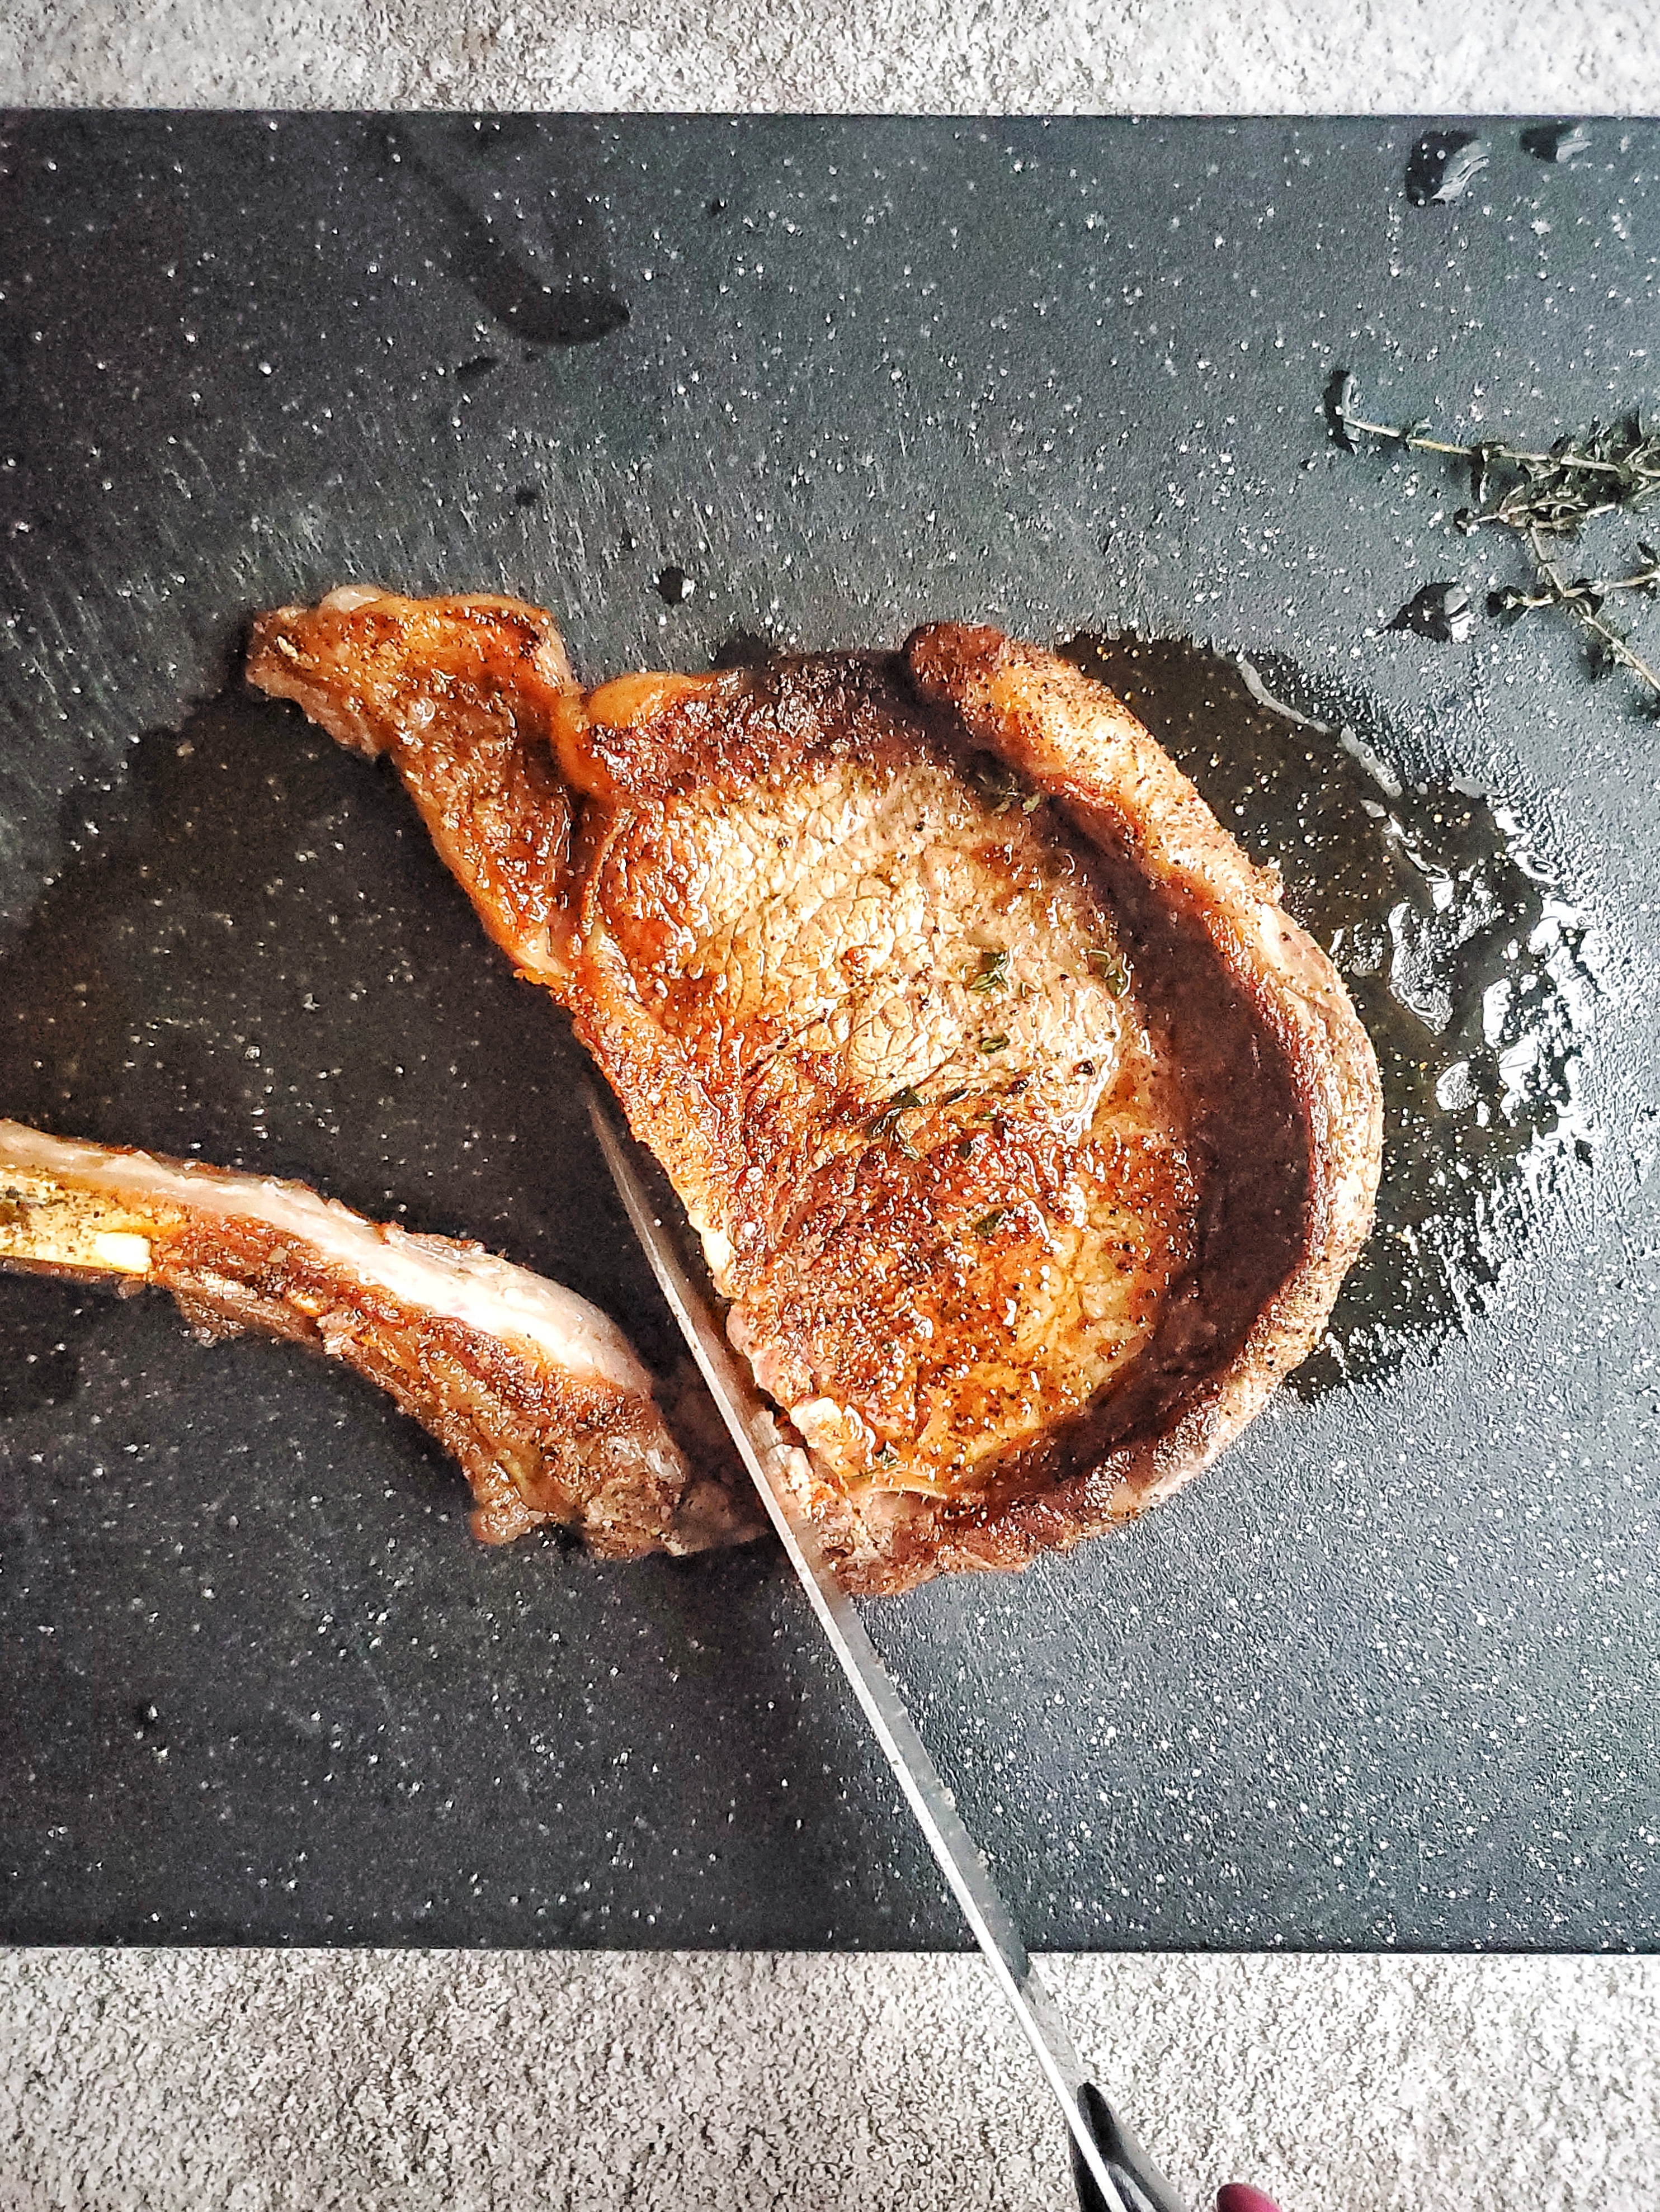
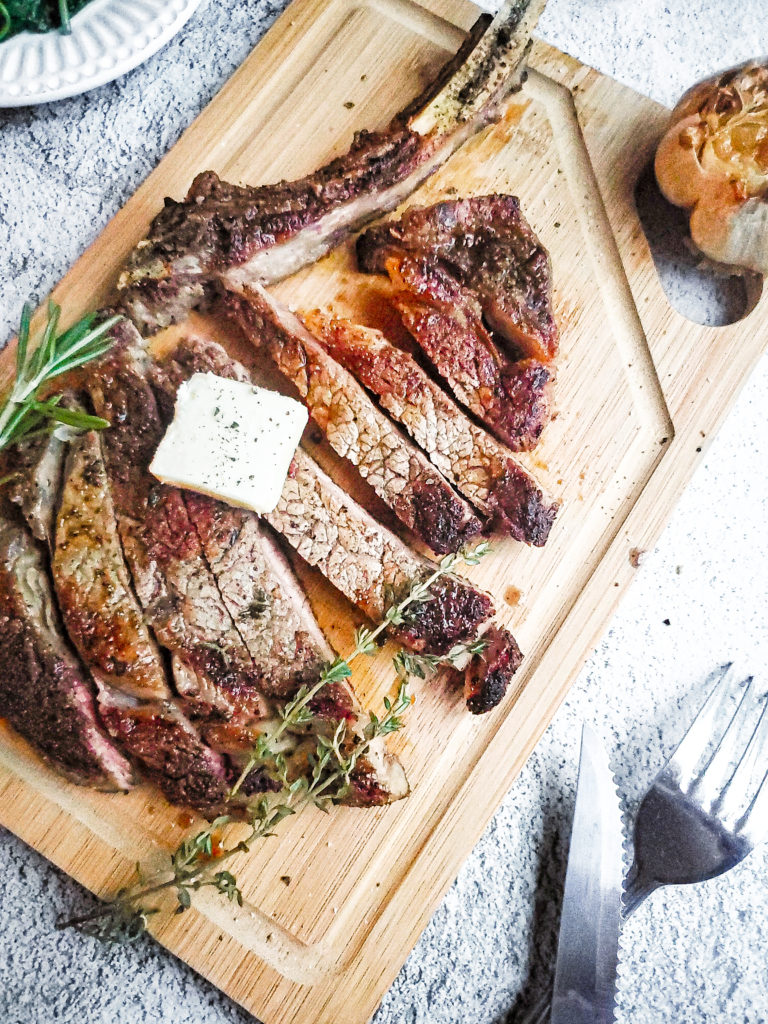
Cut against the grain
This is a very important step. Probably more important than everything else I’ve mentioned. Cutting a steak against the grain helps to make the bite of steak less chewy.
The grain of a steak are those natural lines you see. You can also see this when the steak is raw. Best way to find the grain is to hold up one end so the steak kinda bends. There, you’ll see lines where it looks like the steak separates a little bit.
Now that you’ve found the grain, you want to slice your steak in a different direction from it. You want to place your knife so that it makes an X with the grain that you found. Make sure that this grain-knife X you’re making doesn’t look like a plus symbol or a lowercase t.
If you cut along the grain vs against it, that perfectly cooked steak will be tougher to chew. It’ll still be edible, but it won’t be as fun to eat compared to it being sliced properly.
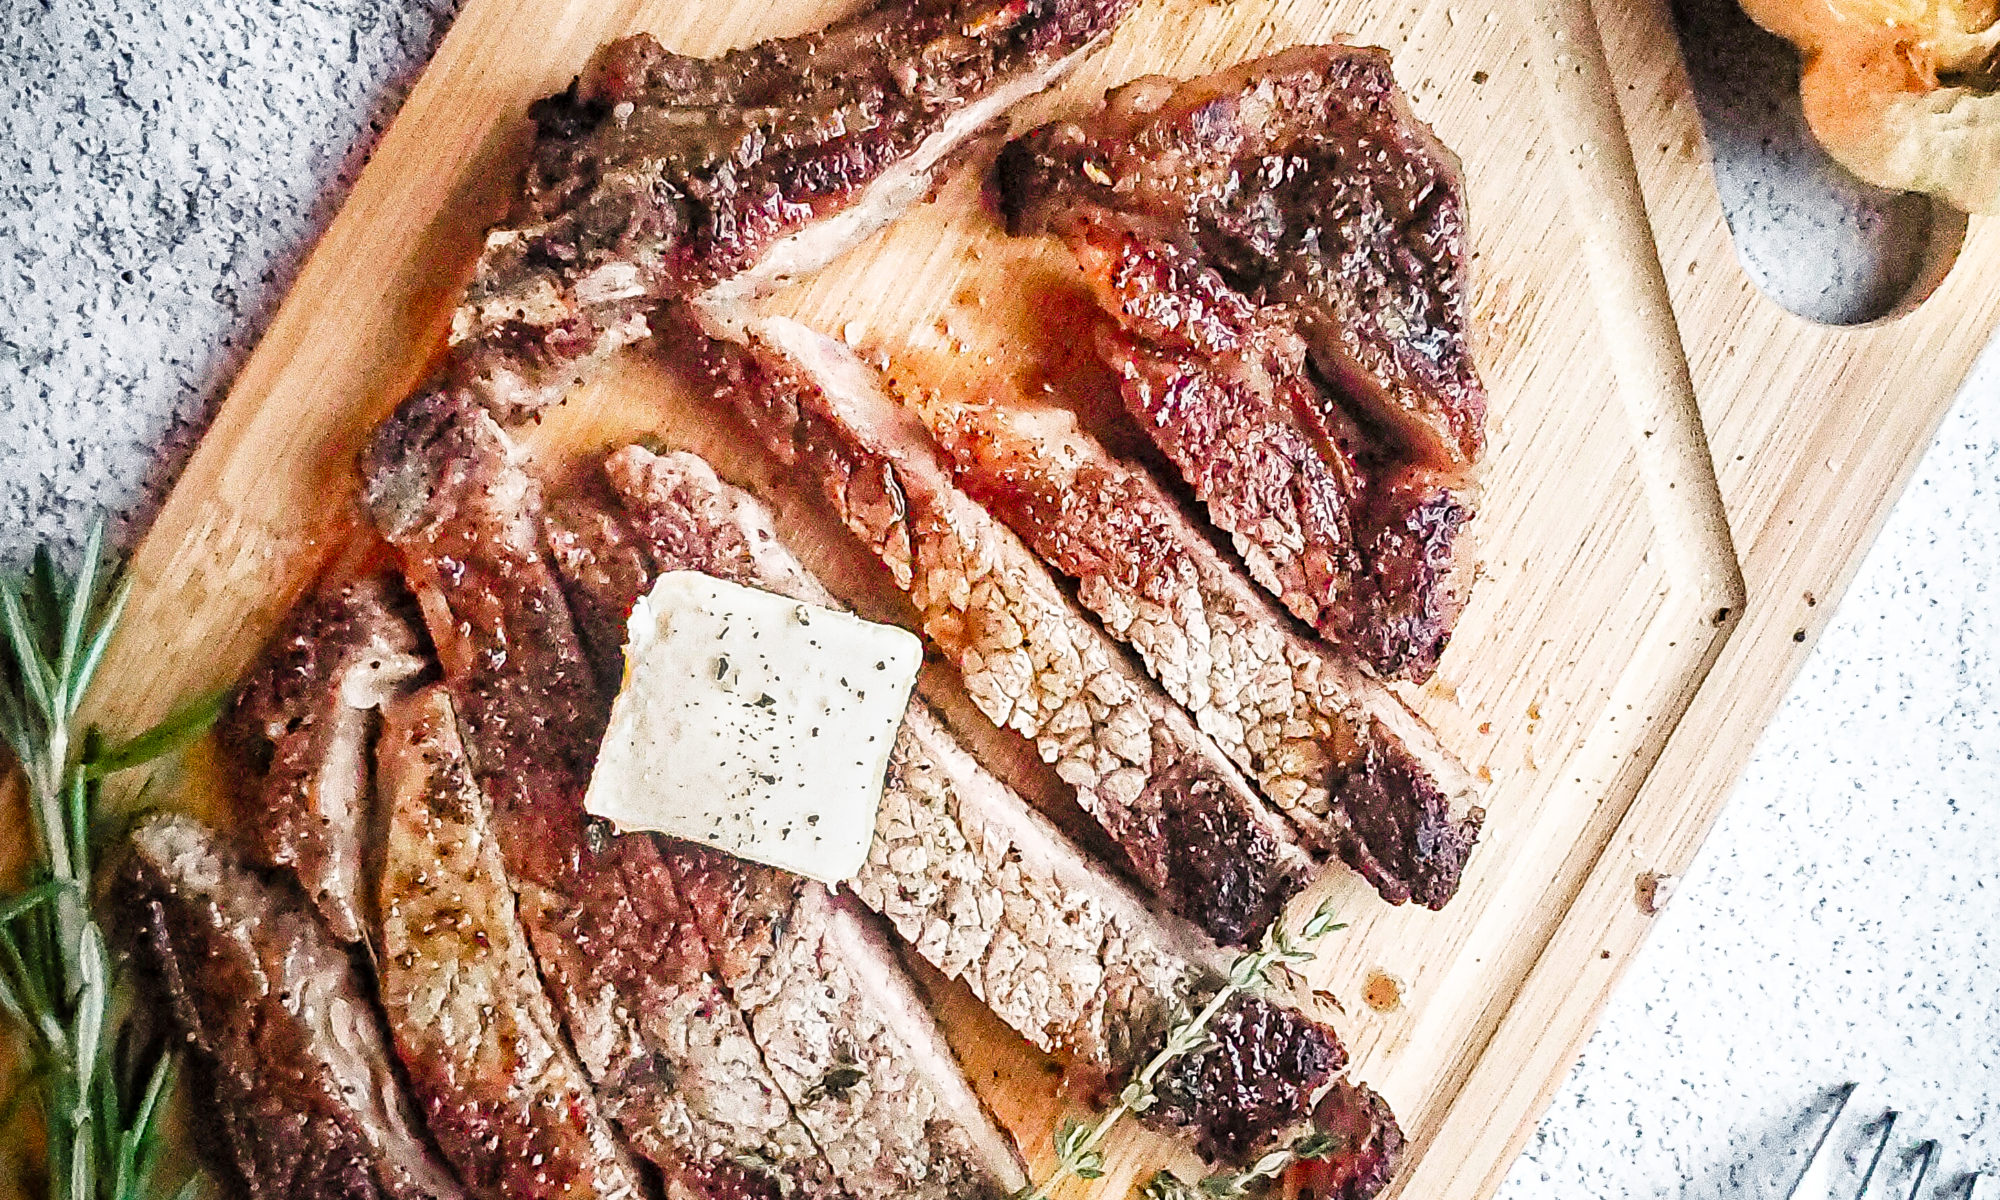
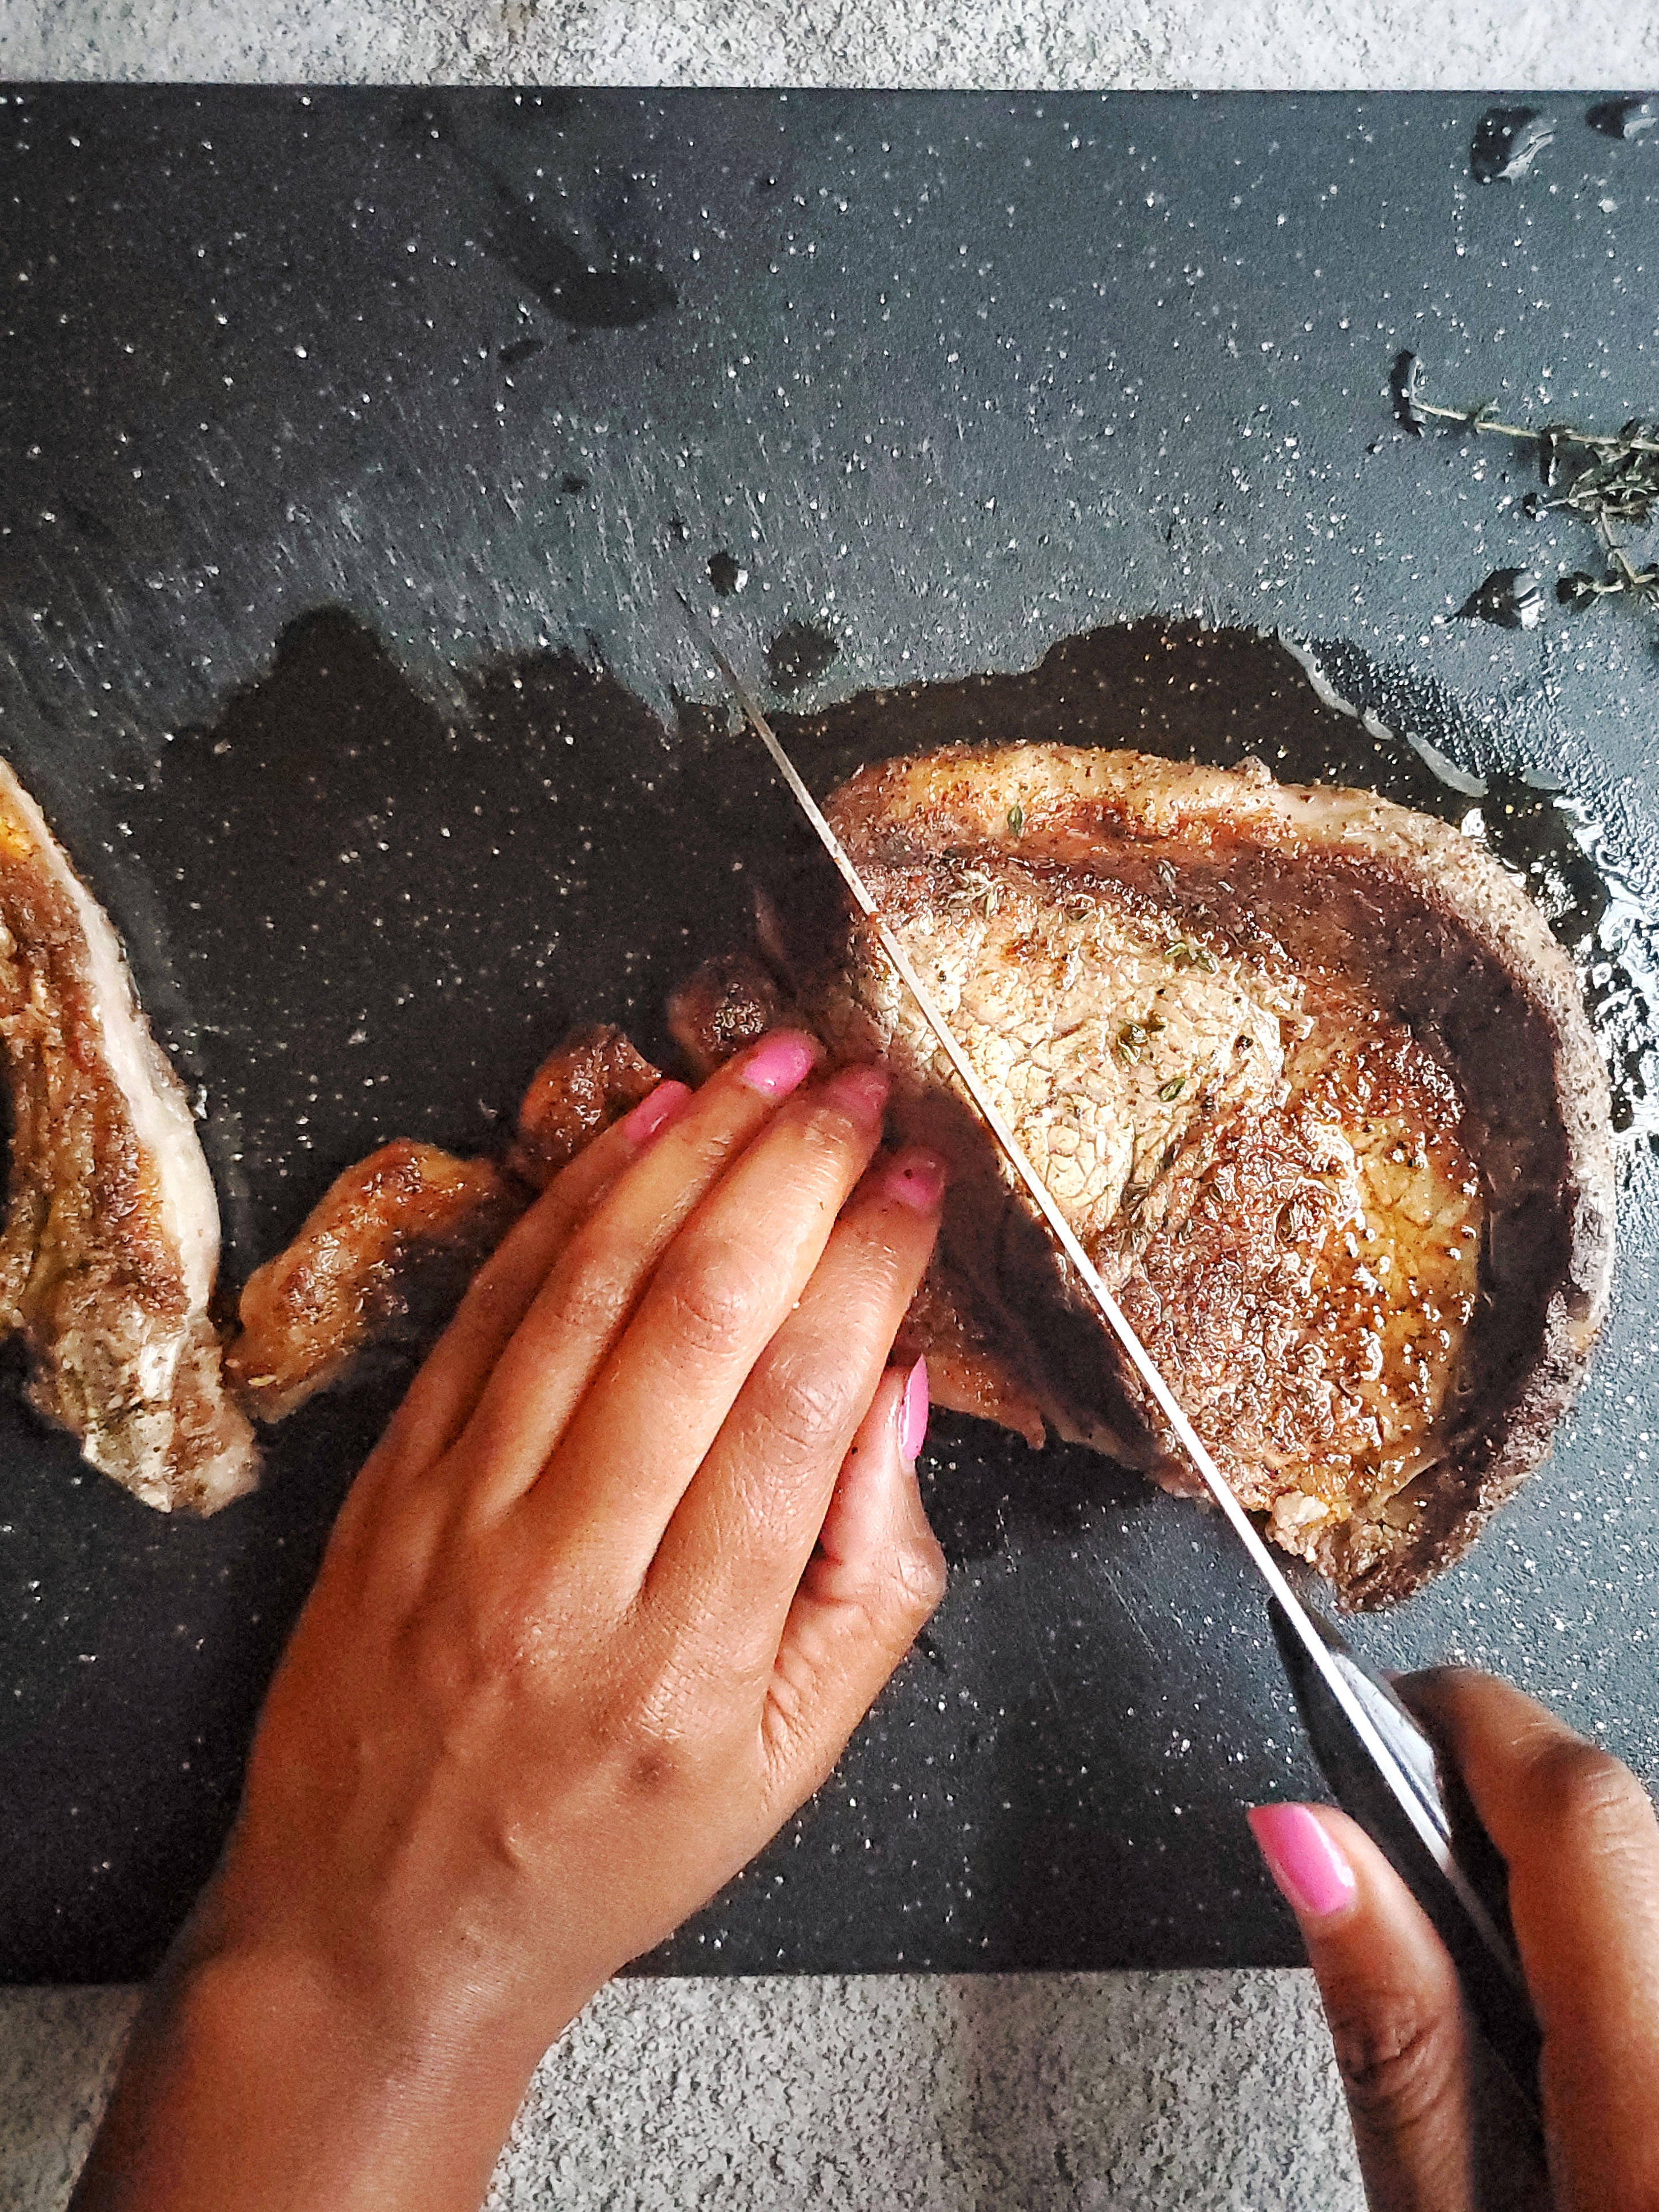
Slice, don’t saw!
What am I talking about? Well, when you’re slicing your steak, move the knife in one direction. Don’t move it back and forth while pressing down to cut the steak. It’s best to slice downward in one direction so that you aren’t shredding this perfect steak you just cooked. Now, this is clearly for presentation purposes. But, you’ve made it this far, so you should go all the way in!
One last seasoning!!!
If you have an herb butter or herb sauce this is the perfect time to use it. Put a dollop of the butter or sauce on your steak to be super fancy. I will say though that if you follow the steps above, it will not be a big deal if you don’t have either of these.
A light sprinkle of fresh ground pepper and sea salt is also the perfect addition once your steak has been sliced!
Now that you have the rundown on prepping and cooking the perfect steak, it’s time for you to execute it! If you use my tips, make sure to tag me on Instagram so I can see the awesomeness!
If you’re looking for sides to go with your sexy steak, check out my herb garlic roasted potatoes. I’ve got a yummy creamed spinach recipe coming soon!