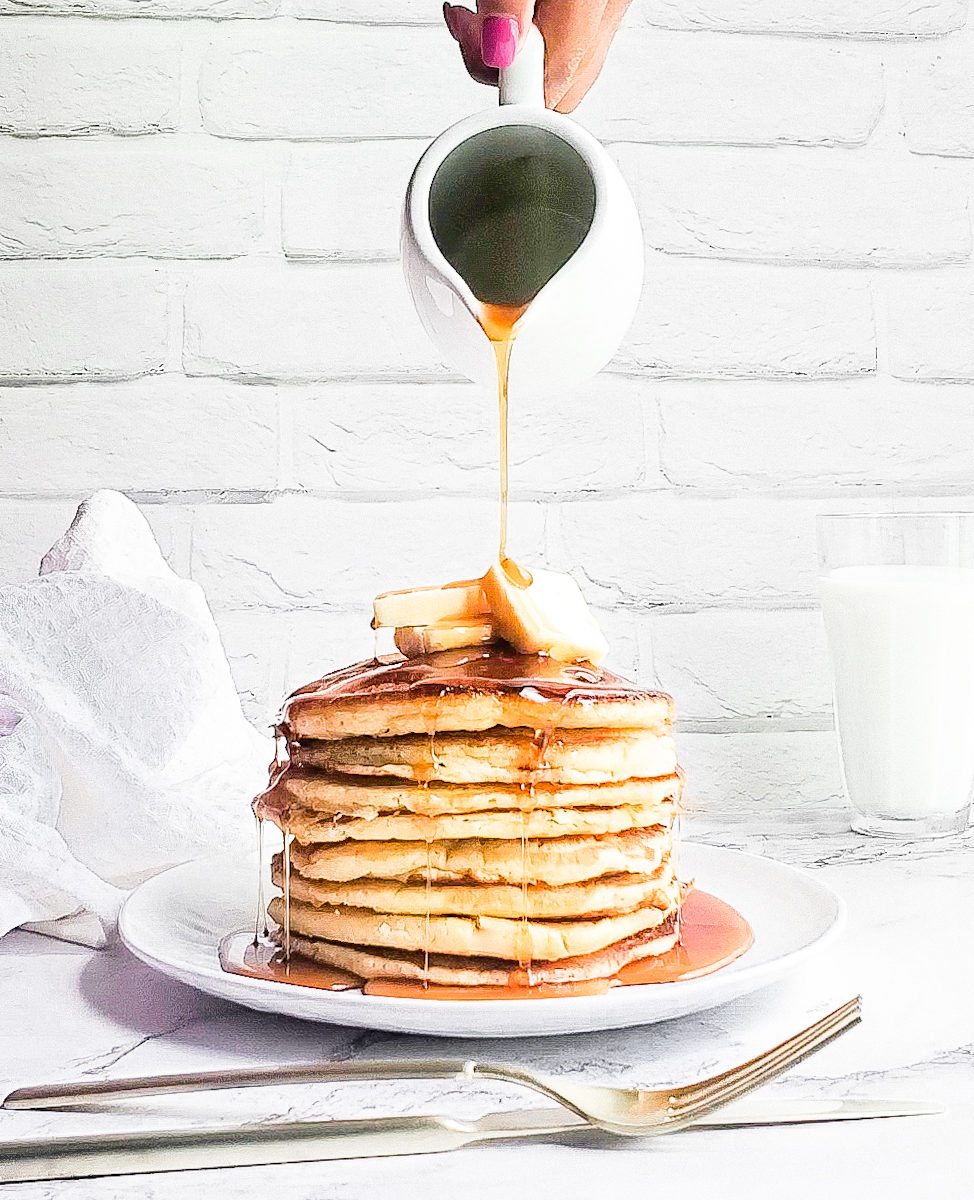
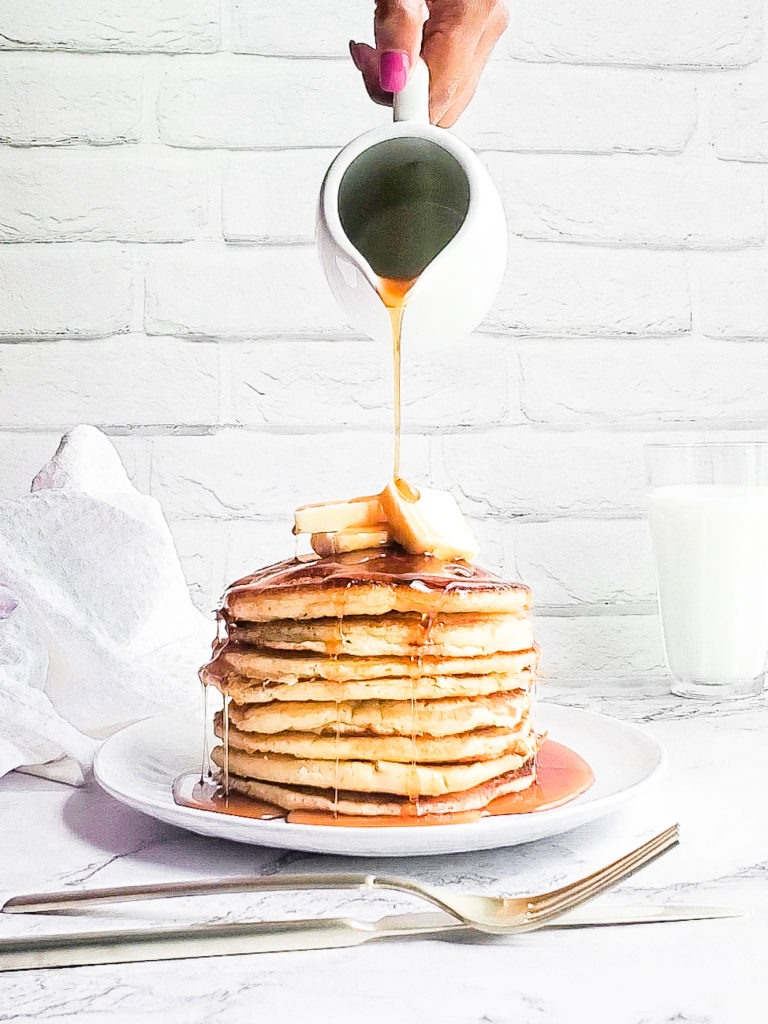
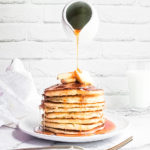
Can never go wrong with a nice fluffy stack of some classic buttermilk pancakes. Amiright? I am right. Keep it classy, not trashy.
How do I make classic buttermilk pancakes?
Cooking pancakes definitely seems intimidating at first. But please don’t freak out with this recipe. It really is sooooo simple to do. As a quick summary:
- Mix your batter, and let it sit for a few minutes before cooking
- Preheat your griddle or cast iron skillet
- Add a thin layer of your fat of choice
- Pour in the desired amount of batter
- Cook one side of the pancake for a few minutes, then flip to cook the other side for one more minute.
I’ve created a much more detailed breakdown of the pinpoints listed above, which can be found here, along with pictures! You’ll also find a really yummy red velvet pancake recipe there too!
What toppings can I add to my pancake batter?
What I love about this recipe is that you can jazz up the batter with additional toppings!
I love to add a couple of handfuls of chocolate chips to satisfy that chocolate craving that I pretty much always have. To make the batter itself a little sweeter, add a half a teaspoon of vanilla extract.
You can also throw in some sprinkles to serve these to the little ones, or yourself if you’re in the mood to be a big kid. I would add a half teaspoon to this batter for this modification as well.
Adding a cup or two of berries are a great addition too if you’re looking to be fake healthy! Either fresh or thawed frozen berries will do.
But sometimes, it’s cool to keep it classy and not trashy. Go ahead and test this recipe out the traditional way. I ain’t gonna be mad at ya!
What should I put on top of my buttermilk pancakes?
Honestly, the best way to serve these yummy buttermilk pancakes with a slice of butter and warm maple syrup!
Similar to adding your fav berries into the batter itself, it can be added as a garnish when serving the pancakes too.
How to store cooked pancakes
I like to make a few batches of pancakes to freeze for later. When reheated, it’ll taste just as good as it did when serving it on the day off. To do this:
- Completely cool your pancakes to room temperature.
- Place the pancakes into a freezer safe ziploc bag.
- Optional: if you have deli or parchment paper, it can be placed between each pancake before freezing
- Write a date onto the bag and freeze.
When you’re ready to serve the frozen pancakes, you’ll do the following:
- Place frozen pancakes into one layer on a microwave safe dish.
- Place a damp paper towel over the frozen pancakes.
- Microwave for 45 seconds for a single pancake, or 1 minute for multiple pancakes at once. Microwave for an additional 15 seconds if needed.
The steam created from the damp paper towel will help to add some moisture into the pancake while it’s warming up.
I hope you get a chance to test out my classic buttermilk pancakes! If you do, I’d love it if you left a review. Also be sure to tag me on Instagram!
If you’re looking for more breakfast inspo, check out my lemon ricotta pancakes!
Classic Buttermilk Pancakes
Equipment
- Mixing bowls
- Whisk
- Cast iron skillet or griddle
- spatula
- pastry brush
Ingredients
- 1 cup all purpose flour
- ½ tsp kosher salt
- 2 tbsp granulated sugar
- 1 tsp baking powder
- 1 cup buttermilk
- 1 eggs
- 3 tbsp melted butter
- olive oil for cooking the pancakes
Instructions
- Preheat a griddle or cast iron pan on a stove to the setting above it’s lowest setting.
- While the griddle is heating, In a large bowl, whisk together the flour, salt, sugar, baking powder, and baking soda. Set aside.
- In a small bowl, whisk together the egg and milk.
- Pour the milk mixture in with the flour mixture. Gently whisk for about a minute to combine.
- Add the melted butter to the mixture. Stir to incorporate. Batter should be slightly lumpy and thick.
- Spread small amount of olive oil in the griddle with a pasty brush, just enough to coat the surface.
- Pour a quarter cup of the pancake mixture onto the griddle. Spread out the mixture to make pancakes a little thinner and rounder. If cooking multiple pancakes at a time, be sure to keep them at least an inch apart.
- Cook pancakes for 4-5 minutes on it’s first side. The uncooked side will create little holes and look a little dry. Once it’s at that point, flip and cook for 1 more minute.
- Serve with melted butter and maple syrup. Enjoy!
One Reply to “Classic Buttermilk Pancakes”