Creamy Roasted Mushroom Risotto + A Beginner’s Guide

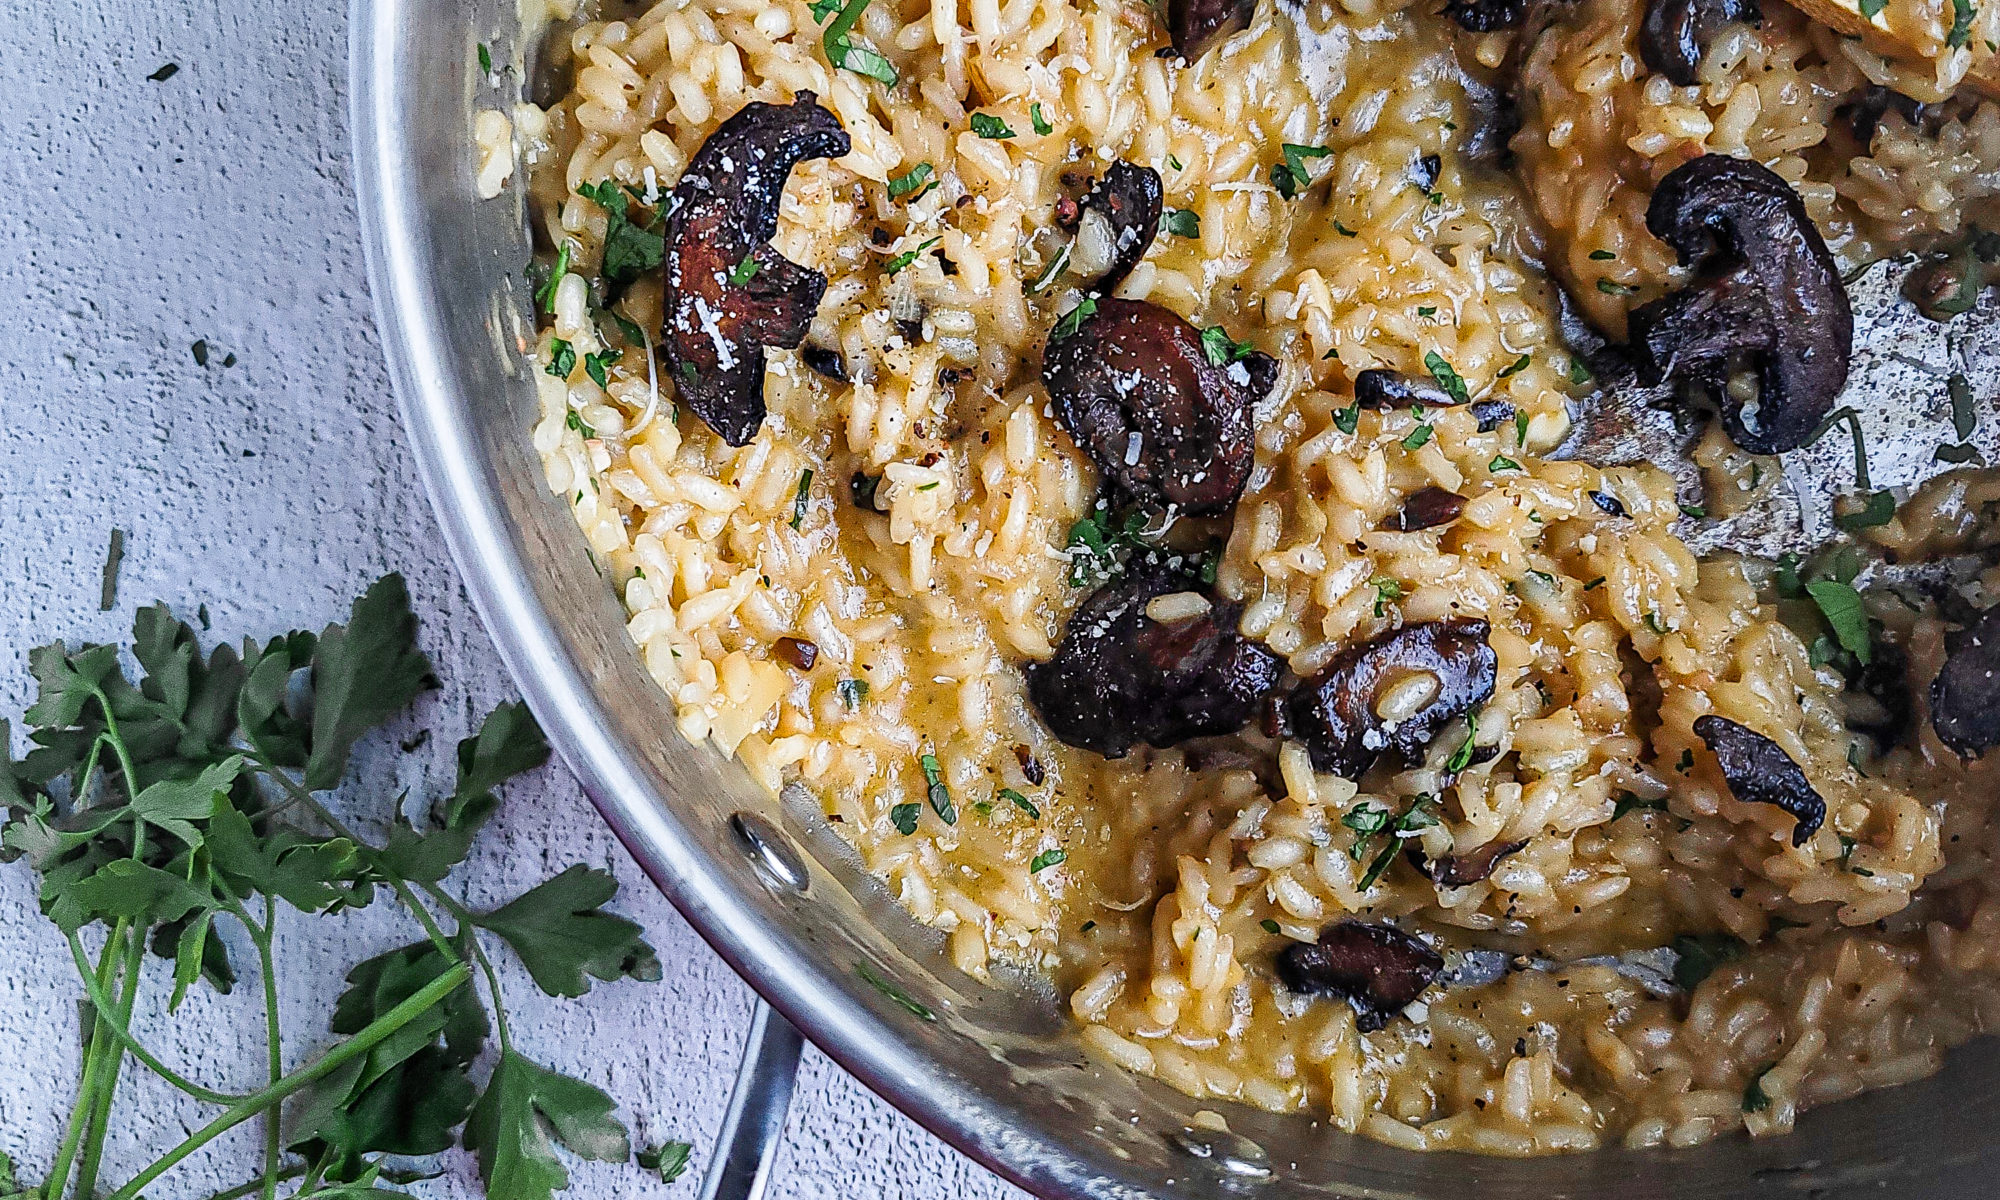
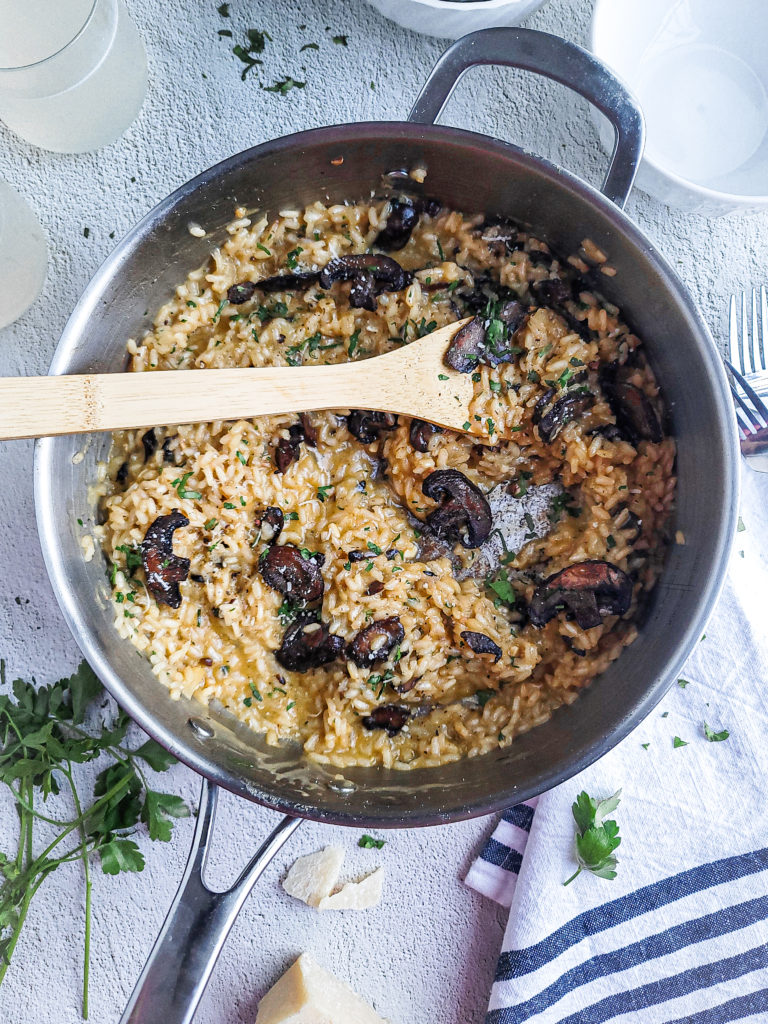
Close up of a pan full of mushroom risotto with a wooden spoon

A warm bowl of mushroom risotto is great as a vegetarian entree, or a side dish to meat and fish. The roasted mushrooms and addition of mascarpone cheese make for a restaurant-quality dinner!
Close up of a pan full of mushroom risotto with a wooden spoon

Mushroom risotto may seem like a difficult dish to make. But in reality, it’s so easy to execute. The only “difficult” part is the length of hands-on cooking. It takes some time to cook, and directions look tedious.

This is not a pot of rice left alone on the stovetop or made in a rice cooker. But don’t be scared! Risotto is a meal that requires extra love, which you will taste with the final product. 

The following tips are important for making the perfect pot of risotto. There are some essentials you’ll need to make the best pot of risotto. Then, you’ll be able to make this yummy batch of mushroom risotto, or even your own variations of this Italian dish.

How to cook risotto

Risotto has several easy steps, but takes time to execute

  • The onions are sauteed until soft and translucent.
  • Arborio rice is poured into the pan to lightly toast with the onions.
  • The hot liquid is pour in small amounts into the rice.
  • Stir the rice every few seconds, so it absorbs the liquid.
  • Cheese is added once all the liquid is absorbed.

What type of rice to use for risotto:

Arborio rice is a short-grain rice used to make risotto. It has a lot more starch than the long-grain rice, which is why more attention is needed when cooking. 

When it’s made properly, cooked risotto will be soft and creamy without it being mushy. Stirring the rice is EXTREMELY important for this starchy rice, which I’ll explain below. 

Arborio rice can be found in the rice aisle of your local grocery store. If not there, it can be found in the international aisle with the Italian products. 

Why does risotto take so long to cook?

Risotto needs to cook low and slow, so each grain absorbs the right amount of stock. It should be cooked on medium-low heat. The rice will not cook at too high of a heat, and will become rice pudding at too low of a heat.

The starch also needs to be released from the arborio rice. The rice needs to be constantly stirred at the lower temperature, which takes a bit of time.

What type of pan to use to cook risotto

The pan used to cook risotto is also important. The rice needs to absorb the rice at a certain speed. When fully cooked, arborio rice should have a texture like al dente pasta. The rice will be soft, with a slight bite.

If you use too wide and shallow of a pan to cook risotto, the stock evaporates before the rice can absorb it. This makes the rice crunchy, since there is no liquid to cook. In turn, if a tall pot is used, the rice can take longer to absorb the liquid, causing the rice to steam. The rice will be mushy and starchy.

The best pot to use to cook risotto combines both types of pots mentioned above. You want to use a pan with a little height, 3 to 5 inches tall, to keep your stock from evaporating too quickly. It should also be the width of your burner. 

Why should I use hot stock for my risotto?

Another important factor in cooking risotto is to NOT use cold or room temperature stock! Heat your broth of choice to a simmer, and turn the stove onto it’s lowest setting. Keep the stock warm while making the risotto.

Adding cold stock to the hot risotto will slow down the cooking process. Risotto is a timed dish, so cooling it in any form extends the cooking time, resulting in a mushy pot of rice. And remember…we don’t want that!

Can I add all the stock at once?

The short answer is HELL NO! Now for the explanation:

Arborio rice does not cook like traditional long grain rice. Adding all the stock boils the rice, and it will not absorb the liquid like it’s supposed to. The stock needs to be added in small batches, so the rice takes in the liquid at the proper speed. 

Why do I have to keep stirring the risotto while cooking?

Arborio rice is very starchy. But, the only way for the starch to be released is by stirring. Believe it or not, constantly stirring the rice in stock while cooking creates a creamy texture without any dairy. 

However, it is possible to stir the rice too much. The hot rice will cool down if stirred too frequently. Once the stock is added to the risotto, stir it for about 5 seconds every 30 to 45 seconds. 

Now that you know the science behind it, you can make my creamy roasted mushroom risotto!
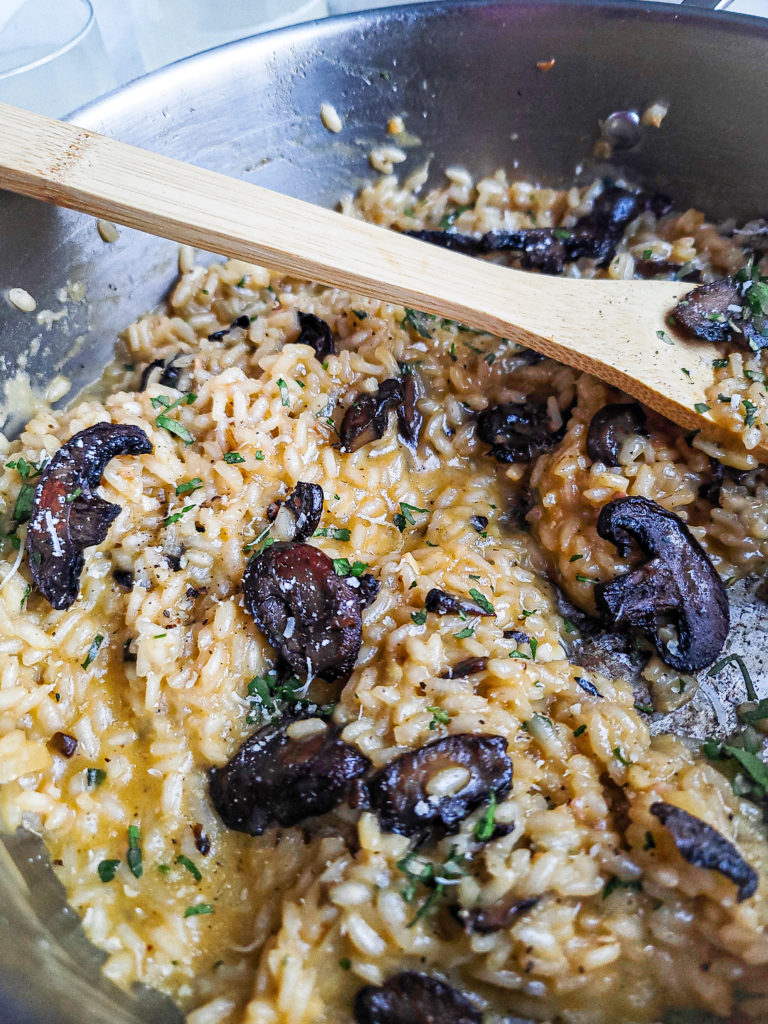
Close up of a pan full of mushroom risotto with a wooden spoon

Which mushrooms should I use for mushroom risotto?

There are so many varieties of mushrooms out there. Luckily, you can use whichever ones you’d like! 

Cremini, or baby bella, mushrooms are what’s regularly found in grocery stores. I like to use these for all my cooking. They’re a bit firm and hold up to high heat and liquids. 

What kind of white wine should I use for the risotto?

It’s always best to use a white wine that you do not mind drinking. However, you should use a dry wine instead of sweet, since we’re making a savory dish and not dessert. Chardonnay is my favorite wine to cook with.

Are there any variations for your mushroom risotto?

The risotto can be made without dairy, making it vegan friendly! Omit the butter, grated parmesan, and mascarpone cheese. Luckily, most of risotto’s creamy consistency comes from the cooking process. 

Mascarpone cheese is not widely available in grocery stores. If you choose, it can be omitted. Or, it can be replaced with heavy cream. You want to use one of the 2 to give the risotto the velvety flavor.

The wine can also be left out of the recipe. Make sure you replace the alcohol with the same amount of warm stock. 

What should I serve with the mushroom risotto?

Risotto works an appetizer, entree, and side dish. This particular recipe is vegetarian, making it the perfect main course. Grilled or baked chicken and a side salad would taste great with this.

Yes, this was a lot to take in! Once you make one pot of risotto, you’ll realize how easy it is to execute, and you’ll question why rice intimidated you. Give this recipe a try to impress yourself and your friends!

If you’re looking for another intimidating recipe to tackle, check out these Five Spice Braised Short Ribs with Creamy Slaw. 

Close up of a pan full of mushroom risotto with a wooden spoon
Print Recipe
5 from 10 votes

Creamy Roasted Mushroom Risotto

A warm bowl of mushroom risotto is great as a vegetarian entree, or a side dish to meat and fish.
Prep Time5 minutes
Cook Time1 hour
Course: Appetizer, Main Course, Side Dish
Cuisine: Italian
Keyword: appetizer, dinner, dinner ideas, entree, mushroom, mushrooms, risotto, weeknight dinners
Servings: 4 servings
Author: Crystal

Equipment

  • 1 Cutting board
  • 1 wooden spoon
  • 1 small sauce pot
  • 1 Ladle
  • 1 large pan
  • 1 Baking sheet
  • 1 Mixing bowl

Ingredients

  • 8 ounces mushrooms cleaned and sliced
  • 6 tablespoons olive oil
  • 1 teaspoon kosher salt
  • ½ teaspoon ground black pepper
  • ½ cup yellow onion small diced
  • 2 tablespoons unsalted butter
  • 4 cloves garlic minced
  • ½ cup white wine
  • 1 cup arborio rice
  • 32 ounces vegetable stock
  • ¼ cup grated parmesan cheese
  • 4 tablespoons mascarpone cheese
  • 1 tablespoon chopped parsley
  • 2 teaspoons lemon juice
  • Salt and pepper to taste

Instructions

  • Preheat your oven to 400 degrees. Line a sheet pan with aluminum foil. Mix the mushrooms in a medium size bowl with 4 tablespoons of the olive oil, and the salt and pepper. Pour the mushrooms onto the tray in an even layer, and bake for 25 minutes. Set aside once they are roasted. You will cook the risotto while the mushrooms are roasting.
  • In a small saucepot, heat the vegetable stock to a simmer. Then turn it down to it’s lowest setting to keep warm while making the risotto.
  • In a large skillet, heat the remaining 2 tablespoons of olive oil on medium-low heat.
  • Add the diced onions. Stir the onions while sauteeing to prevent them from getting color. Cook for 2-3 minutes until the onions are soft and slightly translucent.
  • Add the butter and minced garlic. Cook while stirring until the butter is melted.
  • Add the arborio rice into the skillet. Continuously stir for 2 minutes to lightly toast the rice.
  • Pour the white wine in the skillet. Stir until all the liquid has absorbed in the rice.
  • Pour a half of a cup of the warm vegetable stock over the rice. Every 30 seconds, give the rice a stir until most of the liquid has been absorbed. This should take 2-3 minutes.
  • Continue the process of adding a half cup of stock at a time to the rice, and stirring until most of the liquid has been absorbed. The stock will be added to the rice 8 times. Do not add all the stock at once!
  • When you add the last half cup of stock, also add the parmesan and mascarpone cheese, parsley, lemon juice, and the roasted mushrooms. Thoroughly mix to combine and remove from heat.
  • Taste the cooked risotto and season with salt and pepper to your liking.
Creamy Tuna Pasta Salad Recipe

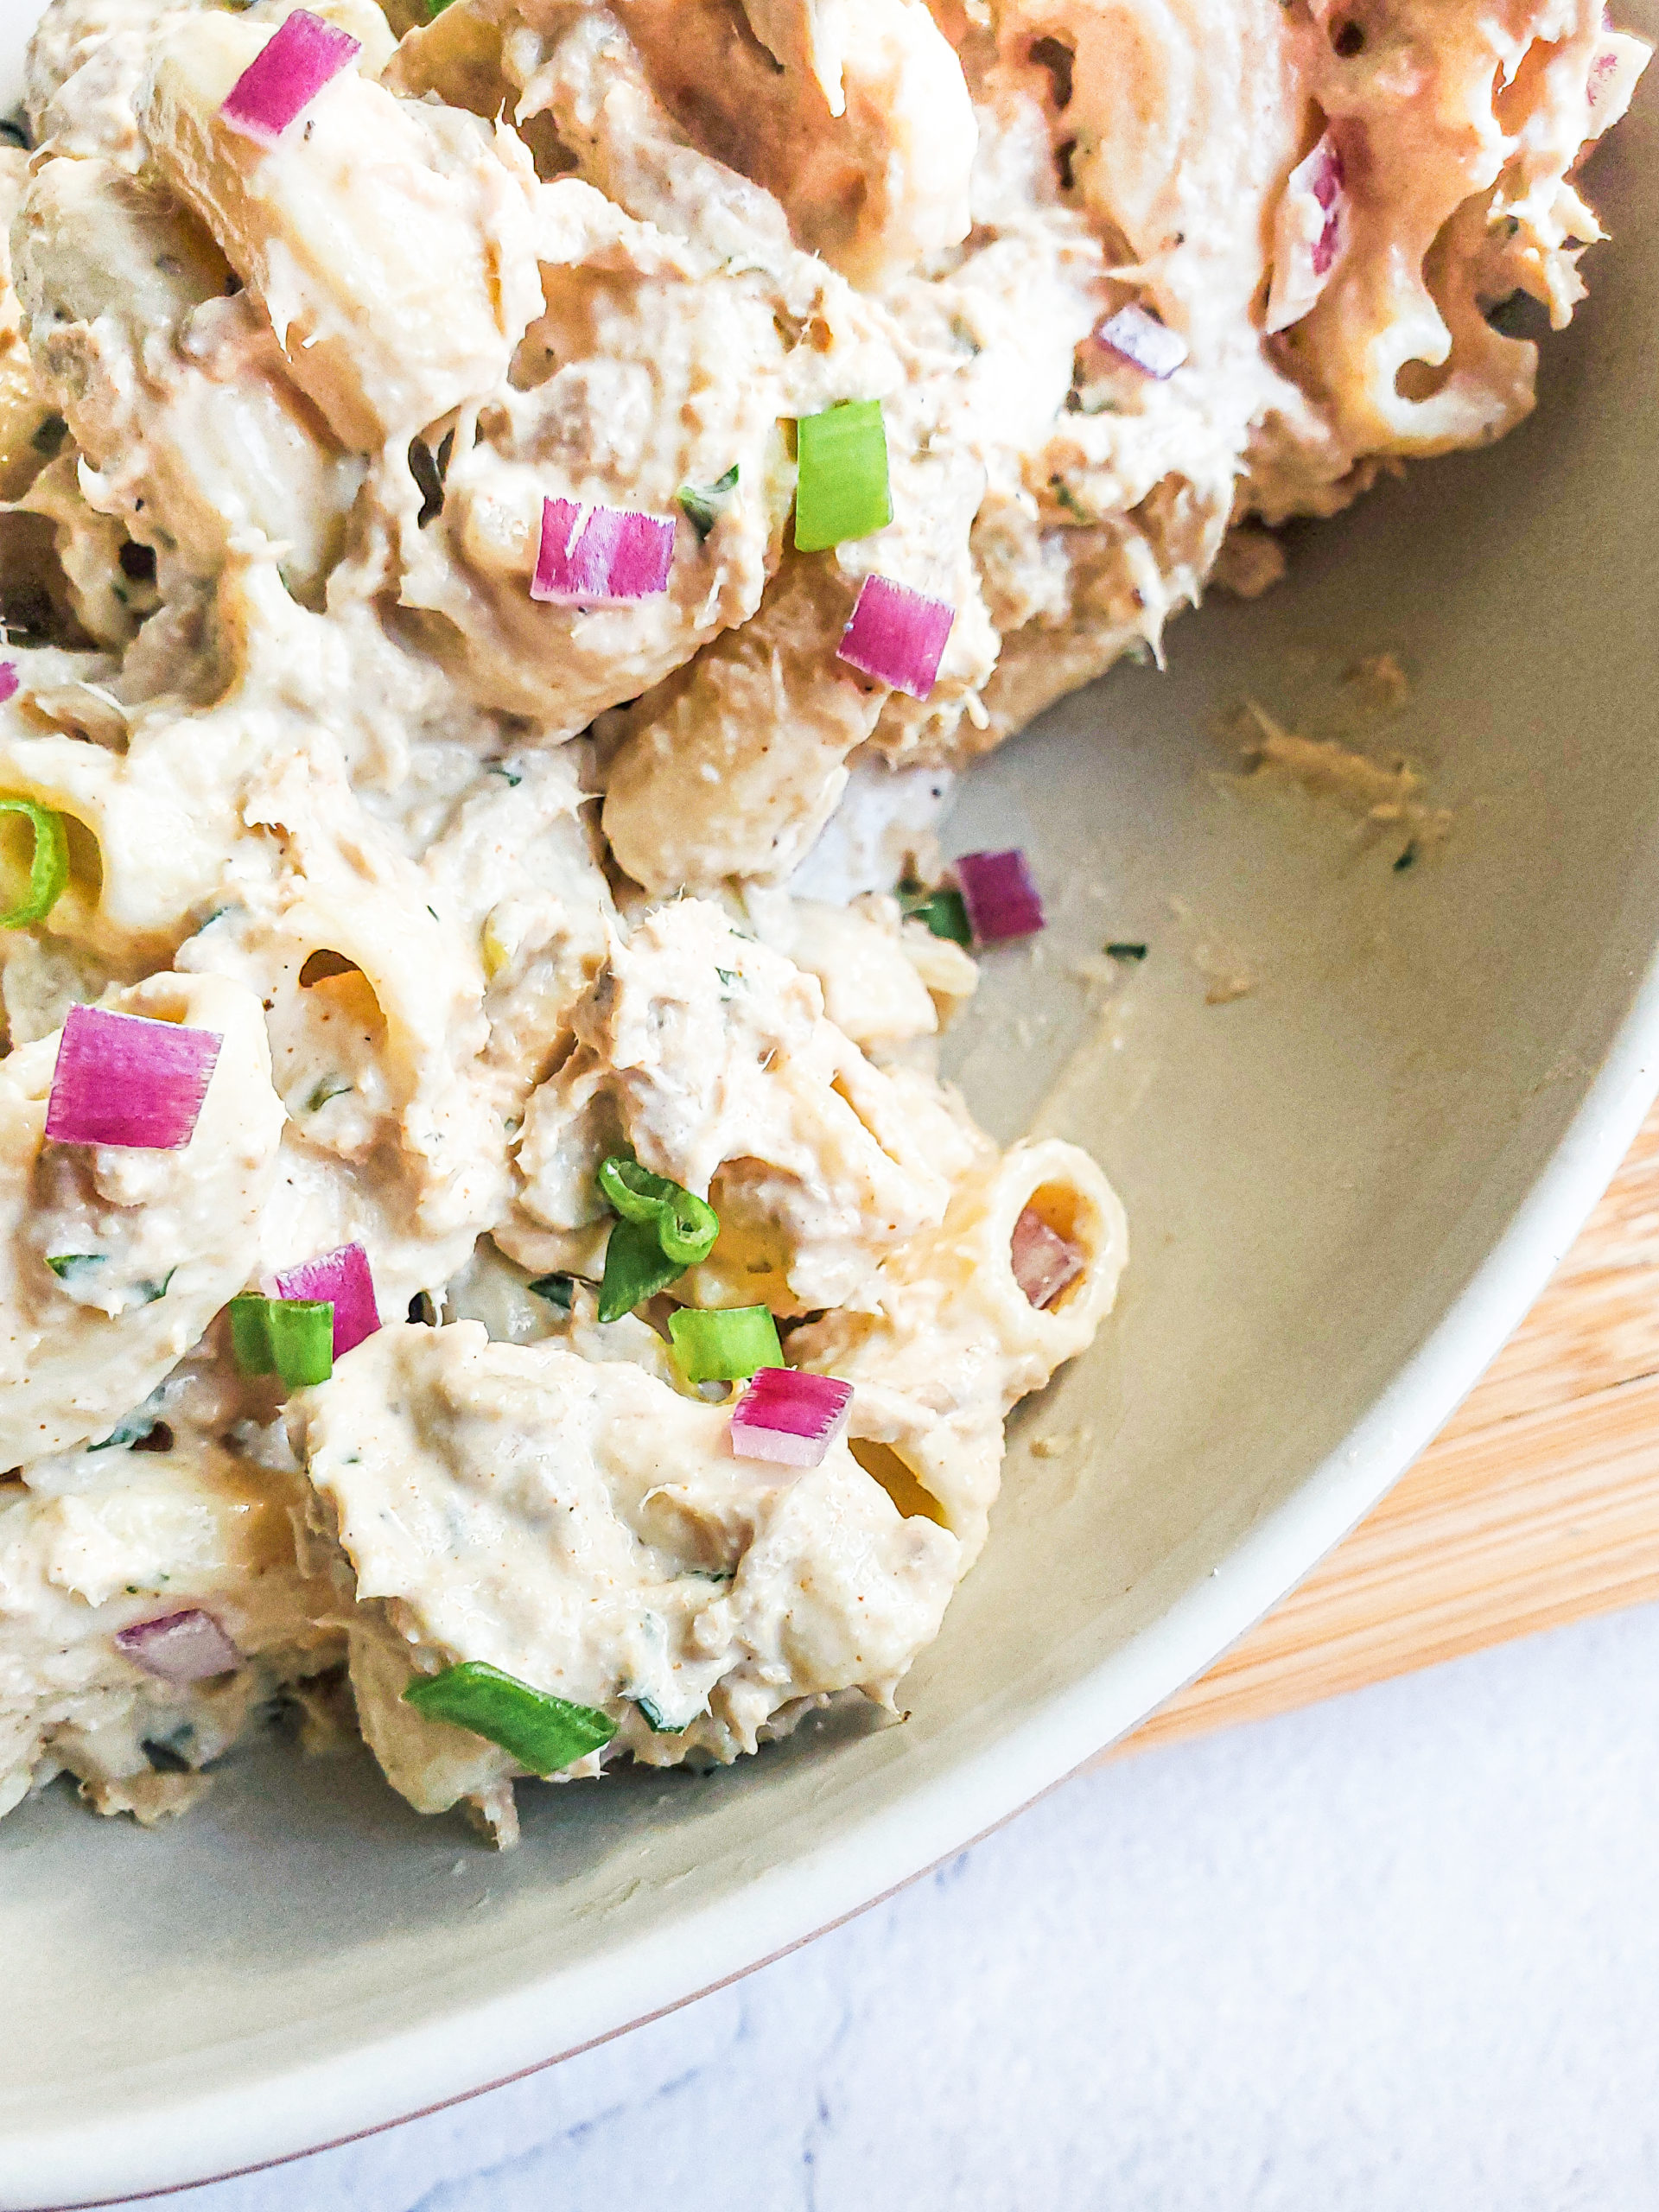
Tuna pasta salad in a bowl

Tuna pasta salad is one of my favorite fool-proof recipes. With just a few ingredients and a few minutes, you’ll have the perfect side dish for a family gathering, or lunch for the work week!

One of the first few side dishes that come to mind when someone mentions a cookout or family gathering is tuna pasta salad. Not sure why this dish is what I think of (maybe cuz I love noods), but this recipe most certainly the most effort-less one to make with an amazing flavor!

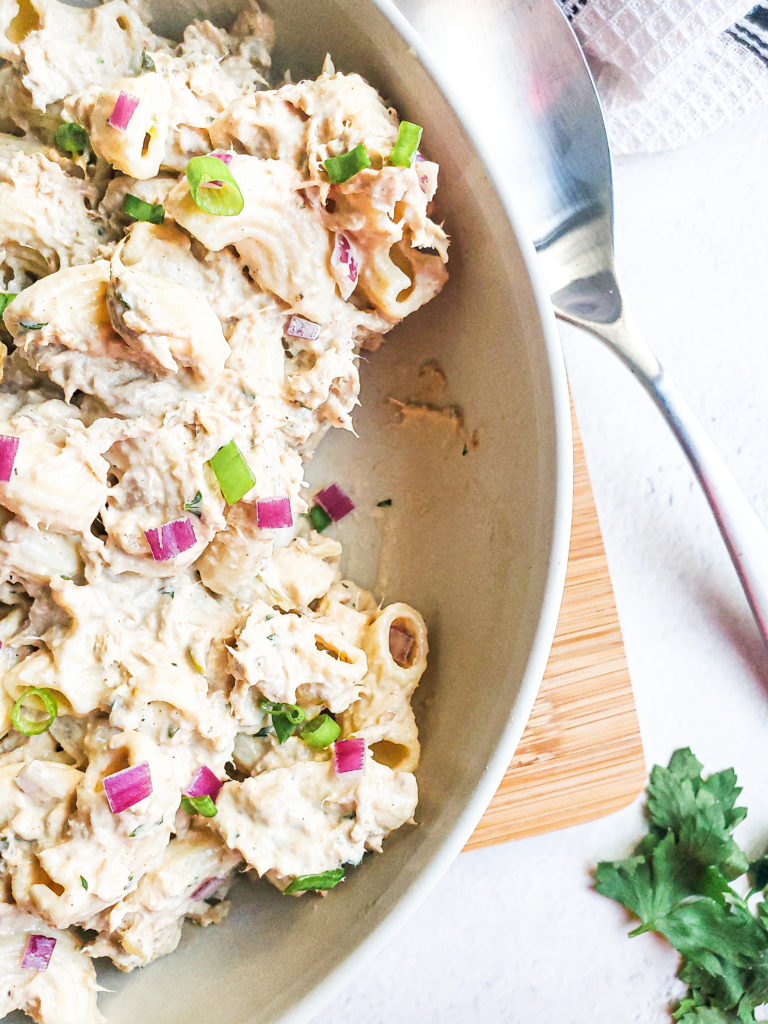
Overhead shot of tuna pasta salad in a bowl

How to make tuna pasta salad

So simple to put this one together.

Your pasta of choice (usually macaroni) is fully cooked according to package directions. Once cooked, the pasta will need to be cooled down by either running it under cool water or sitting it in an ice bath. You’ll need to make sure the pasta is completely strained after cooling.

While the pasta is cooking, you’ll combine the tuna salad ingredients, seasoning to your taste. 

Finally, combine the tuna salad with the cooled pasta. Boom…you just made tuna pasta salad!!!

The pasta salad can be served immediately. However, this is one of those recipes that taste much better a day later. If I’m running short on time, I make sure to at least let this sit in the fridge for an hour before serving.

Type of canned tuna to use for tuna salad

You can honestly use any brand and type of canned tuna you can get your hands on!

My preference though is chunk tuna. The chunks can be broken up more if preferred, but I like the bigger chunks of the tuna in my tuna salad.

Canned tuna will come packed in either water or oil. Again, it’s up to you which one you go with. Out of habit though, I go with the water option. The tuna will get mixed with mayo, so using tuna in oil isn’t necessary. And of course, the water packed tuna is a bit healthier since it isn’t sitting in oil. 

Which pasta should I use for tuna pasta salad?

When choosing the best pasta to use for tuna salad, you’ll want to go with one that’s a shorter noodle. The chunks of tuna are small, so you want to use a smaller noodle vs a longer one. While macaroni is always the safer bet, you can get fancy and use one of the following:

  • Rotini
  • Shell 
  • Farfalle (aka bowtie)
  • Cavatappi (aka corkscrew)
  • Orecchiette
  • Fusilli

Long story short….any pasta you’d use to make a batch of mac n cheese is perfect for tuna pasta salad!

Should I add eggs to tuna pasta salad?

You can most certainly add hard boiled eggs to your tuna macaroni salad! I did not use any for this recipe, but 2-3 hard boiled eggs is a good amount to use for this recipe.

The addition of eggs is a perfect addition for added protein with the already protein-packed tuna! 

Other uses for tuna salad

I’ve omitted the pasta from this recipe and used the tuna salad for sandwiches. It makes the perfect tuna melt!

After making the tuna mixture, simply toast your bread of choice, add the tuna salad, top with your cheese of choice, and quickly melt under a broiler.

Even without a toaster available, this will taste great as a cold sandwich too!

Tuna pasta salad shelf life

While this does not last long in my house, tuna macaroni salad will usually last up to a week. Store in your fridge in an airtight container. 

Hope you get a chance to test out my tuna macaroni pasta salad! It’s definitely one of my favorite recipes! 

If you need another simple recipe for a gathering, check out my Garlic Parmesan Grilled Corn.

Overhead shot of tuna pasta salad in a bowl
Print Recipe
5 from 1 vote

Tuna Macaroni Pasta Salad

This classic and fool-proof recipe is perfect for summer gatherings, or for work lunches!
Prep Time15 minutes
Chill time1 hour
Total Time1 hour 15 minutes
Course: Main Course, Side Dish
Cuisine: American
Keyword: july 4th recipes, labor day recipes, memorial day recipes, pasta, pasta salad, side dishes, summer side dishes, tuna, tuna pasta salad, tuna salad
Servings: 8 servings
Author: Crystal

Equipment

  • Mixing bowl
  • colander
  • large pot
  • Whisk
  • Rubber spatula
  • knife and cutting board

Ingredients

  • 8 ounces boxed pasta
  • 3 tablespoons relish
  • ½ cup diced red onion
  • 1 ½ cup mayonnaise
  • 2 teaspoons kosher salt
  • ½ teaspoon black pepper
  • ¾ teaspoon paprika
  • ¾ teaspoon garlic powder
  • 1 ½ tablespoons apple cider vinegar
  • 2 tablespoons chopped parsley
  • 20 ounces canned tuna 4 5-ounce cans, strained

Instructions

  • Cook pasta of choice according to package directions. Once cooked, cool the pasta by running under cold water or chilling in an ice bath. Drain the pasta and set aside.
  • In a medium bowl, combine the remaining ingredients with a whisk, excluding the tuna.
  • Add the cooked pasta and tuna into the mayonnaise mixture. Gently mix together to combine.
  • Can be served immediately. For best results, cover and chill the pasta salad for at least an hour, preferably overnight.

Notes

Cheesy Chicken Parmesan with Spicy Marinara Sauce

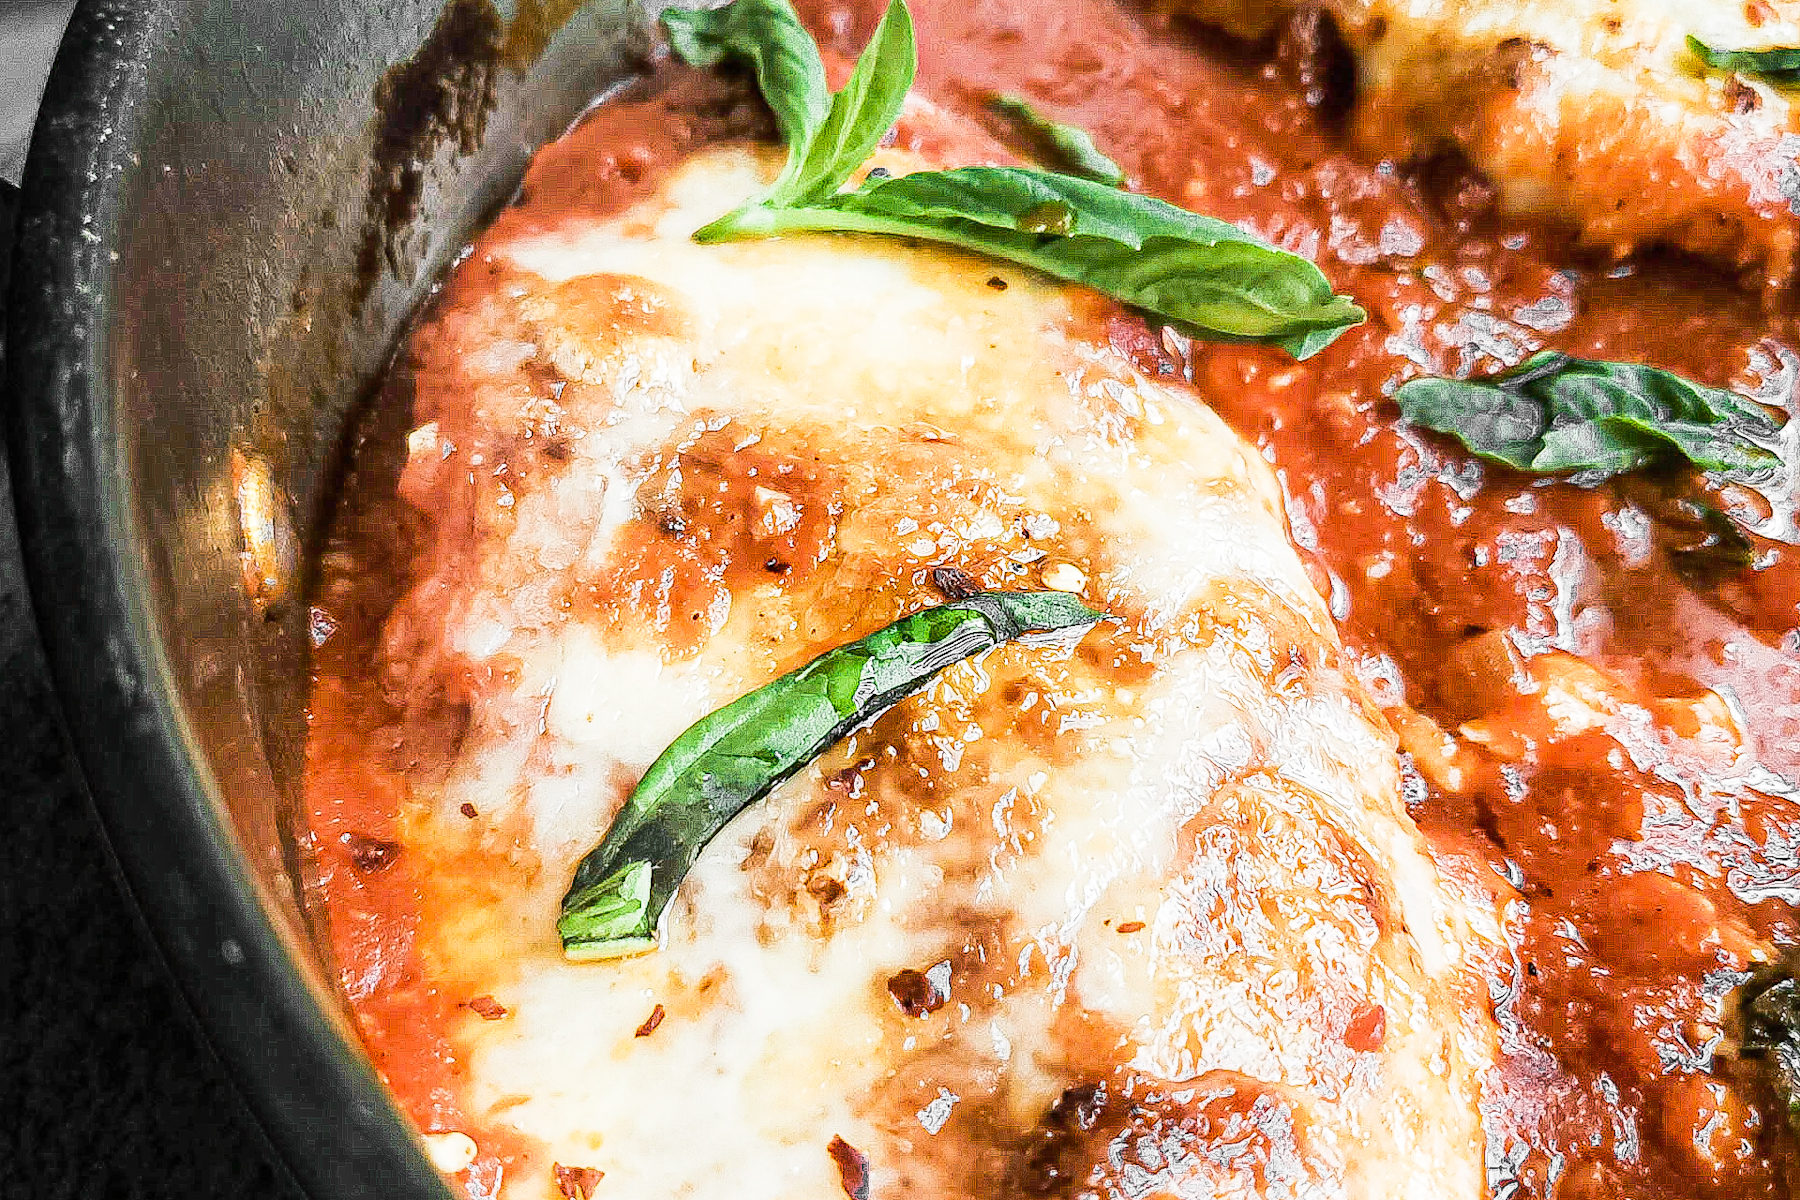
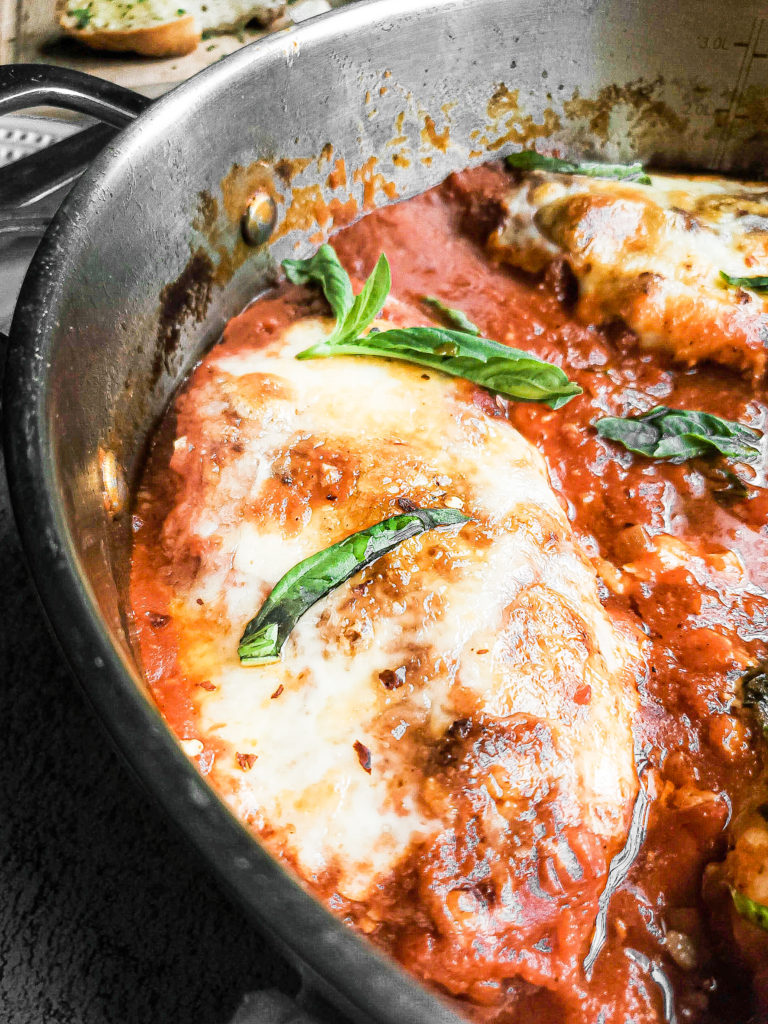
Close up of chicken parmesan in a skillet

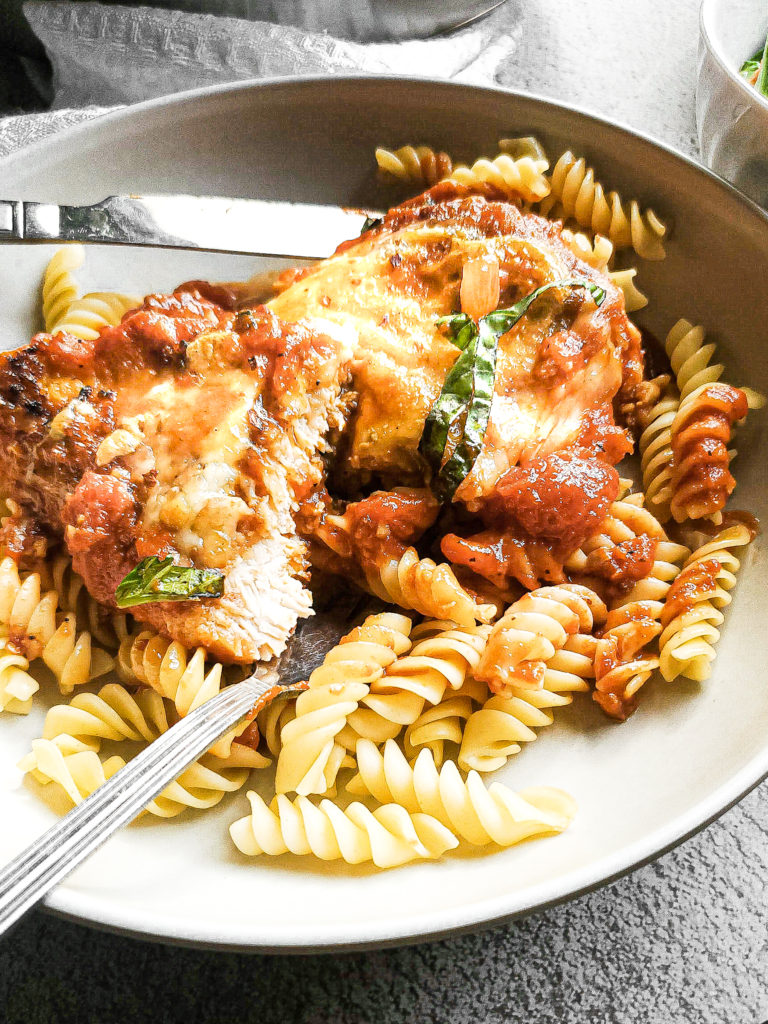
Chicken parmesan is a perfect weeknight dinner option. You can really never go wrong with cheesy breaded chicken breasts cooked with a garlic infused tomato sauce!

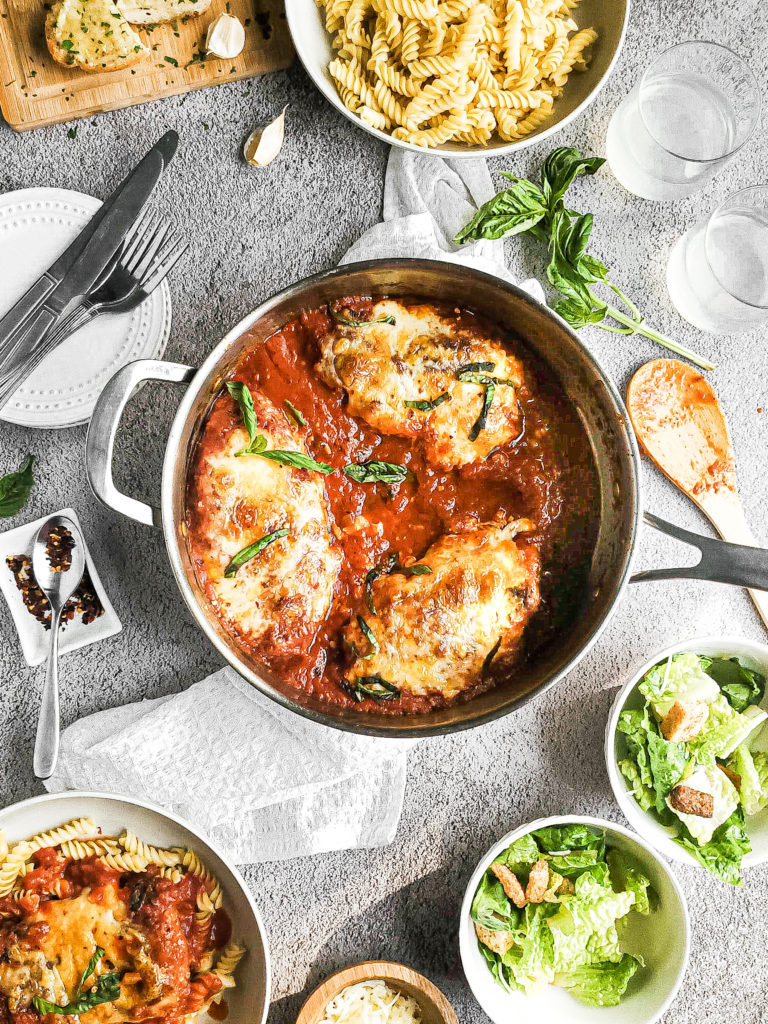
Overhead shot of chicken parmesan in a pan with a salad and bread on the side

I’d have to say that chicken parmesan is one of my favorite dishes to both cook and eat. It’s also one of my go-to recipes when I can’t decide on what to make for dinner during the week. While it’s such a simple dish, the flavors make me a very happy woman.

Chicken parmesan is also one of the recipes I frequently get asked how to make. It really is a simple recipe though yall! Nothing to be intimidated about. In about 30 minutes you can have this delicious meal on your table!

Close up of chicken parmesan in a skillet

How to make chicken parmesan


Chicken parmesan consists of 2 easy recipes: breaded chicken breasts and marinara sauce.

Thin chicken breasts are breaded and cooked most of the way through. The marinara sauce is cooked separately. Then, the chicken will finish cooking in the sauce, helping to also make the chicken a little more tender. Top it with cheese and pop in in the broiler to get it all melty and fun!

I’ve adapted the same steps, but to be made in a shorter amount of time. While marinara sauce tastes better when slow cooked, I’ve found a way to make it taste like it cooked for an extended time versus several minutes.

How to make a good marinara sauce for chicken parm


While marinara sauce is a fool proof recipe, there are a couple of things you can do to elevate the flavor.

Marinara sauce starts out by sauteing minced garlic in olive oil. This needs to be done on low heat, while constantly stirring the garlic around. This will prevent the garlic from cooking too fast and burning. It will also create a nice garlic infused oil to help build up the flavor of the marinara.

Type of canned tomatoes to use for marinara sauce


The canned tomatoes used also make a difference in a great marinara sauce. If you can find it, go with San Marzano tomatoes.

San Marzano is a type of tomato that originated in Italy. They’re similar to the shape of plum tomatoes, but have fewer seeds. Compared to other canned tomatoes, San Marzanos are slightly sweeter and have a bit more of an intense tomato flavor. Imagine the flavor of a fresh tomato at its peak, then elevate it a lil bit.

If you can not find canned San Marzano in the stores, don’t worry! Regular crushed tomatoes will work just fine!

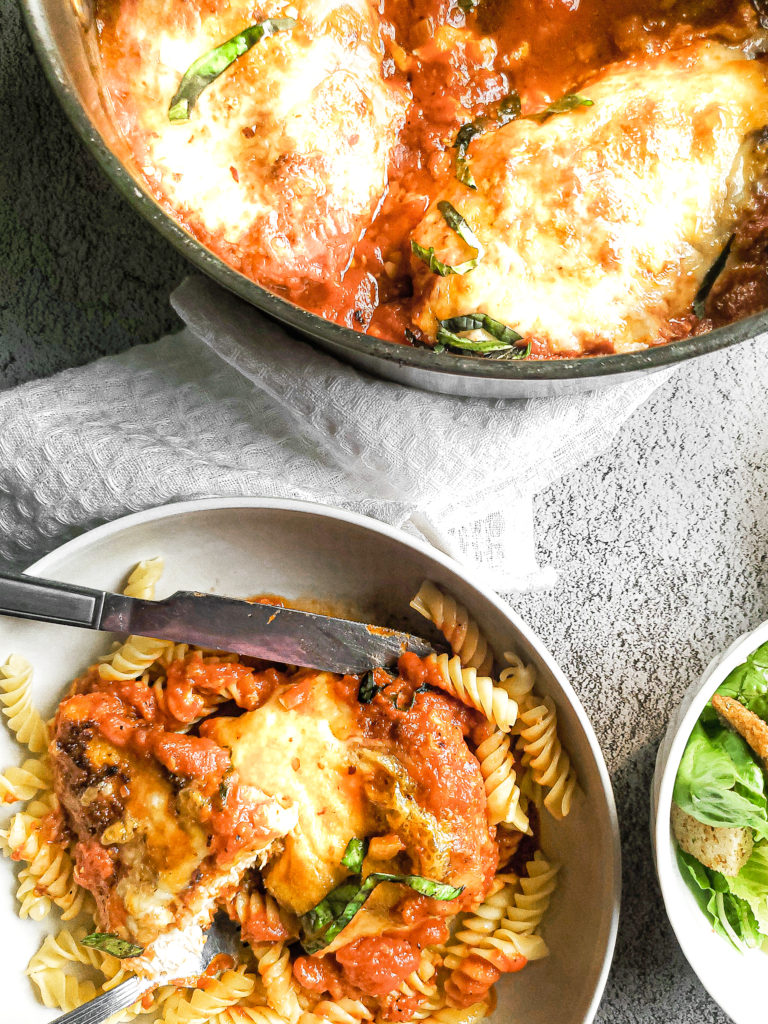
Chicken parmesan in a skillet with a serving in a bowl with pasta

How to bread chicken for chicken parmesan


Another easy but intimidating thing is properly breading chicken for chicken parmesan. Again, don’t be scared. It’s so easy!

The breading happens in 3 stages:

  1. tossing the chicken in seasoned flour
  2. dipping the floured chicken into an egg wash
  3. dredging the egg washed chicken into breadcrumbs

The key to making sure there’s the right amount of breading on each piece of chicken is to gently shake off excess flour and egg with each step. If there’s too much flour on the chicken, the egg wash will not properly stick. You also don’t want too much egg wash on this chicken, or else it will be more of a batter than a breading when the chicken gets added to the breadcrumbs.

Different ways to serve chicken parmesan


The classic way of serving up chicken parmesan is on a bed of your favorite pasta. Spoon a little of the sauce on the noods as well!

This is also perfect in sandwich form! Toast your sandwich bread of choice and place the chicken parmesan in between. Whew! This is a good one!

As far as sides to serve with chicken parmesan, I’d suggest a nice salad with a vinaigrette. And of course, a great pasta dish isn’t complete without some cheesy garlic bread!!!

Piece of chicken parmesan in a bowl with pasta

Can chicken parm be made gluten free?


Yes! Chicken parmesan can most certainly be a gluten free recipe!

The chicken does NOT have to be breaded. Simply season each side with salt and pepper before searing on both sides.

Also, either a gluten free pasta or bread can be used so you aren’t missing out on the fun of eating some type of carb because carbs is bae!

I hope you get to make and love my Chicken Parmesan recipe as much as I do!!! If you get a chance to make it, be sure to share it on Instagram by tagging me! Happy eating!!!

Close up of chicken parmesan in a skillet
Print Recipe
5 from 7 votes

Cheesy Chicken Parmesan with Spicy Marinara Sauce

Chicken parmesan is a perfect weeknight dinner option. You can really never go wrong with cheesy breaded chicken breasts cooked with a garlic infused tomato sauce!
Prep Time5 minutes
Cook Time30 minutes
Total Time35 minutes
Course: Main Course
Cuisine: American, Italian
Keyword: cheesy, chicken, chicken parmesan, marinara, marinara sauce, parmesan, san marzano, tomato sauce, weeknight dinners, weeknight meals
Servings: 4 servings
Author: Crystal

Equipment

  • 3 medium bowls
  • Cutting board
  • Large oven safe skillet or cast iron pan
  • Large plate
  • wooden spoon
  • Whisk

Ingredients

Breaded chicken ingredients

  • ½ cup all purpose flour
  • ½ tablespoon kosher salt
  • ½ teaspoon ground black pepper
  • 1 large egg
  • 1 tablespoon water
  • 1 cup panko breadcrumbs
  • ½ cup grated parmesan cheese
  • 2 chicken breasts, boneless and skinless split in half width wise

Chicken Parmesan Ingredients

  • 4 tablespoons canola oil
  • 4 tablespoons olive oil
  • 6 garlic cloves minced
  • ¼ cup onion small diced
  • ¼ cup white wine
  • 28 ounce crushed tomatoes
  • 1 tablespoon unsalted butter
  • ½ teaspoon red pepper flakes
  • 1 tablespoon kosher salt
  • 1 teaspoon black pepper
  • 8 basil leaves rough chopped
  • 4 ounces shredded mozzarella
  • 6 ounces cooked pasta kept warm

Instructions

To bread the chicken breasts

  • In one bowl, evenly mix together the flour, salt, and pepper. Set aside.
  • In another bowl, whisk together the egg and water. Set aside.
  • In a third bowl, mix together the panko breadcrumbs and grated parmesan cheese.
  • One at a time, place and toss a chicken breast in the flour mixture to coat. Remove the chicken, gently shaking off excess flour that doesn’t stick.
  • Dip the floured chicken into the egg mixture, shaking off excess egg that doesn’t stick.
  • Next, place the chicken breast into the breadcrumb mixture, thoroughly coating the chicken so the breadcrumbs stick to the egg. Once coated, lightly shake off any excess breadcrumbs that don't stick.
  • Place the coated chicken onto a plate, and follow the same steps for the remaining chicken breasts.

Chicken Parmesan Steps

  • Preheat a large oven safe skillet or cast iron on medium low heat with the canola oil.
  • Once the oil is heated, add the breaded chicken breast. Cook for 2 minutes per side. Once seared, remove the chicken and place onto a plate. Wipe the skillet clean.
  • Reduce the heat on the skillet to low heat.
  • Add the olive oil and minced garlic. Cook the garlic for 2 minutes while constantly stirring to prevent the garlic from burning.
  • Add the chopped onion and cook for 2 minutes, stirring every few seconds to sweat the onions.
  • Slowly pour in the white wine and stir. Cook for 2 minutes to reduce the amount of liquid to half, stirring occasionally.
  • Add the crushed tomatoes, butter, pepper flakes, salt, and pepper. Stir to combine. Increase the temperature to medium heat. Cover and simmer for 5 minutes.
  • Stir in the basil leaves. Submerge the seared chicken into the tomato sauce. Cover and simmer for 5 minutes. While the chicken is cooking, preheat the oven to broil on high.
  • Evenly sprinkle the shredded mozzarella cheese onto each chicken breast.
  • Put the skillet into the oven to melt the cheese under the broiler, for about 2 minutes. Keep an eye on the cheese so that it does not burn.
  • Once the cheese is melted with some color, remove from the broiler.
  • Serve with cooked pasta and fresh torn basil.

Notes

If you do not have an oven safe skillet, the tomato sauce and chicken can be put into an oven safe dish before sprinkling with cheese. 

Pin It on Pinterest