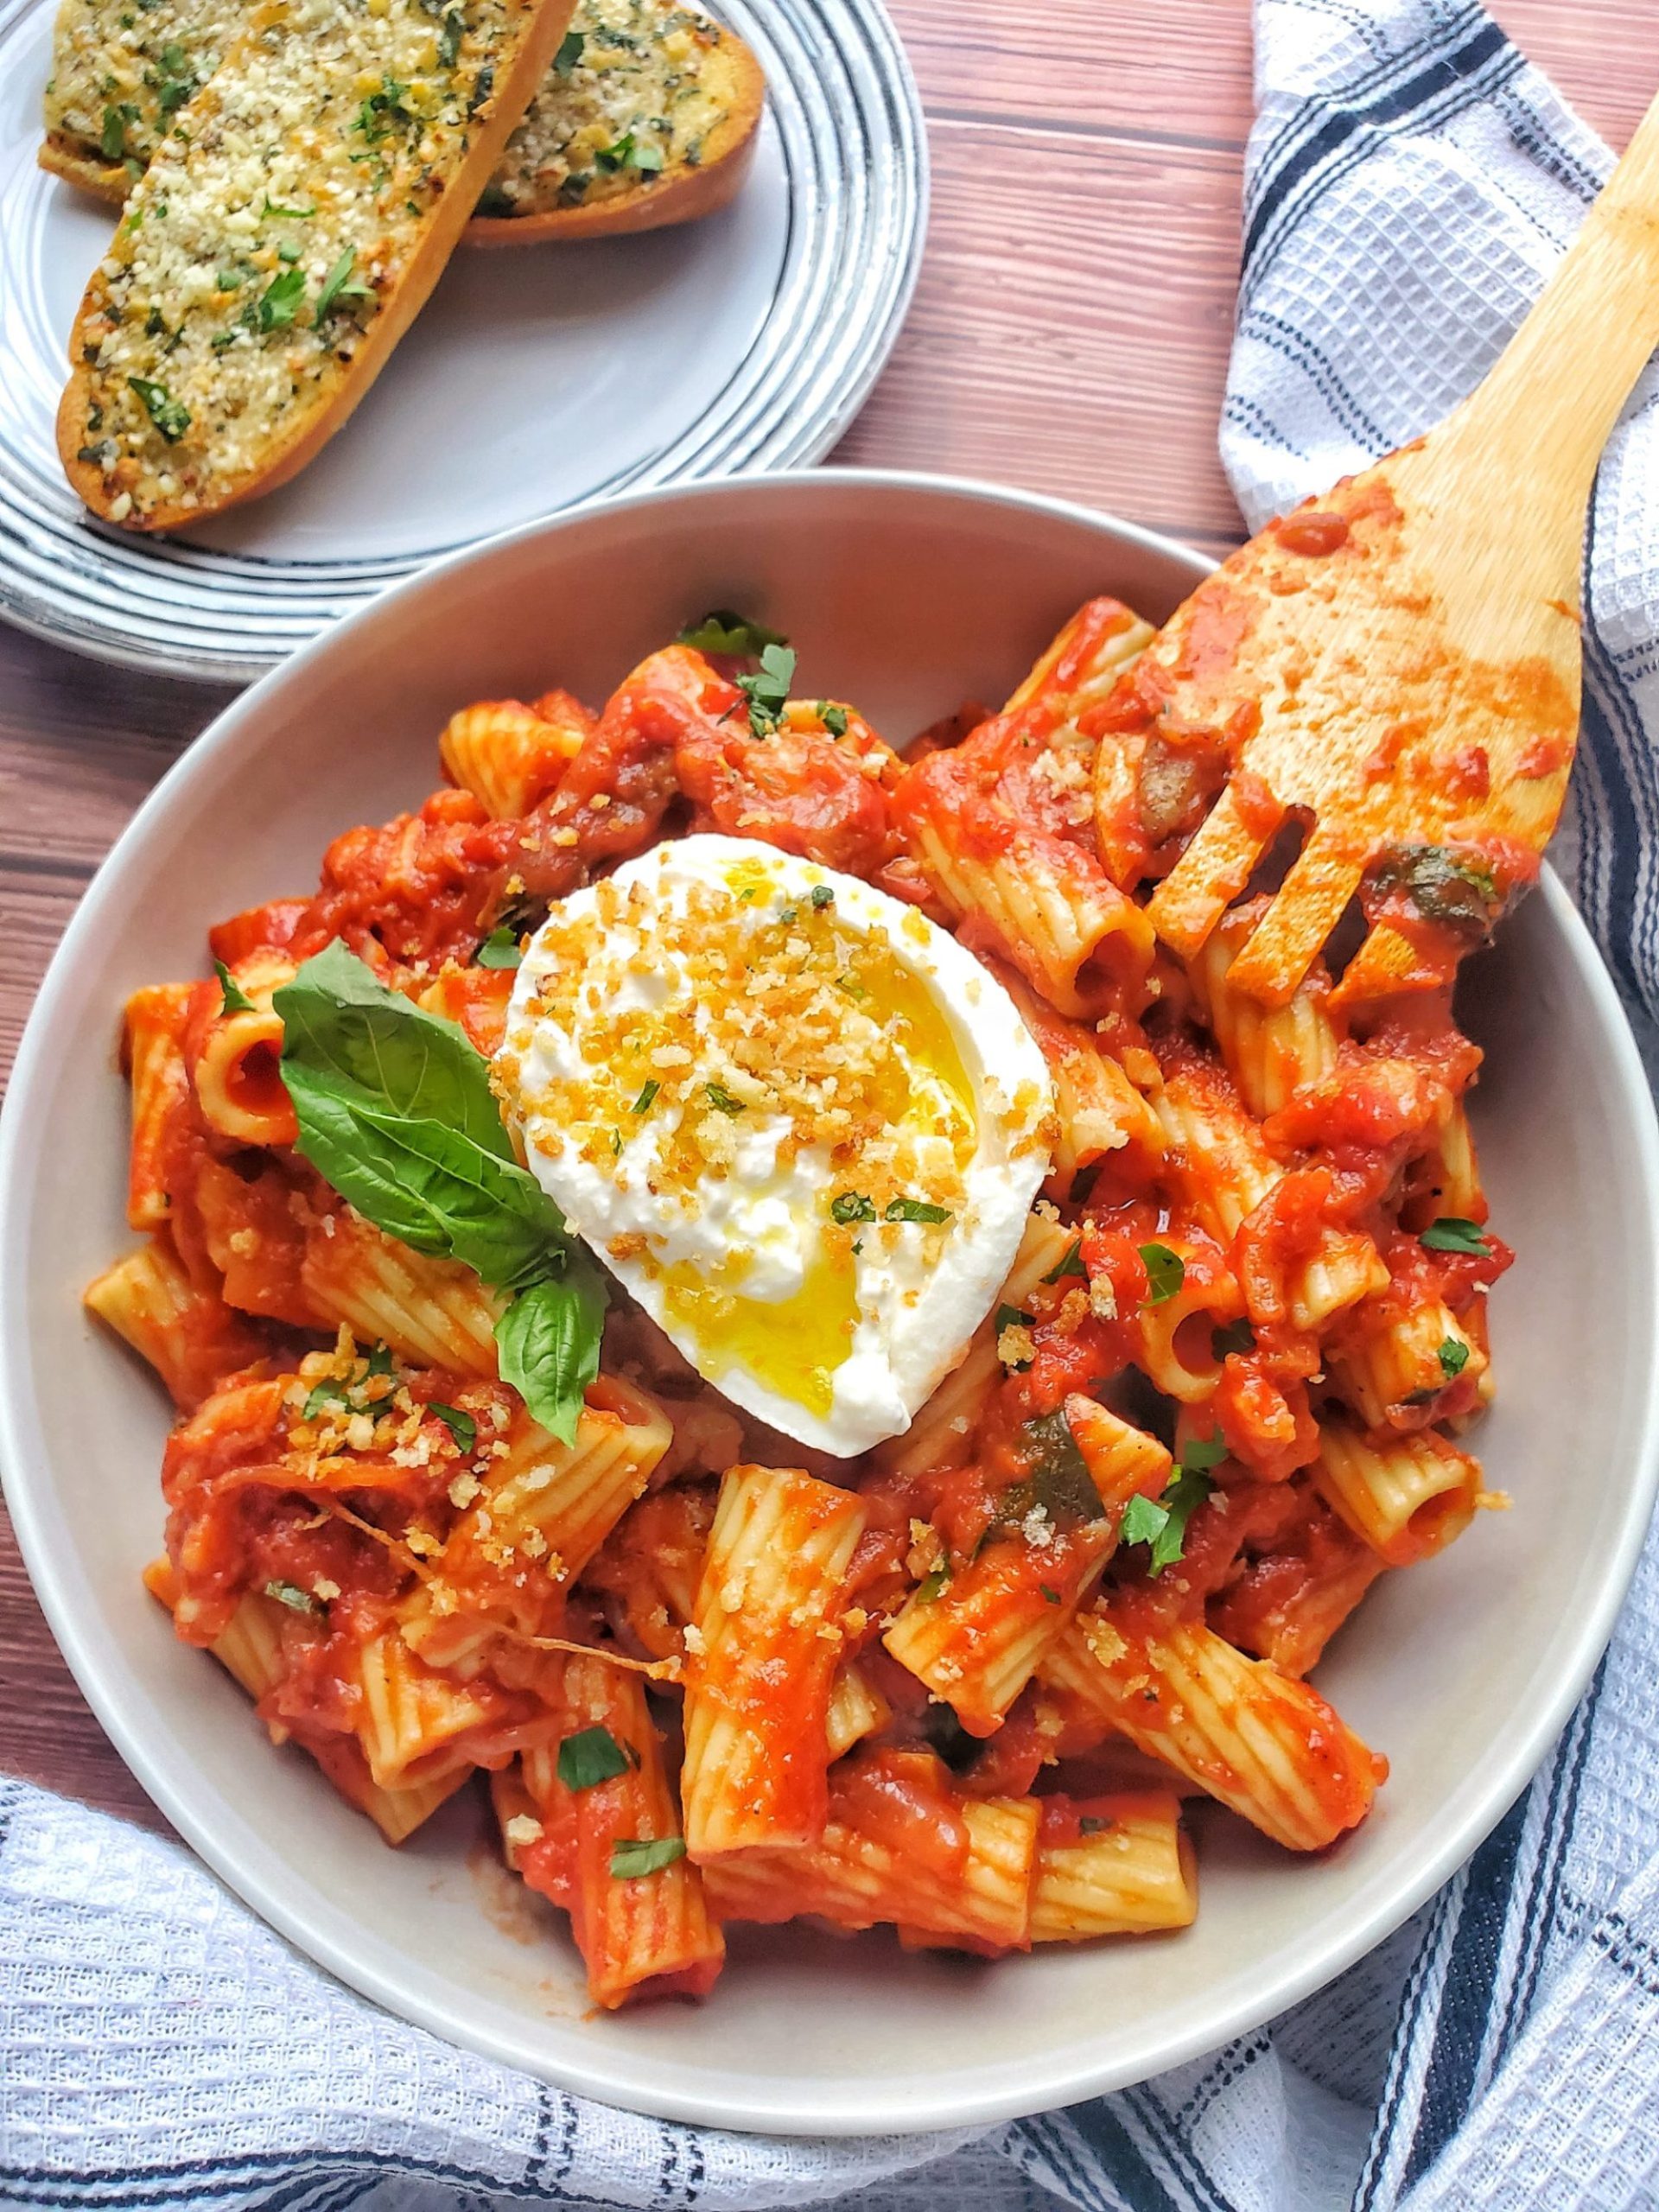

Easy Cheesy Garlic Bread – 2 Ways
Equipment
- Cutting board
- bread knife
- spoon
- pastry brush
- Sheet tray
- aluminum foil
Ingredients
- 1 small loaf French bread
- 2 tbsp melted unsalted butter
- 6 tbsp softened unsalted butter
- 1 tbsp olive oil
- 4 tbsp chopped garlic
- ¼ tsp kosher salt
- ⅛ tsp black pepper
- 1 tbsp chopped parsley
- ¼ tsp dried oregano
- 4 ounces shredded mozzarella
Instructions
- Preheat oven to 400 degrees.
- Cut the loaf of bread by splitting in half lengthwise. Brush the outside of the bread with the melted butter. Place bread onto a sheet tray, cut side up.
- In a bowl, combine the remaining ingredients except for the cheese, and mix until smooth.
- Evenly spread the butter mixture onto the insides of the bread. Sprinkle with the shredded mozzarella cheese.
- Bake for 8-9 minutes, following the instructions below on how to make your garlic bread either soft or toasty.
- Once bread is removed from the oven, cut into desired size and serve immediately.
To Make Soft Garlic Bread
- After spreading the butter mixture on the insides of the bread and adding the cheese, put the bread halves back together to make the loaf whole again. Cover and wrap the bread tightly with aluminum foil. Place onto the baking sheet to bake.
To Make Toasty Garlic Bread
- Line a baking sheet with aluminum foil or parchment paper and pan spray. After spreading the butter mixture on the bread and sprinkling the cheese, place the bread onto a baking sheet. Place on the middle rack of the oven to bake uncovered.
Notes
Shredded cheese can be omitted from the recipe
2 Replies to “Easy Cheesy Garlic Bread – 2 Ways”