Cheesy Chicken Parmesan with Spicy Marinara Sauce

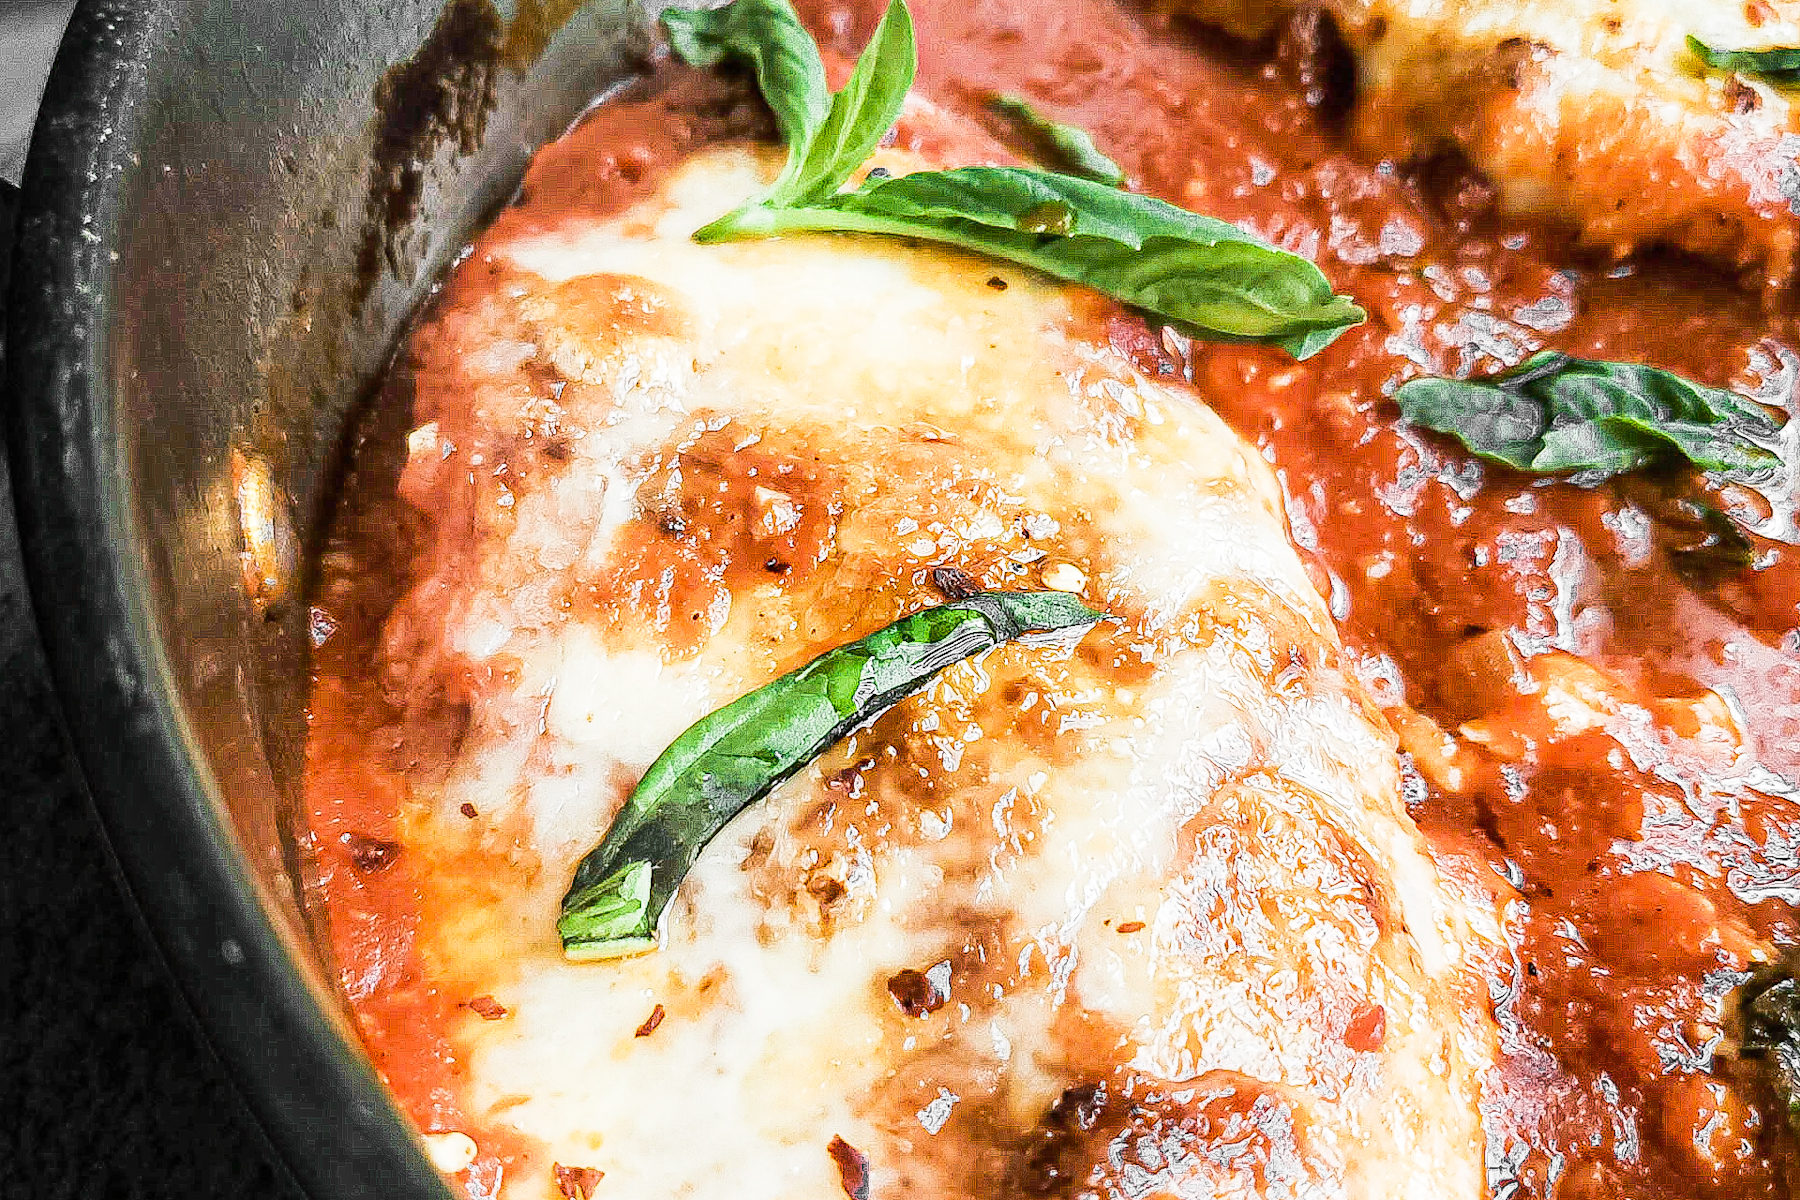
Close up of chicken parmesan in a skillet

Chicken parmesan is a perfect weeknight dinner option. You can really never go wrong with cheesy breaded chicken breasts cooked with a garlic infused tomato sauce!
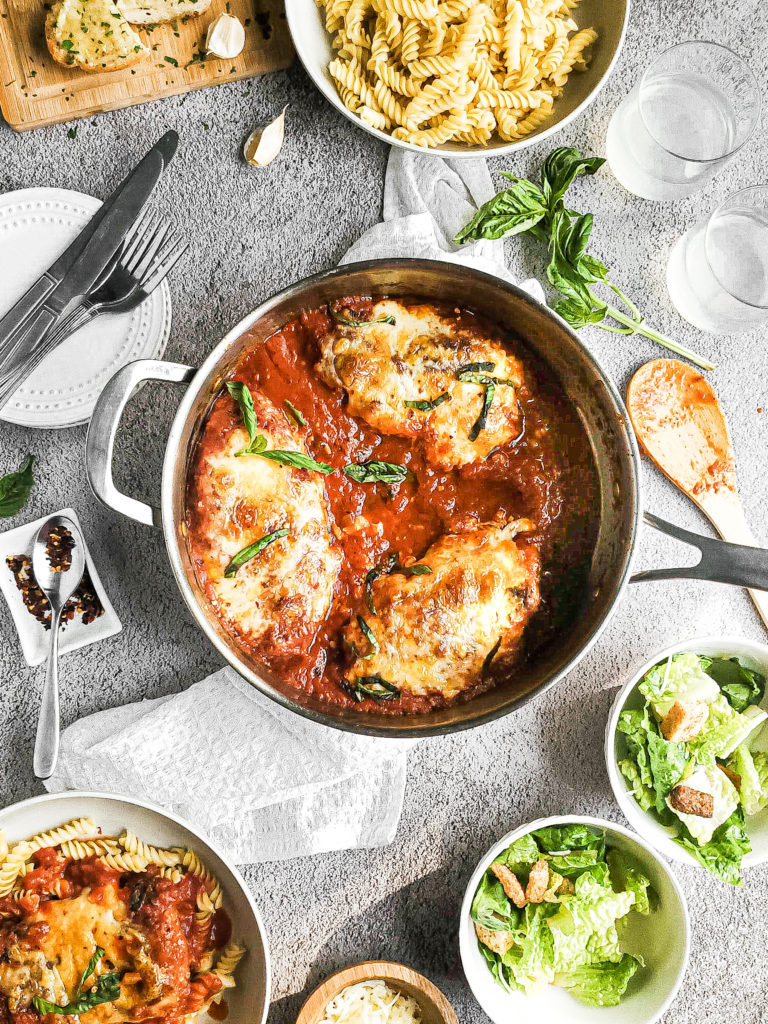
Overhead shot of chicken parmesan in a pan with a salad and bread on the side

I’d have to say that chicken parmesan is one of my favorite dishes to both cook and eat. It’s also one of my go-to recipes when I can’t decide on what to make for dinner during the week. While it’s such a simple dish, the flavors make me a very happy woman.

Chicken parmesan is also one of the recipes I frequently get asked how to make. It really is a simple recipe though yall! Nothing to be intimidated about. In about 30 minutes you can have this delicious meal on your table!
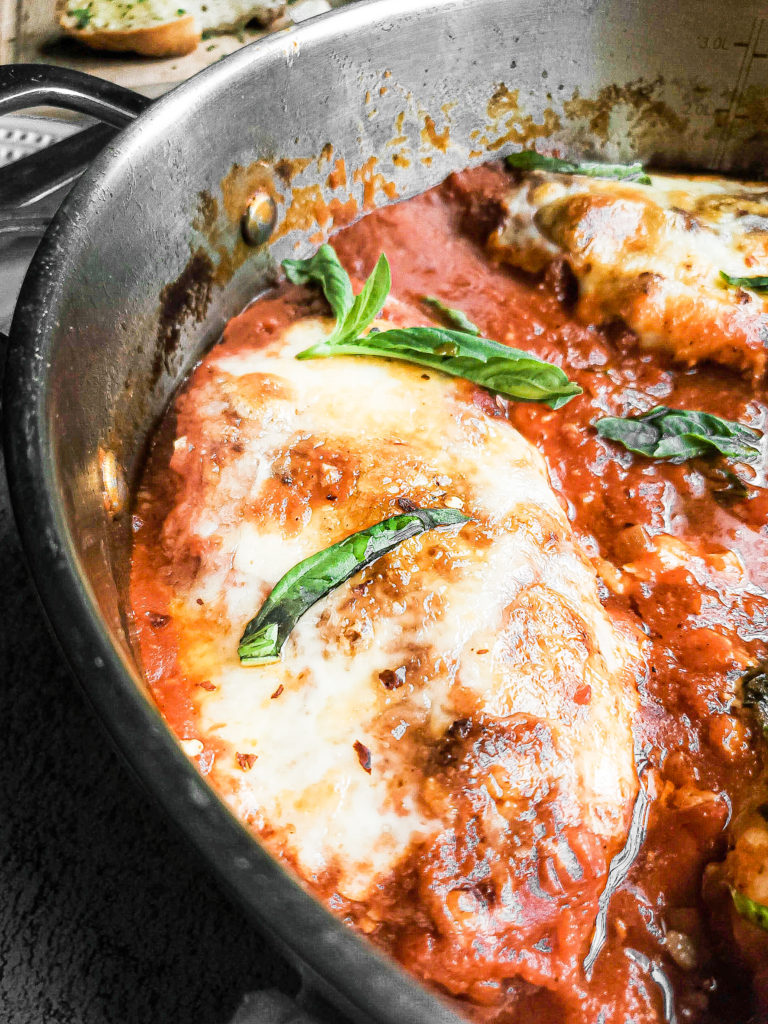
Close up of chicken parmesan in a skillet

How to make chicken parmesan


Chicken parmesan consists of 2 easy recipes: breaded chicken breasts and marinara sauce.

Thin chicken breasts are breaded and cooked most of the way through. The marinara sauce is cooked separately. Then, the chicken will finish cooking in the sauce, helping to also make the chicken a little more tender. Top it with cheese and pop in in the broiler to get it all melty and fun!

I’ve adapted the same steps, but to be made in a shorter amount of time. While marinara sauce tastes better when slow cooked, I’ve found a way to make it taste like it cooked for an extended time versus several minutes.

How to make a good marinara sauce for chicken parm


While marinara sauce is a fool proof recipe, there are a couple of things you can do to elevate the flavor.

Marinara sauce starts out by sauteing minced garlic in olive oil. This needs to be done on low heat, while constantly stirring the garlic around. This will prevent the garlic from cooking too fast and burning. It will also create a nice garlic infused oil to help build up the flavor of the marinara.

Type of canned tomatoes to use for marinara sauce


The canned tomatoes used also make a difference in a great marinara sauce. If you can find it, go with San Marzano tomatoes.

San Marzano is a type of tomato that originated in Italy. They’re similar to the shape of plum tomatoes, but have fewer seeds. Compared to other canned tomatoes, San Marzanos are slightly sweeter and have a bit more of an intense tomato flavor. Imagine the flavor of a fresh tomato at its peak, then elevate it a lil bit.

If you can not find canned San Marzano in the stores, don’t worry! Regular crushed tomatoes will work just fine!
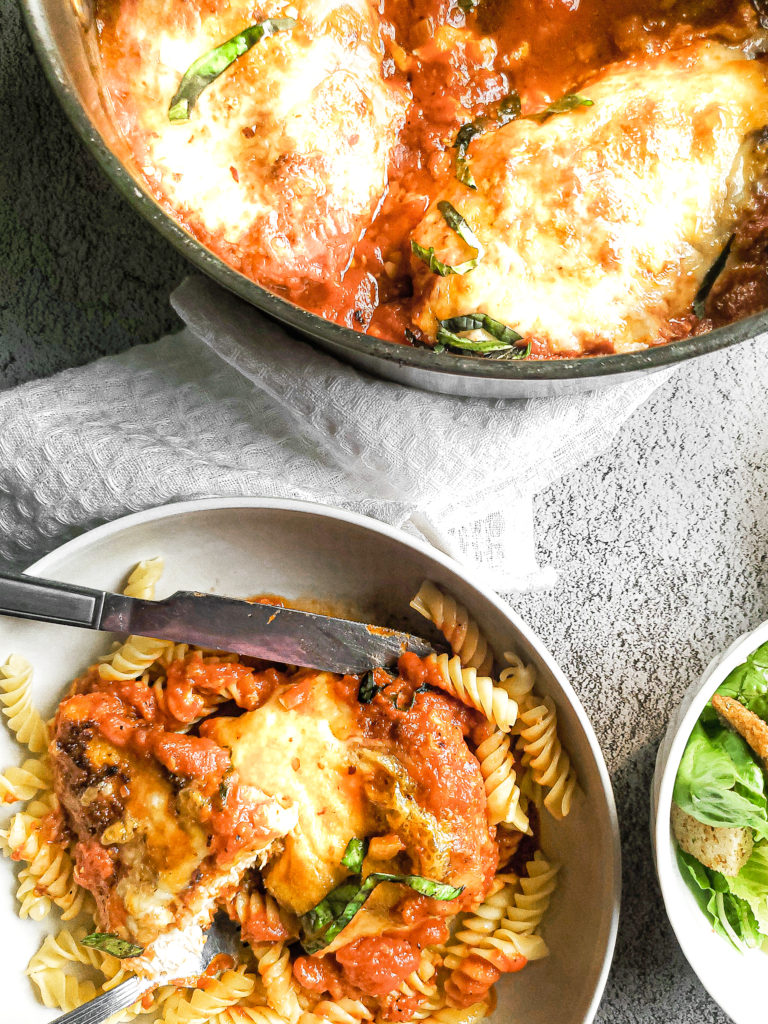
Chicken parmesan in a skillet with a serving in a bowl with pasta

How to bread chicken for chicken parmesan


Another easy but intimidating thing is properly breading chicken for chicken parmesan. Again, don’t be scared. It’s so easy!

The breading happens in 3 stages:

  1. tossing the chicken in seasoned flour
  2. dipping the floured chicken into an egg wash
  3. dredging the egg washed chicken into breadcrumbs

The key to making sure there’s the right amount of breading on each piece of chicken is to gently shake off excess flour and egg with each step. If there’s too much flour on the chicken, the egg wash will not properly stick. You also don’t want too much egg wash on this chicken, or else it will be more of a batter than a breading when the chicken gets added to the breadcrumbs.

Different ways to serve chicken parmesan


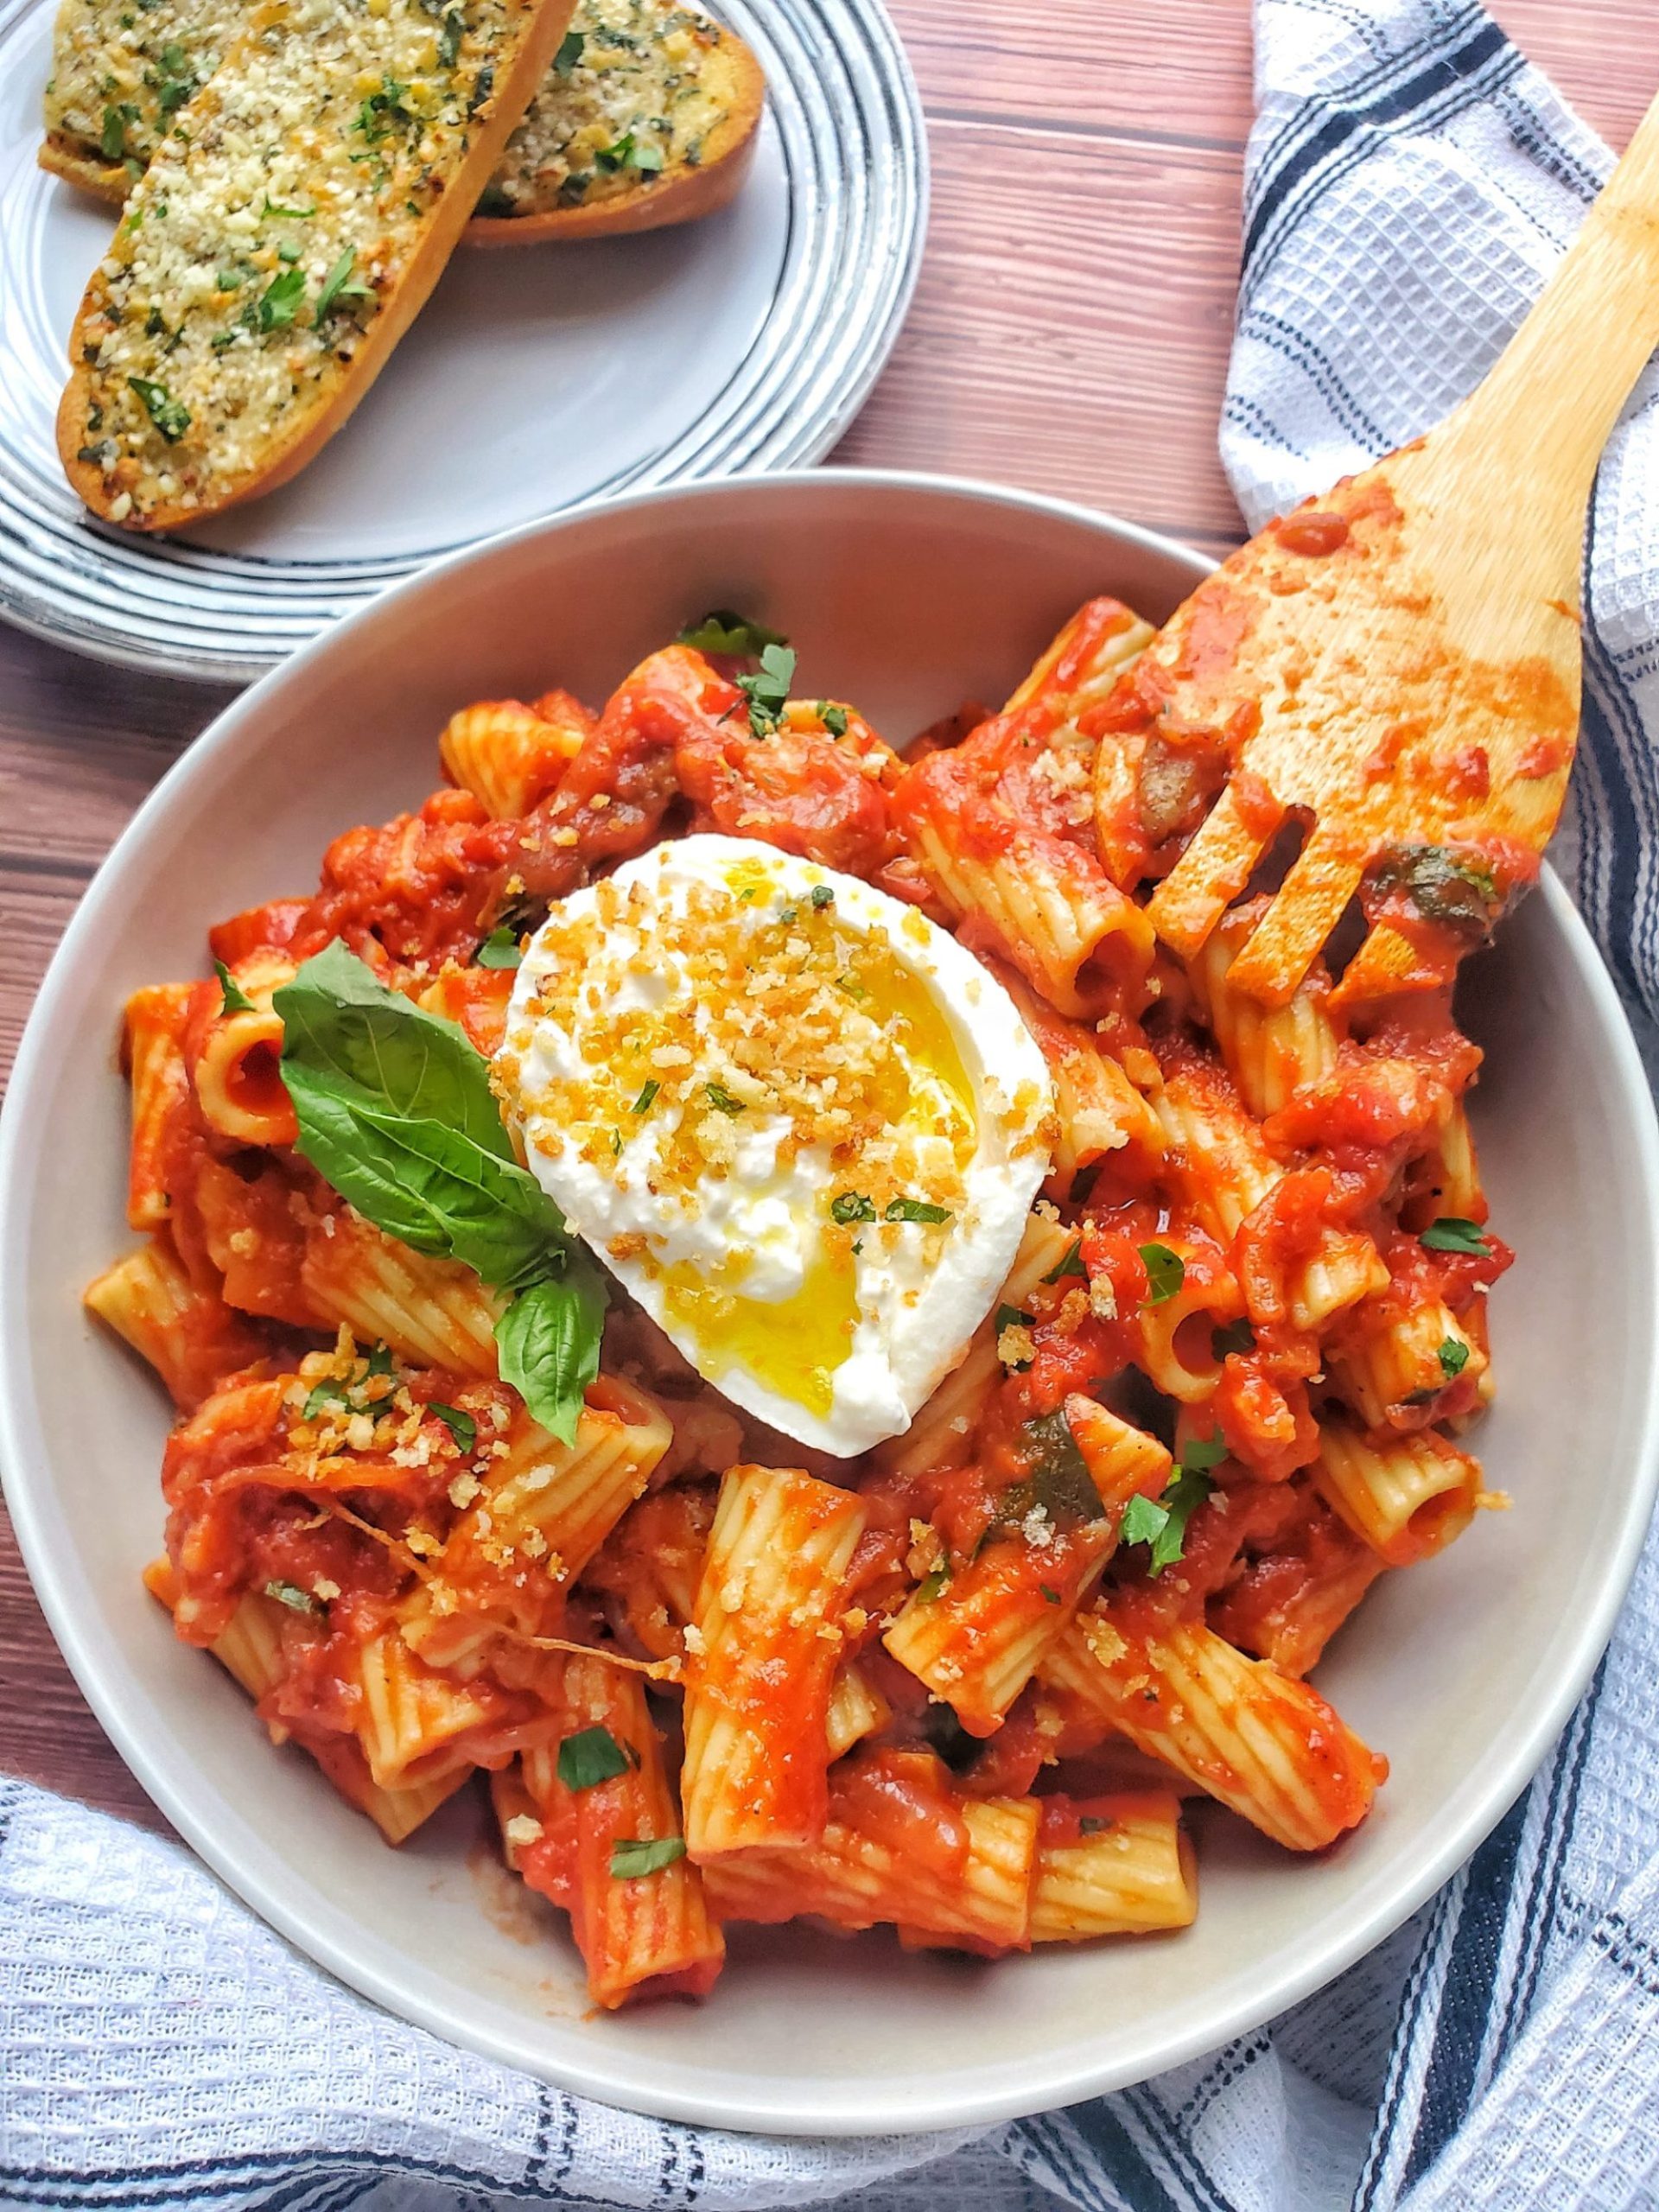
The classic way of serving up chicken parmesan is on a bed of your favorite pasta. Spoon a little of the sauce on the noods as well!

This is also perfect in sandwich form! Toast your sandwich bread of choice and place the chicken parmesan in between. Whew! This is a good one!

As far as sides to serve with chicken parmesan, I’d suggest a nice salad with a vinaigrette. And of course, a great pasta dish isn’t complete without some cheesy garlic bread!!!
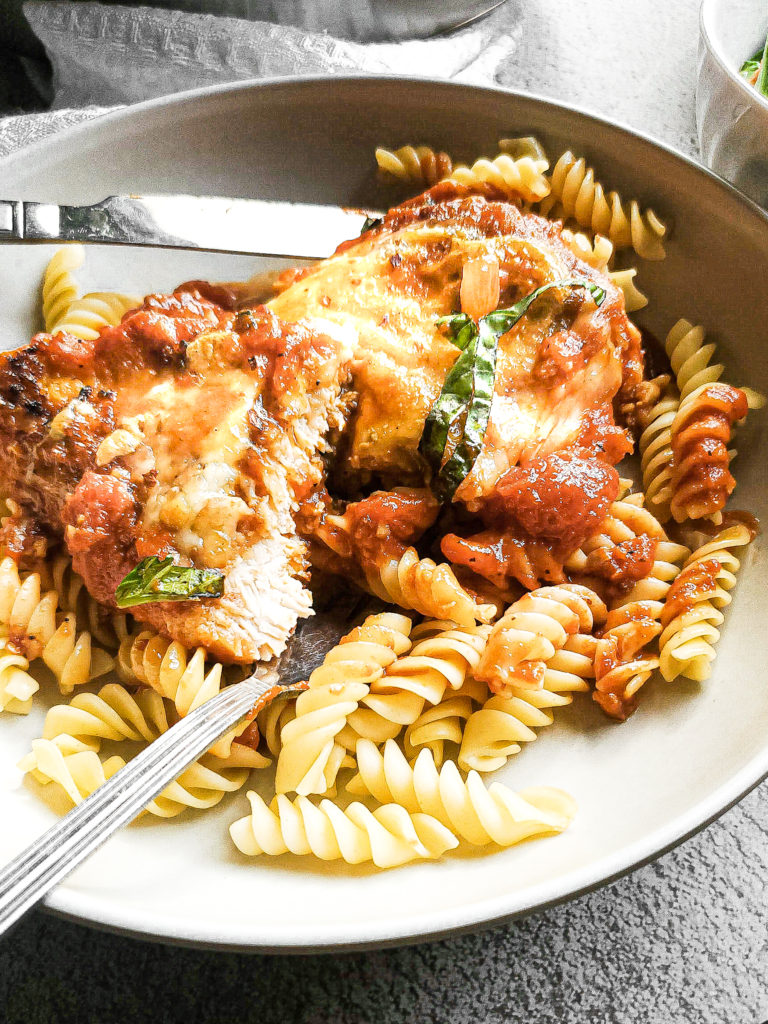
Piece of chicken parmesan in a bowl with pasta

Can chicken parm be made gluten free?


Yes! Chicken parmesan can most certainly be a gluten free recipe!

The chicken does NOT have to be breaded. Simply season each side with salt and pepper before searing on both sides.

Also, either a gluten free pasta or bread can be used so you aren’t missing out on the fun of eating some type of carb because carbs is bae!

I hope you get to make and love my Chicken Parmesan recipe as much as I do!!! If you get a chance to make it, be sure to share it on Instagram by tagging me! Happy eating!!!

Close up of chicken parmesan in a skillet
Print Recipe
5 from 7 votes

Cheesy Chicken Parmesan with Spicy Marinara Sauce

Chicken parmesan is a perfect weeknight dinner option. You can really never go wrong with cheesy breaded chicken breasts cooked with a garlic infused tomato sauce!
Prep Time5 minutes
Cook Time30 minutes
Total Time35 minutes
Course: Main Course
Cuisine: American, Italian
Keyword: cheesy, chicken, chicken parmesan, marinara, marinara sauce, parmesan, san marzano, tomato sauce, weeknight dinners, weeknight meals
Servings: 4 servings
Author: Crystal

Equipment

  • 3 medium bowls
  • Cutting board
  • Large oven safe skillet or cast iron pan
  • Large plate
  • wooden spoon
  • Whisk

Ingredients

Breaded chicken ingredients

  • ½ cup all purpose flour
  • ½ tablespoon kosher salt
  • ½ teaspoon ground black pepper
  • 1 large egg
  • 1 tablespoon water
  • 1 cup panko breadcrumbs
  • ½ cup grated parmesan cheese
  • 2 chicken breasts, boneless and skinless split in half width wise

Chicken Parmesan Ingredients

  • 4 tablespoons canola oil
  • 4 tablespoons olive oil
  • 6 garlic cloves minced
  • ¼ cup onion small diced
  • ¼ cup white wine
  • 28 ounce crushed tomatoes
  • 1 tablespoon unsalted butter
  • ½ teaspoon red pepper flakes
  • 1 tablespoon kosher salt
  • 1 teaspoon black pepper
  • 8 basil leaves rough chopped
  • 4 ounces shredded mozzarella
  • 6 ounces cooked pasta kept warm

Instructions

To bread the chicken breasts

  • In one bowl, evenly mix together the flour, salt, and pepper. Set aside.
  • In another bowl, whisk together the egg and water. Set aside.
  • In a third bowl, mix together the panko breadcrumbs and grated parmesan cheese.
  • One at a time, place and toss a chicken breast in the flour mixture to coat. Remove the chicken, gently shaking off excess flour that doesn’t stick.
  • Dip the floured chicken into the egg mixture, shaking off excess egg that doesn’t stick.
  • Next, place the chicken breast into the breadcrumb mixture, thoroughly coating the chicken so the breadcrumbs stick to the egg. Once coated, lightly shake off any excess breadcrumbs that don't stick.
  • Place the coated chicken onto a plate, and follow the same steps for the remaining chicken breasts.

Chicken Parmesan Steps

  • Preheat a large oven safe skillet or cast iron on medium low heat with the canola oil.
  • Once the oil is heated, add the breaded chicken breast. Cook for 2 minutes per side. Once seared, remove the chicken and place onto a plate. Wipe the skillet clean.
  • Reduce the heat on the skillet to low heat.
  • Add the olive oil and minced garlic. Cook the garlic for 2 minutes while constantly stirring to prevent the garlic from burning.
  • Add the chopped onion and cook for 2 minutes, stirring every few seconds to sweat the onions.
  • Slowly pour in the white wine and stir. Cook for 2 minutes to reduce the amount of liquid to half, stirring occasionally.
  • Add the crushed tomatoes, butter, pepper flakes, salt, and pepper. Stir to combine. Increase the temperature to medium heat. Cover and simmer for 5 minutes.
  • Stir in the basil leaves. Submerge the seared chicken into the tomato sauce. Cover and simmer for 5 minutes. While the chicken is cooking, preheat the oven to broil on high.
  • Evenly sprinkle the shredded mozzarella cheese onto each chicken breast.
  • Put the skillet into the oven to melt the cheese under the broiler, for about 2 minutes. Keep an eye on the cheese so that it does not burn.
  • Once the cheese is melted with some color, remove from the broiler.
  • Serve with cooked pasta and fresh torn basil.
Notes

If you do not have an oven safe skillet, the tomato sauce and chicken can be put into an oven safe dish before sprinkling with cheese. 

Easy No-Churn Cereal Milk Ice Cream

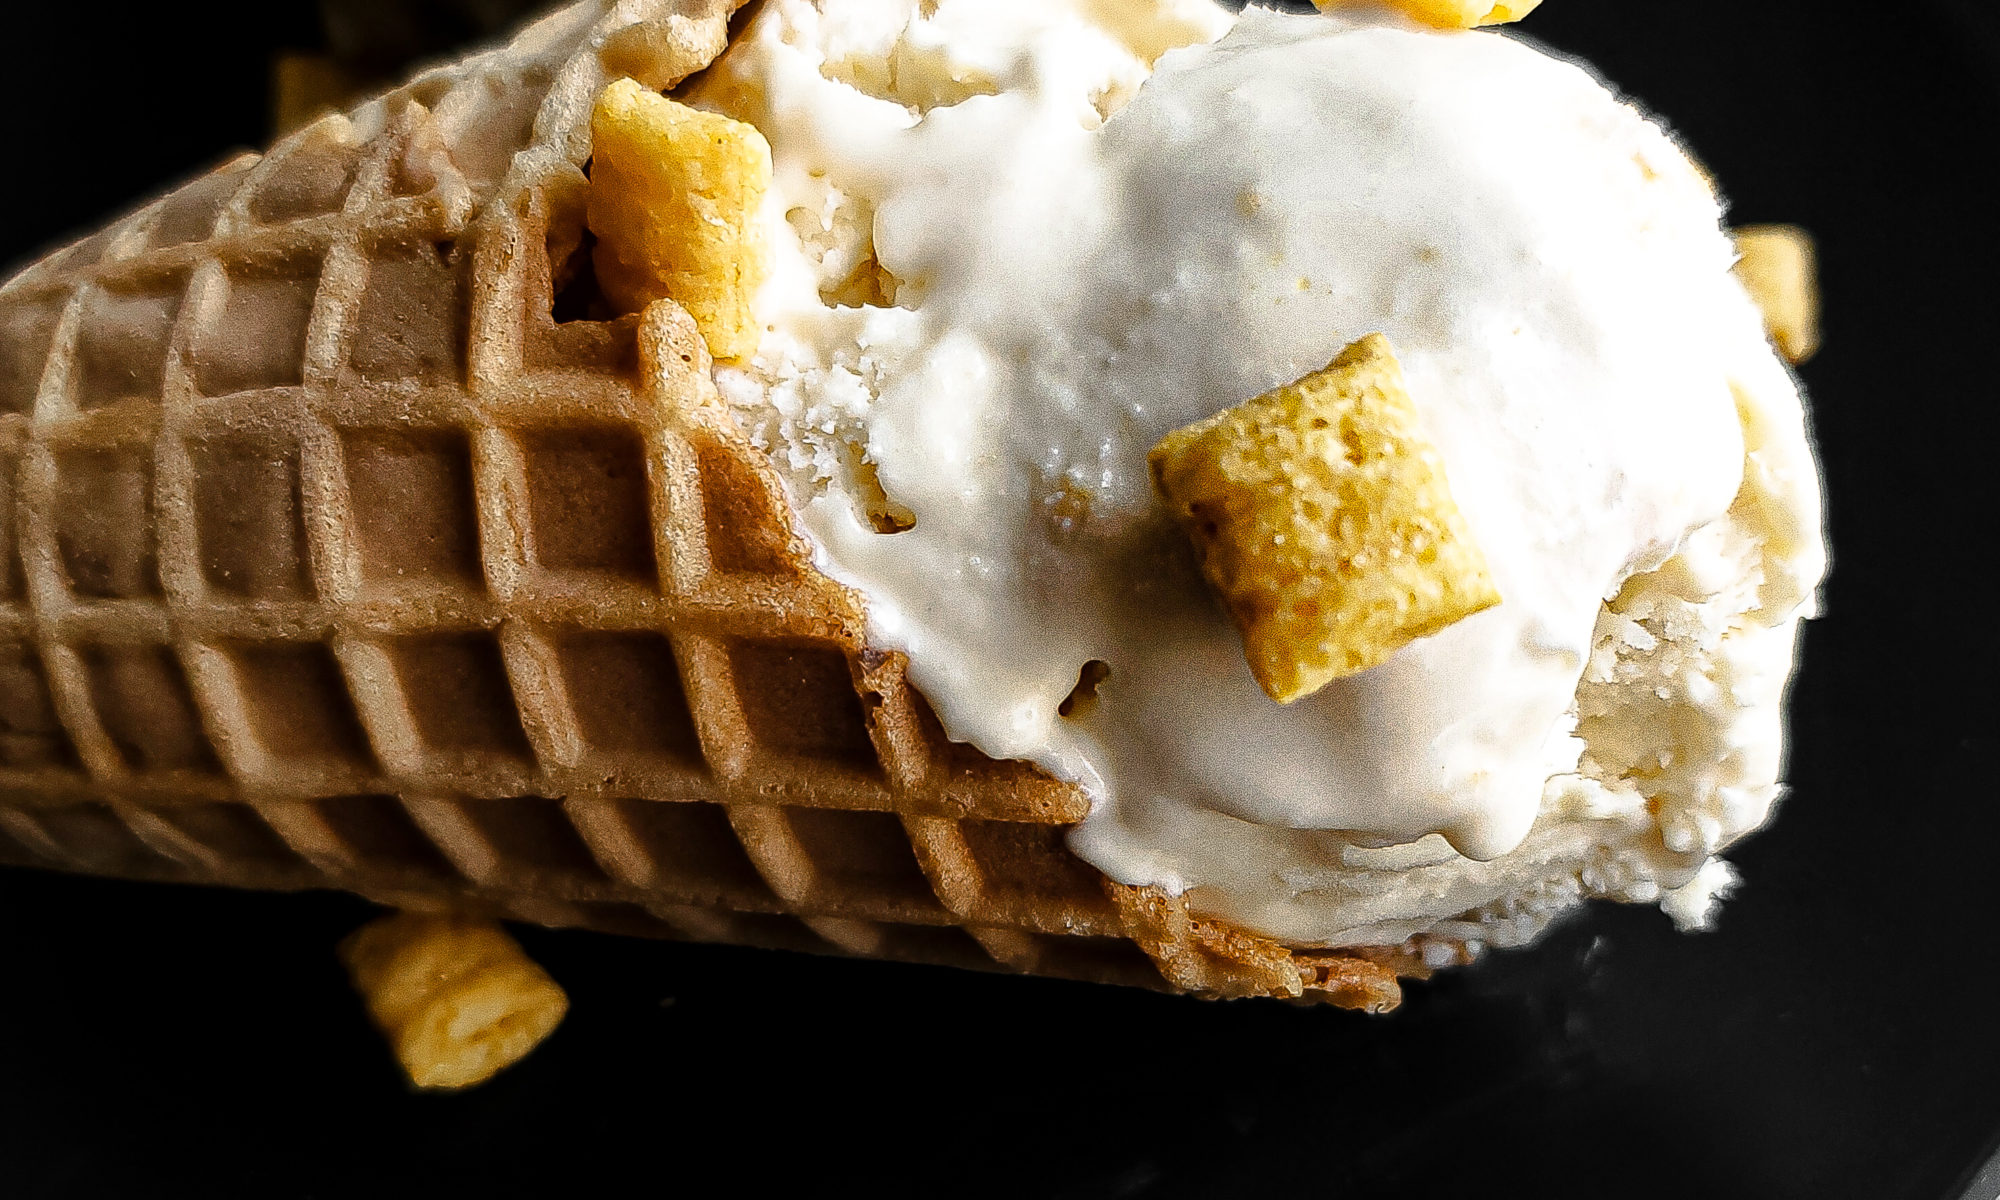
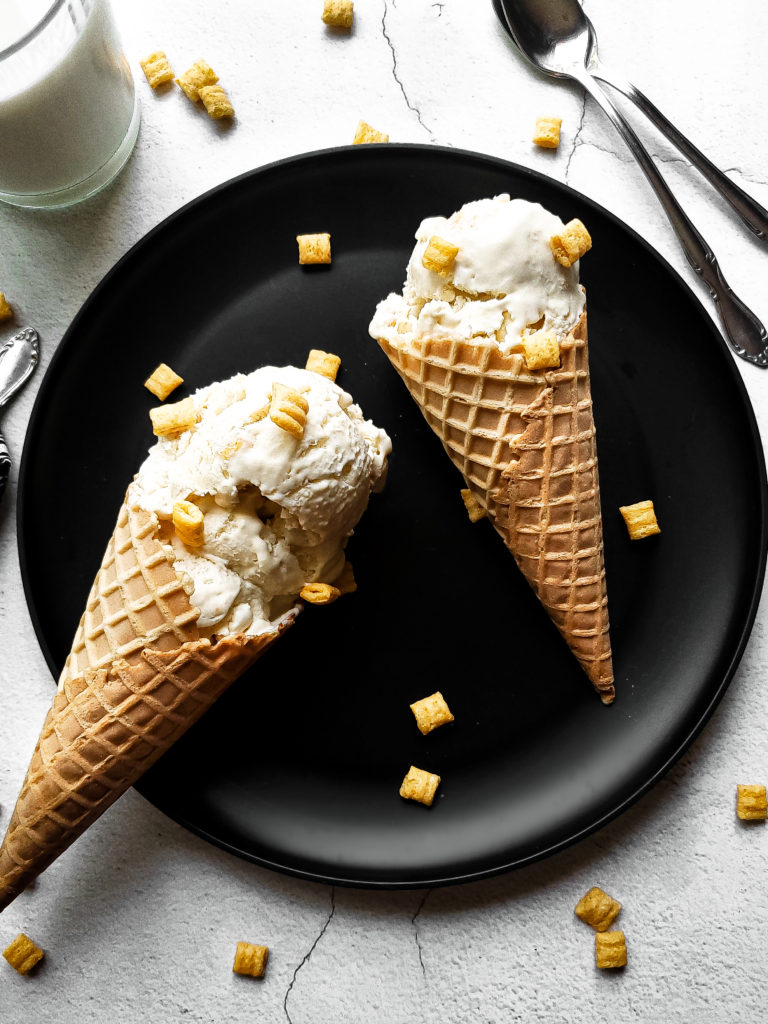
Scoops of cereal milk ice cream

This no-churn ice cream takes your favorite cereal and turns it into the perfect summer treat!

When you think of eating a nice big bowl of cereal, one of the best parts is the leftover milk. It has a lightly sweet flavor that’ll put a regular cup of milk to shame. Take that same idea, and turn it into a frozen dessert…. cereal milk ice cream is born!!!

This is a super simple recipe. Not only is the cereal milk fool-proof, since we all pretty much make this all the time, the ice cream is also no churn! Can’t go wrong with that!

Scoops of cereal milk ice cream

What type of cereal should I use for cereal milk?


The best part of cereal milk is that you can use any brand and flavor you love! No limits with cereal milk.

For my cereal milk ice cream recipe, I went with Cap’n Crunch! It’s not only one of my favorite cereals, it also leaves behind the most delicious drinkable cereal milk everrrrr!!!! The flavor of sweetened corn cereal in milk can’t be beat!

But whether you’re a fan of corn, fruity, or chocolate cereals, you can make a batch of cereal milk with just 2 ingredients: cereal and milk (I stated the obvious lol, but you get it).

How to make cereal milk


Making cereal milk is done as simply as we’ve been unintentionally (or intentionally) doing by letting your cereal of choice soak in milk. To get more of the cereal’s sweetness into this milk, it’ll get soaked for 30 minutes. There’s the option to add a little brown sugar to make it a bit sweeter if you’d like.

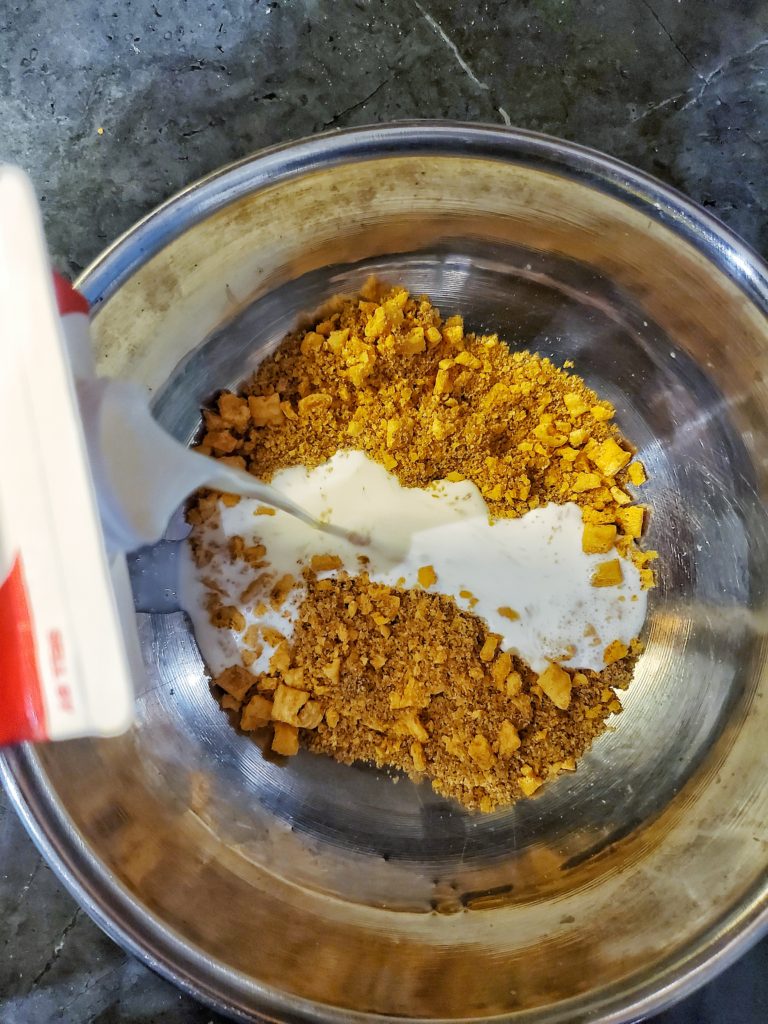
  • The cereal gets finely ground in a food processor, or crushed in a bowl with your hands.
  • Next, pour milk over the cereal, and soak for 30 minutes.
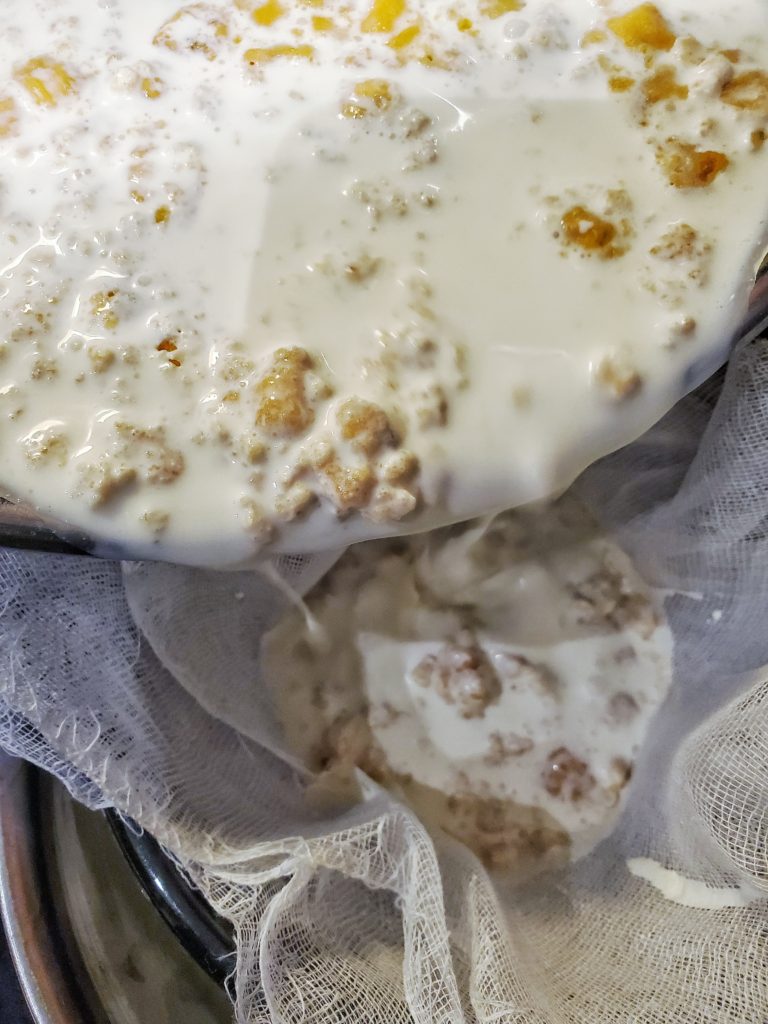
  • While the cereal is soaking, set up a separate bowl with a strainer. Inside of the strainer, add a few layers of cheesecloth.
  • Once the cereal has soaked, pour it into the cheesecloth. The milk that’s being strained is that nice flavorful cereal milk!
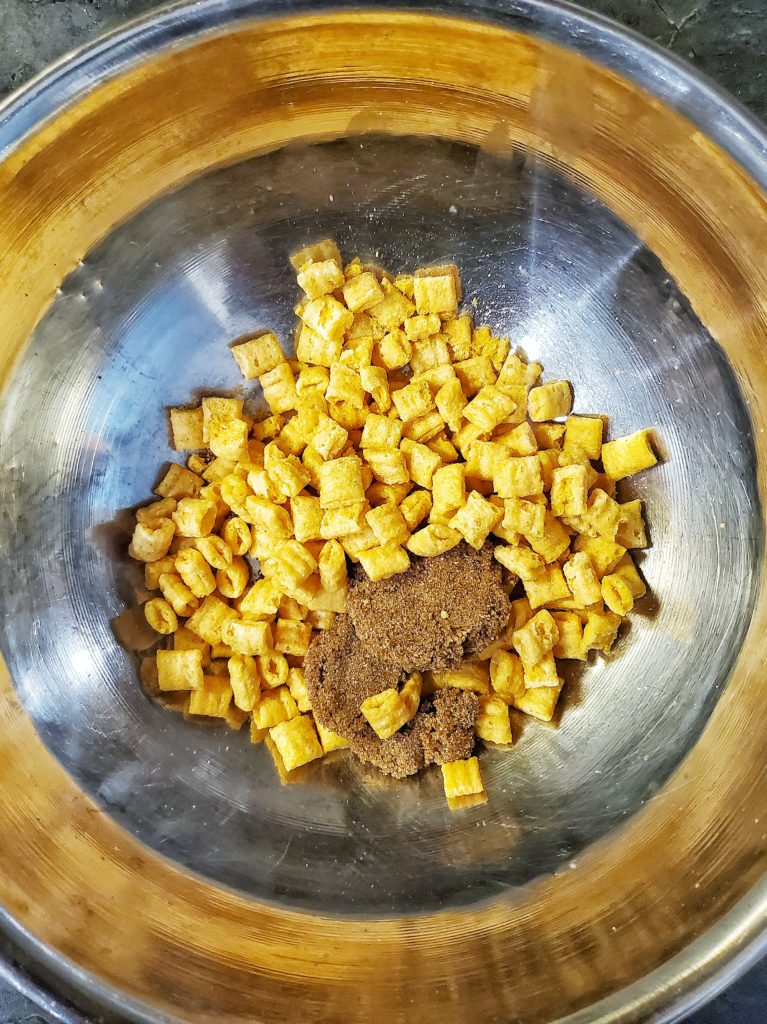
Cereal with brown sugar in a bowl for cereal milk
Cap’n Crunch cereal in a mixing bowl with brown sugar
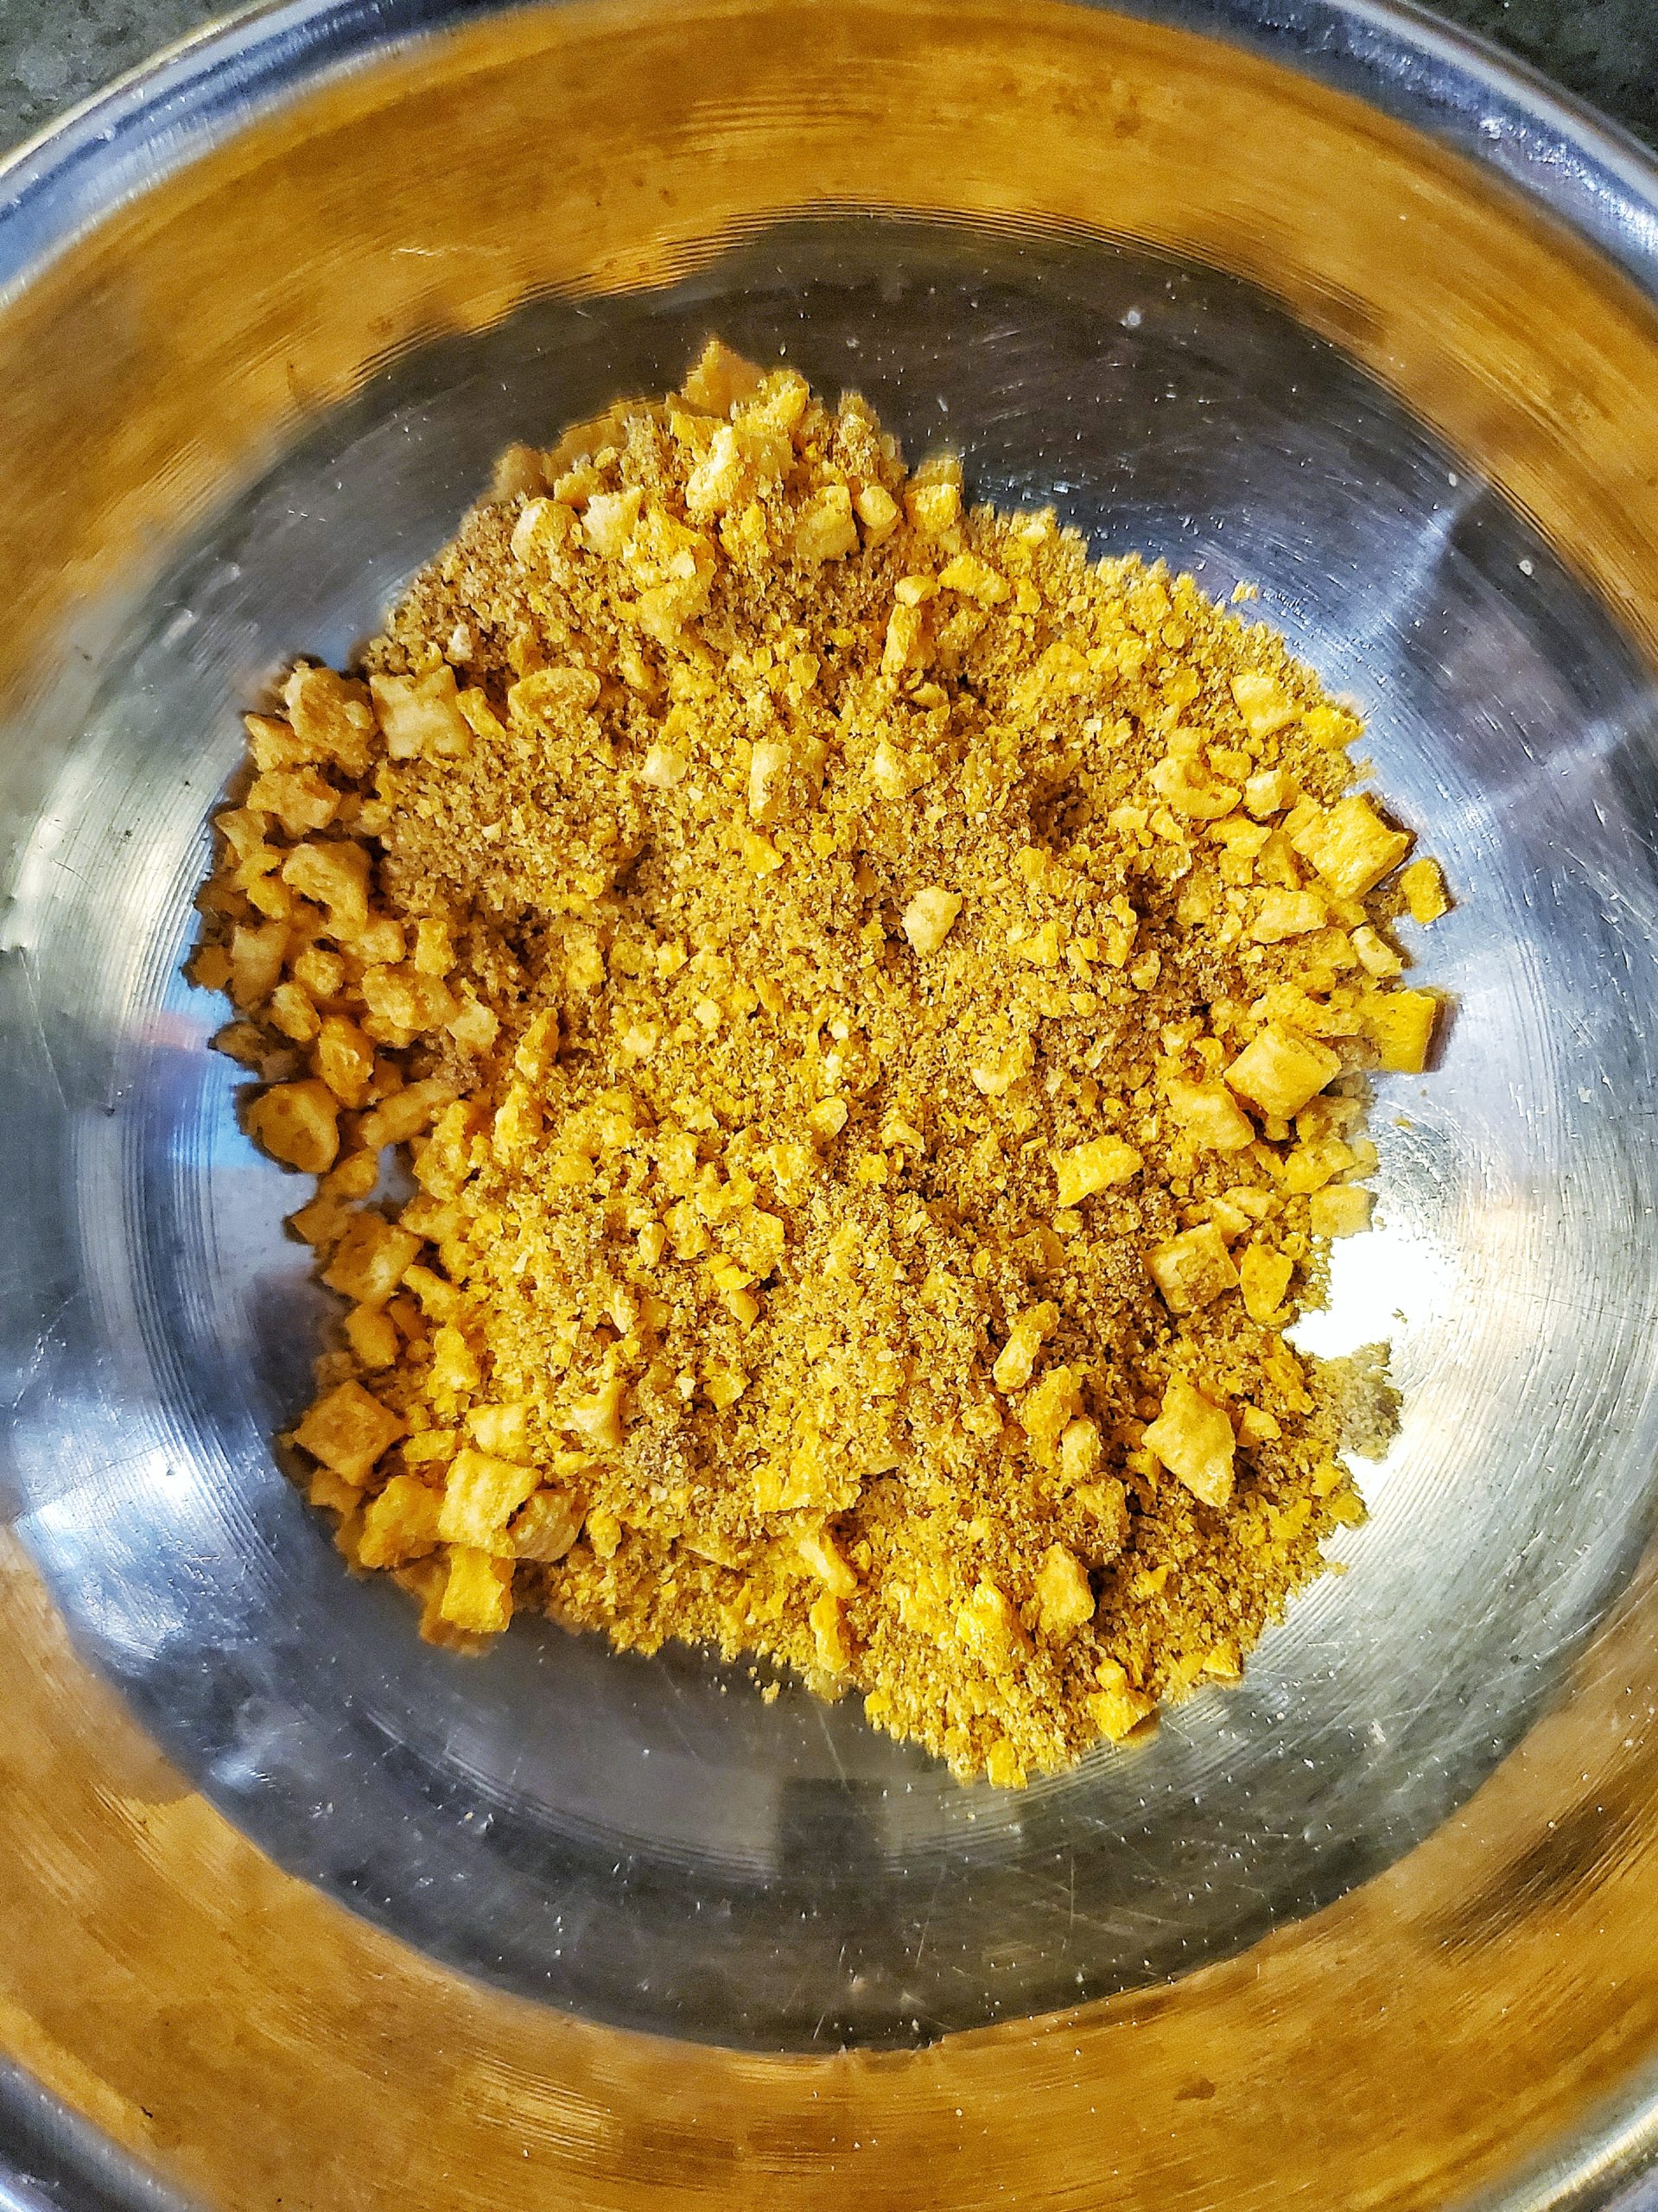
Crushed cereal with brown sugar in a bowl for cereal milk
Crushed Cap’n Crunch cereal in mixing bowl with brown sugar
Cereal with brown sugar in a bowl with cream for cereal milk
Heavy cream poured into crushed Cap’n Crunch cereal
Cereal milk process shot
Soaked Cap’n Crunch cereal being poured into strainer with cheesecloth

You’ll want to squeeze out as much of the milk from the soaked cereal as you can. To do this:

  • Grab all the corners of the cheesecloth into one hand
  • Pickup the cheesecloth so you’re holding it like a pouch with the soaked cereal.
  • Squeeze the excess liquid from the soaked cereal with your hands, still keeping the cheesecloth pouch over the strainer. A glove can be used to keep your hands clean.

For cereal milk ice cream, the cereal is soaked in heavy cream instead of milk.


What to do with the leftover cereal from making cereal milk


That cereal paste that’s leftover from straining the cereal milk can be tossed.

BUT, for the cereal milk ice cream, the paste can be incorporated into the ice cream base! Again, this is optional, but does help to add a little more sweetness to the ice cream.

It’s also up to you how much of that cereal paste you’d like to add. If you’re crushing your cereal by hand, be mindful of any chunks. Once it’s mixed and frozen with the ice cream, the texture can be a bit odd, almost like it’s stale, even though it still has flavor. The finer the crushed cereal, the better!

How to make cereal milk ice cream


As I mentioned earlier, the cereal is soaked in heavy cream instead of milk, as heavy cream is what’s used in an ice cream base. It’s still being soaked and strained in the same manner.

Once strained, the heavy cream is beaten on high speed to create a stiff whipped cream. Then, sweetened condensed milk and vanilla is incorporated. Adding the soaked cereal to the ice cream base is optional.

How to store homemade ice cream:


The best way to store your ice cream in the freezer is in an airtight container that is freezer safe. I keep mine in a Tupperware container.

Pressing some plastic wrap or parchment paper directly on top of the ice cream helps to prevent freezer burn.

Scoops of cereal milk ice cream

Additional toppings for the cereal milk ice cream


I’m a big fan of different textures in a dish. So just like adding crushed cookies on top of ice cream as a garnish, you can sprinkle cereal on the ice cream as well! Almost like making a bowl of cereal, but your milk is scoop (or 2, or 3) of cereal ice cream! Sounds like a great time to me!!!

If you’re looking for more super easy no churn ice cream recipes, check out my S’mores Ice Cream with Toasted Marshmallows, and my Cookie Butter Cheesecake Ice Cream with Espresso and Kahlua!

And remember to tag me on Instagram if you try out any of my recipes, along with leaving a rating and review!!!

Scoops of cereal milk ice cream
Print Recipe
5 from 9 votes

Cereal Milk Ice Cream

This no-churn ice cream takes your favorite cereal and turns it into the perfect summer treat!
Prep Time40 minutes
Freeze Time2 hours
Total Time2 hours 40 minutes
Course: Dessert
Cuisine: American
Keyword: cereal, cereal milk, desserts, ice cream, no churn, no churn ice cream
Servings: 12 serving
Author: Crystal

Equipment

  • Food processor
  • Hand or stand mixer
  • Mixing bowl
  • Strainer
  • Cheesecloth
  • Freezer safe container with a lid
  • Parchment paper or plastic wrap

Ingredients

  • 1 cup cereal brand and flavor of your choice
  • 2 tbsp brown sugar
  • 3 cups heavy cream
  • 14 oz sweetened condensed milk
  • 1 tsp vanilla extract

Instructions

  • Crush the cereal in a food processor, or by hand, until finely ground.
  • Combine the crushed cereal with the brown sugar and 2 cups of the heavy cream, reserving 1 cup of heavy cream for later. Soak the cereal for 30 minutes.
  • Once soaked, set up a bowl with a strainer and 4 layers of cheesecloth. Pour the cereal mixture into the cheesecloth to strain into the bowl. Squeeze any additional cream from the cereal by bunching together the loose ends of the cheesecloth, turning it into a pouch holding the cereal, and squeezing excess liquid into the strainer.
  • Set the soaked cereal aside (optional)
  • Combine the strained milk and the reserved cup of heavy cream in a large bowl or stand mixer. Whip the heavy cream mixture on high for 2-3 minutes. The whip cream is the right consistency when stiff peaks are formed.
  • Pour the sweetened condensed milk and vanilla extract into the whipped cream. Whip on low for 30 seconds.
  • If desired, gently mix in the leftover soaked cereal.
  • Pour the ice cream mixture into an airtight and freezer safe container. Press a layer of plastic wrap or parchment paper directly onto the ice cream.
  • Cover the container with an airtight lid and freeze for 2 hours for a soft serve consistency, or at least 4 hours for a scoopable consistency.

Notes

You can use any type of cereal that you’d like!!!
Adding the soaked cereal to the ice cream base is optional. 
Sprinkle the scooped ice cream with more cereal for extra texture!

S’mores Ice Cream with Toasted Marshmallows

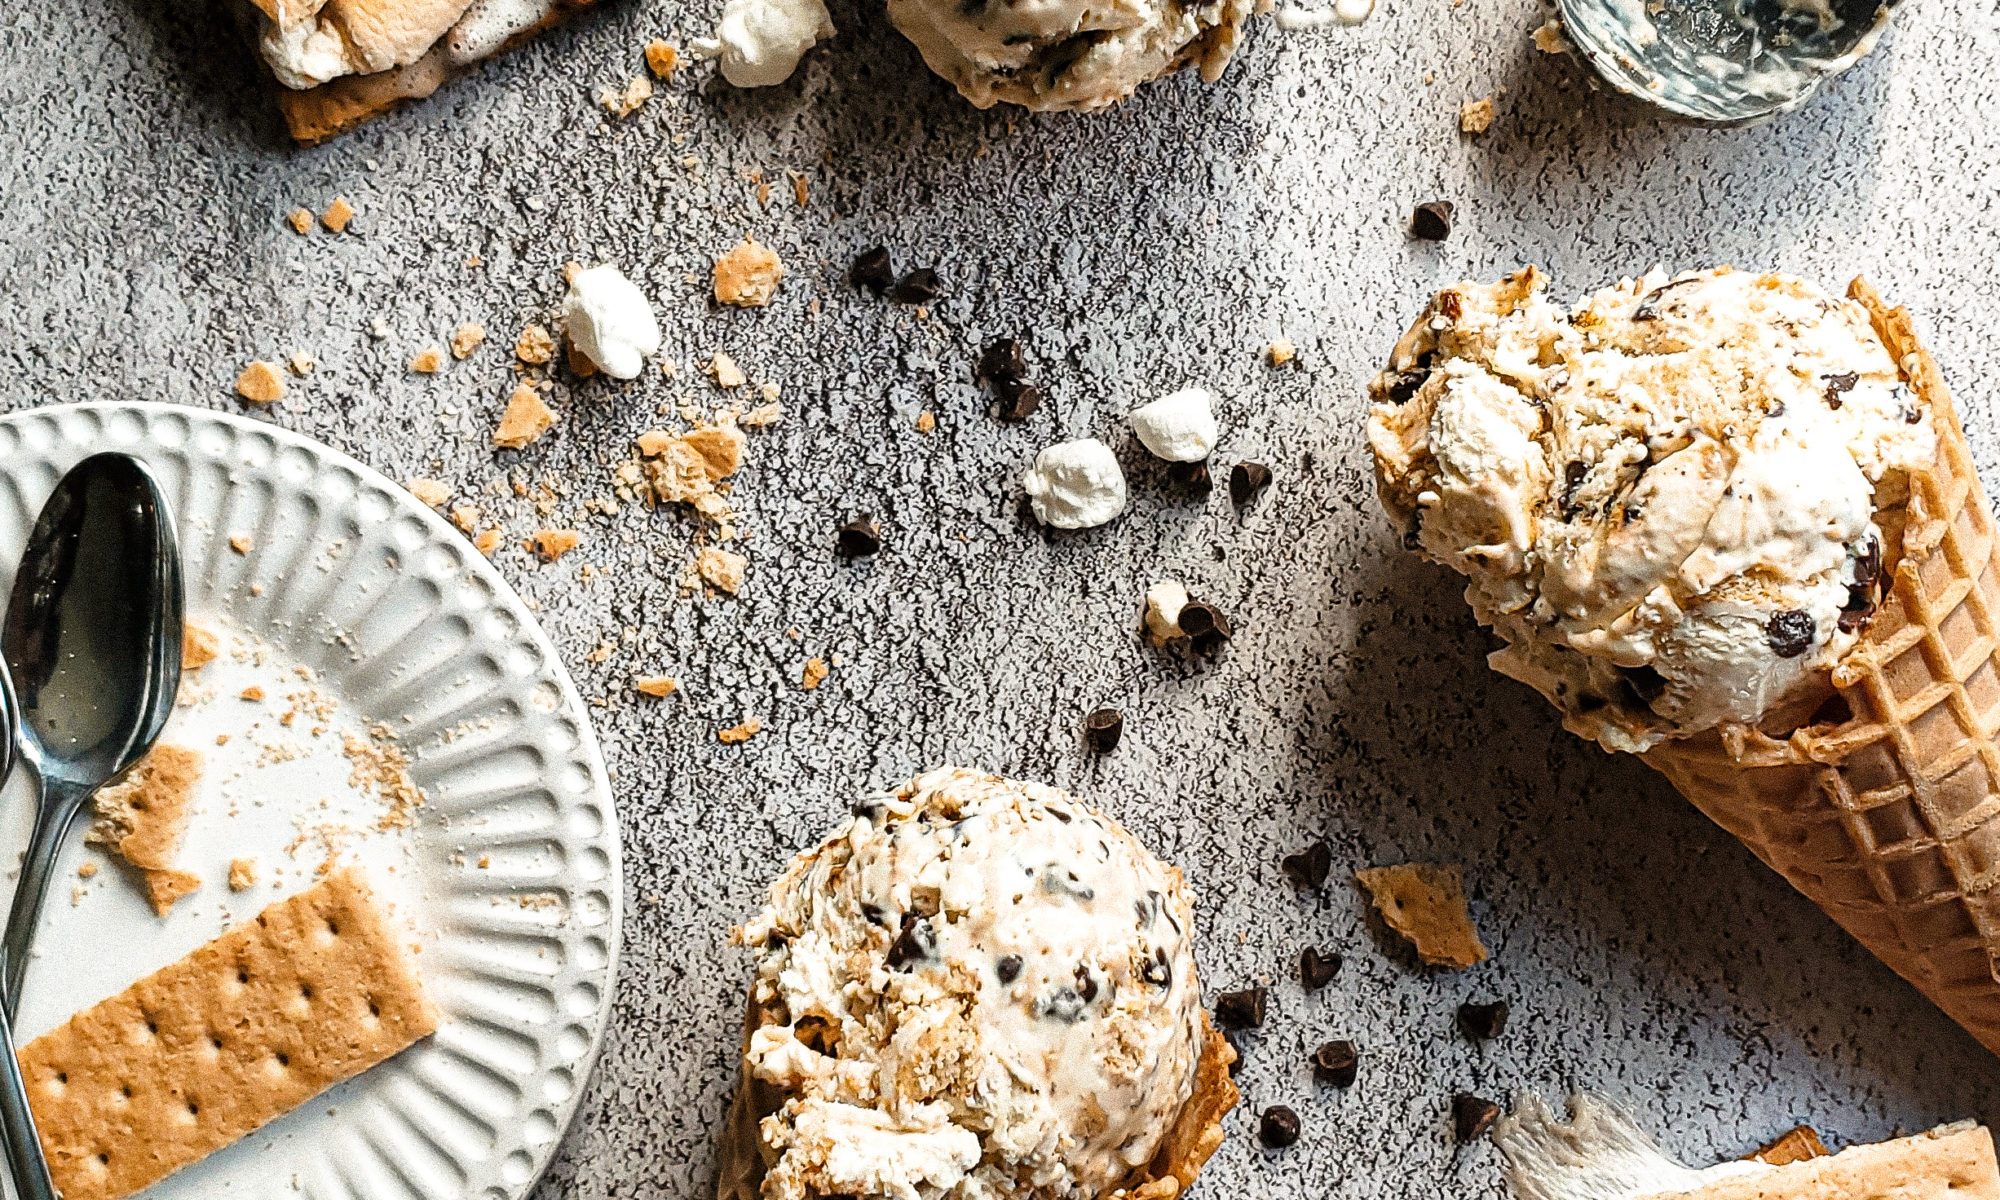
S'mores ice cream in cones

S’mores are a great year-round dessert. With just 6 ingredients, turning it into S’mores ice cream with toasted marshmallows is a winner!

S'mores ice cream in cones

Am I the only one that feels like S’mores are always in season? It’s not just me, right? Ok great!

Why not take this fun dessert, and add a more summer-y feel to set it apart from what we regularly make in cooler temperatures, by adding it to ice cream!

What I love most about this recipe is the toasted marshmallows, which is the fun part of making S’mores, amiright? It gives the ice cream a hint of that sweet toasted flavor we all adore! And, it’s no churn, which means no additional equipment!

S'mores ice cream

How to roast marshmallows without a campfire


Luckily, we do not need a campfire or an open flame to roast marshmallows! Getting your marshmallows nice and toasty can be done one of 2 ways.

Initially, you’ll need to place the marshmallows onto a baking sheet. From there, either:

  • Roast the marshmallows under the broiler and toast to your liking. On average, this will only take up to a minute, so you absolutely have to keep an eye on the marshmallows so that they do not burn!
  • Use a butane kitchen torch. The direct flame will be similar to that of a campfire. Simply hold the flame directly over each marshmallow. My kitchen torch from Jo Chef worked perfectly for this!
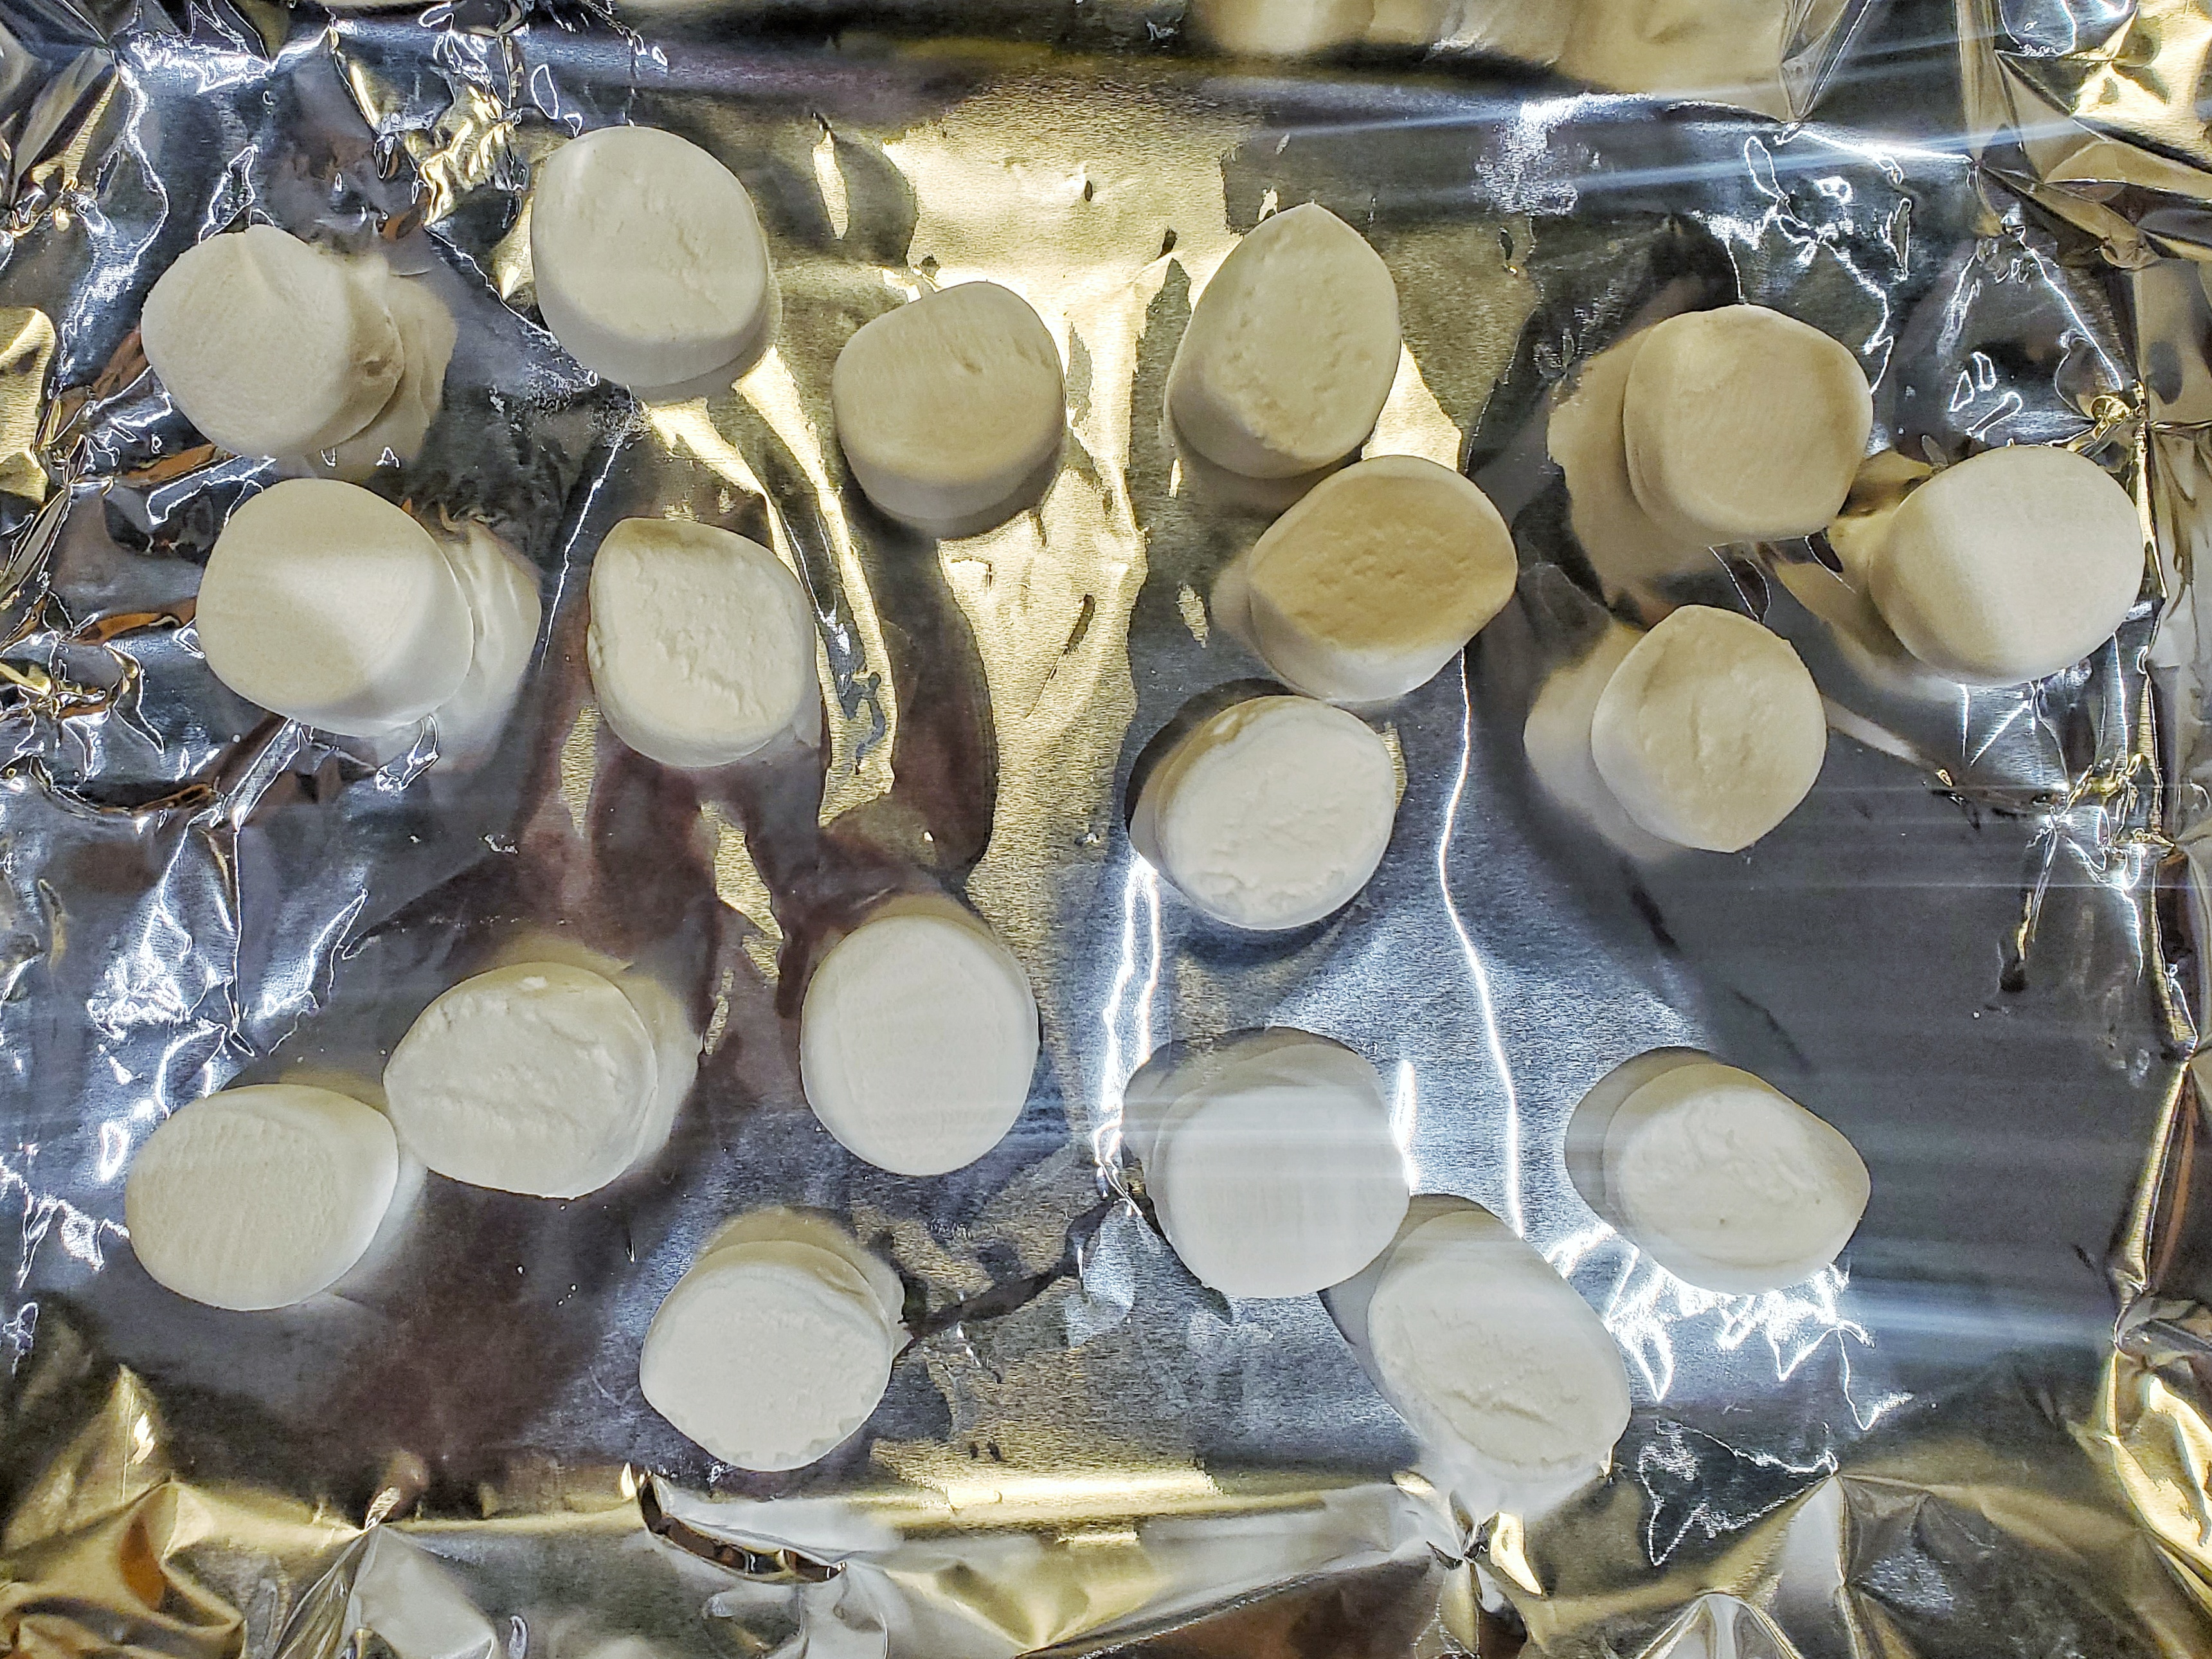
Marshmallows on tray for roasting
Marshmallows ready for roasting
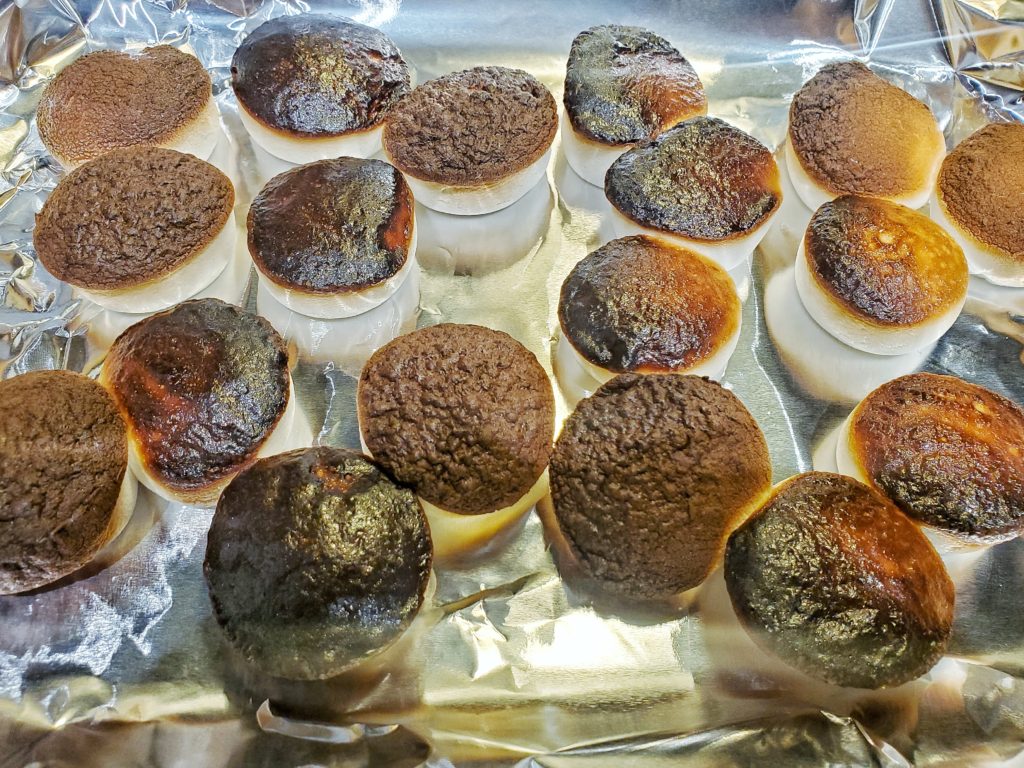
Roasted marshmallows for Smores ice cream
Roasted marshmallows

Types of graham crackers to use for S’mores


The great part about S’mores is that you can use any flavor of graham crackers you’d like!

For my ice cream recipe, I used graham crackers sweetened with honey. I wanted to stick to the sweeter theme of the ice cream. If you want, you can use the cinnamon flavor, or even chocolate graham crackers!

What chocolate should I use to make S’mores ice cream?


I like to be able to taste the flavor of the chocolate, so I went with semi-sweet chocolate chips. They aren’t as sweet as milk chocolate, and not as bitter as dark or bittersweet chocolate. You can switch it up and add white chocolate chips if you’d like!!!

I also went with mini chocolate chips instead of regular. When adding toppings to ice cream, you want to be mindful of their size. The toppings will be harder to chew once frozen, especially with chocolate chips which are already hard. Regular chocolate chips will still be the perfect size, but I preferred the miniatures for this particular recipe.

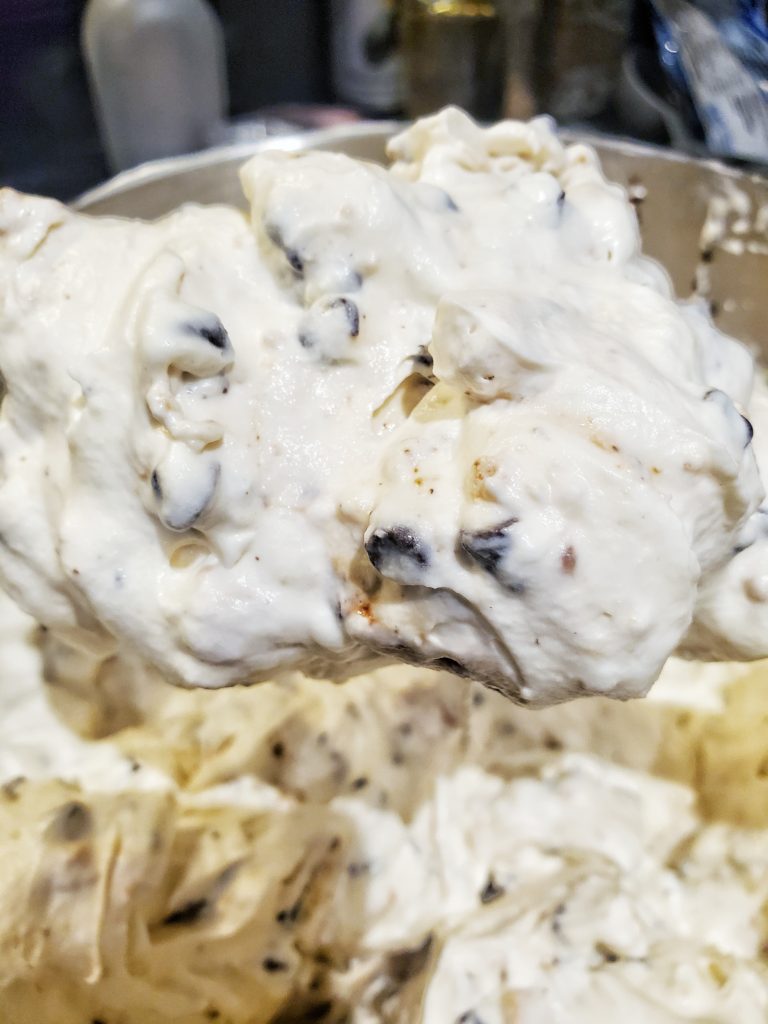
Smores ice cream base
S’mores ice cream base
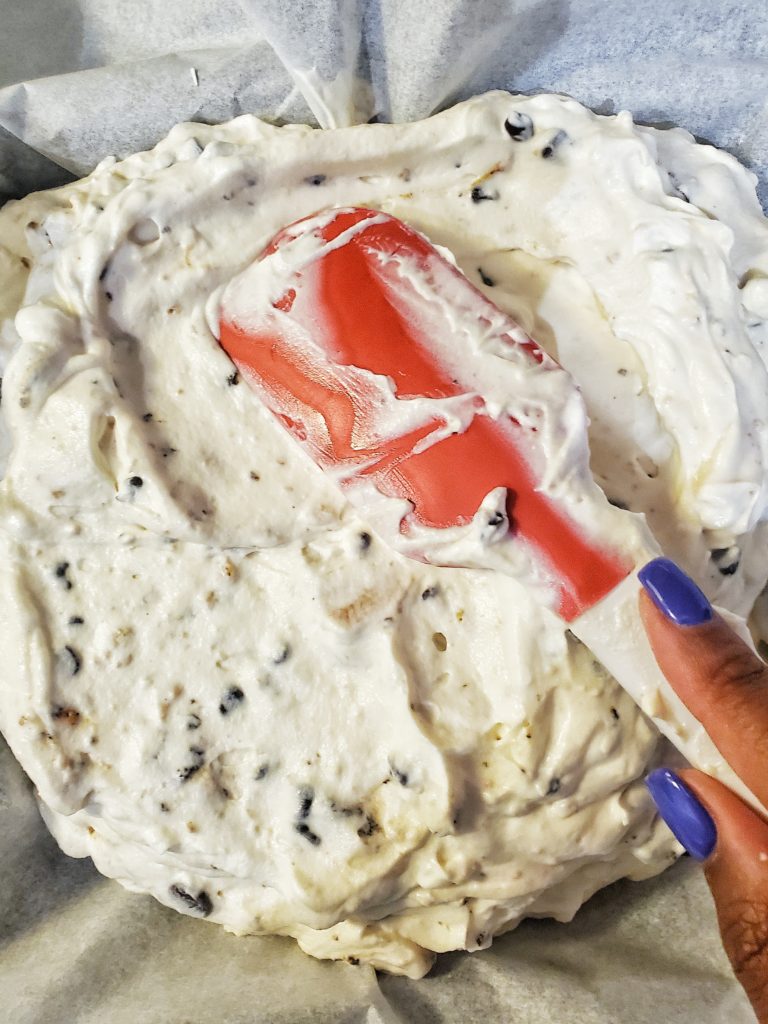
Smores ice cream spread into a pan
S’mores ice cream spread into a container

Additional toppings for S’mores ice cream


I’ve debated with myself on if I wanted to make the ice cream base chocolate or vanilla. I figured vanilla would be best, and I could add additional chocolate to my liking depending on my mood.


So if you’re looking to kick this up a notch, drizzle your scooped ice cream with chocolate sauce or hot fudge! Sooooooo delicious, since it gives that melted chocolate feel, similar to making fresh S’mores!

Smores ice cream in cones

Homemade ice cream storage:


Once the ice cream is made, it’s best for it to be stored in an airtight container, similar to how store-bought ice cream is packaged. A tupperware container works perfectly.

It also helps to press a layer of plastic wrap or parchment paper directly onto the ice cream. This will prevent ice crystals from forming. After adding that additional layer, you’ll still need to close the container with the airtight lid.

If you’re looking for another no-churn ice cream recipe, check out my Cookie Butter Ice Cream!!!

No Churn S’mores Ice Cream with Toasted Marshmallows

S’mores are a great year-round dessert. Turning it into S’mores ice cream with toasted marshmallows is a winner!
Prep Time15 minutes
Chill Time4 hours
Total Time4 hours 15 minutes
Course: Dessert
Cuisine: American
Keyword: chocolate, dessert, graham cracker, marshmallow, marshmallows, no churn, no churn ice cream, smore, smores
Servings: 12 servings
Author: Crystal

Equipment

  • Handheld or stand mixer
  • Baking sheet
  • Rubber spatula
  • Airtight container
  • Parchment paper or plastic wrap

Ingredients

  • 8 marshmallows cut into halves
  • 2 cups heavy whipping cream
  • 14 ounces sweetened condensed milk
  • 2 tsp vanilla extract
  • ½ cup mini chocolate chips
  • 4 graham crackers broken into chunks

Instructions

  • Place marshmallows onto a baking sheet. Toast the marshmallows under a broiler on high, or with a kitchen torch, for one minute, or until toasted to your liking. Once toasted, set the marshmallows aside to cool.
  • Whip the heavy cream on high, in a large bowl with a hand mixer or on a stand mixer, for 2-3 minutes. The whip cream is the right consistency when stiff peaks are formed.
  • Pour the condensed milk and vanilla extract into the whipped cream. Whip on low for 30 seconds to incorporate.
  • Add the cooled marshmallows, chocolate chips, and graham cracker chunks into the ice cream base. Gently mix the ingredients together with a rubber spatula.
  • Pour the ice cream mixture into an airtight and freezer safe container. Press a layer of plastic wrap or parchment paper directly onto the ice cream.
  • Cover the container with an airtight lid and freeze for 2 hours for a soft serve consistency, or at least 4 hours for a scoopable consistency.

Notes

Mini marshmallows can be used instead of large.
 

Note: this post contains affiliate links.

Pin It on Pinterest