Oh, you want a blueberry biscuit recipe? Well, here you go!

I specifically executed this recipe for the folks that are NOT bakers, and don’t have some of the regular pastry tools like a rolling pin or biscuit cutter. Now, if you have those things, go ahead and use em! But it’s not necessary for this one so save yourself 2 less dishes to wash.
What are the tricks to making good biscuits?
The key to making biscuits properly is that all the ingredients must be kept cold! From the milk to the butter, keep it in the fridge until it’s needed for the current step you’re on.
If you’re able to, freeze the butter for 30 minutes before using it in the recipe. Makes it easier to grate compared to refrigerated butter. It’s also best to grate the butter so you can get it into small enough pieces to be distributed through the dough.
Again, I get that everyone may not have a grater available, so this can still be done without it. If you go the non-grated route, cut the butter into small pieces and put it back in the fridge for 30 minutes before using.
The butter will still need to be broken down into even smaller pieces in the flour with your fingertips, into pieces smaller than the size of a pea. Just make sure you keep the butter cold until it’s time to add it to the flour. This helps so that your body heat isn’t making the butter too soft.
Not a fan of lemons or glazes?
Making the lemon glaze is optional, but is also definitely worth it. It can be whipped up in a couple of minutes, and the lemon can also be omitted or replaced with a different citrus if you prefer.
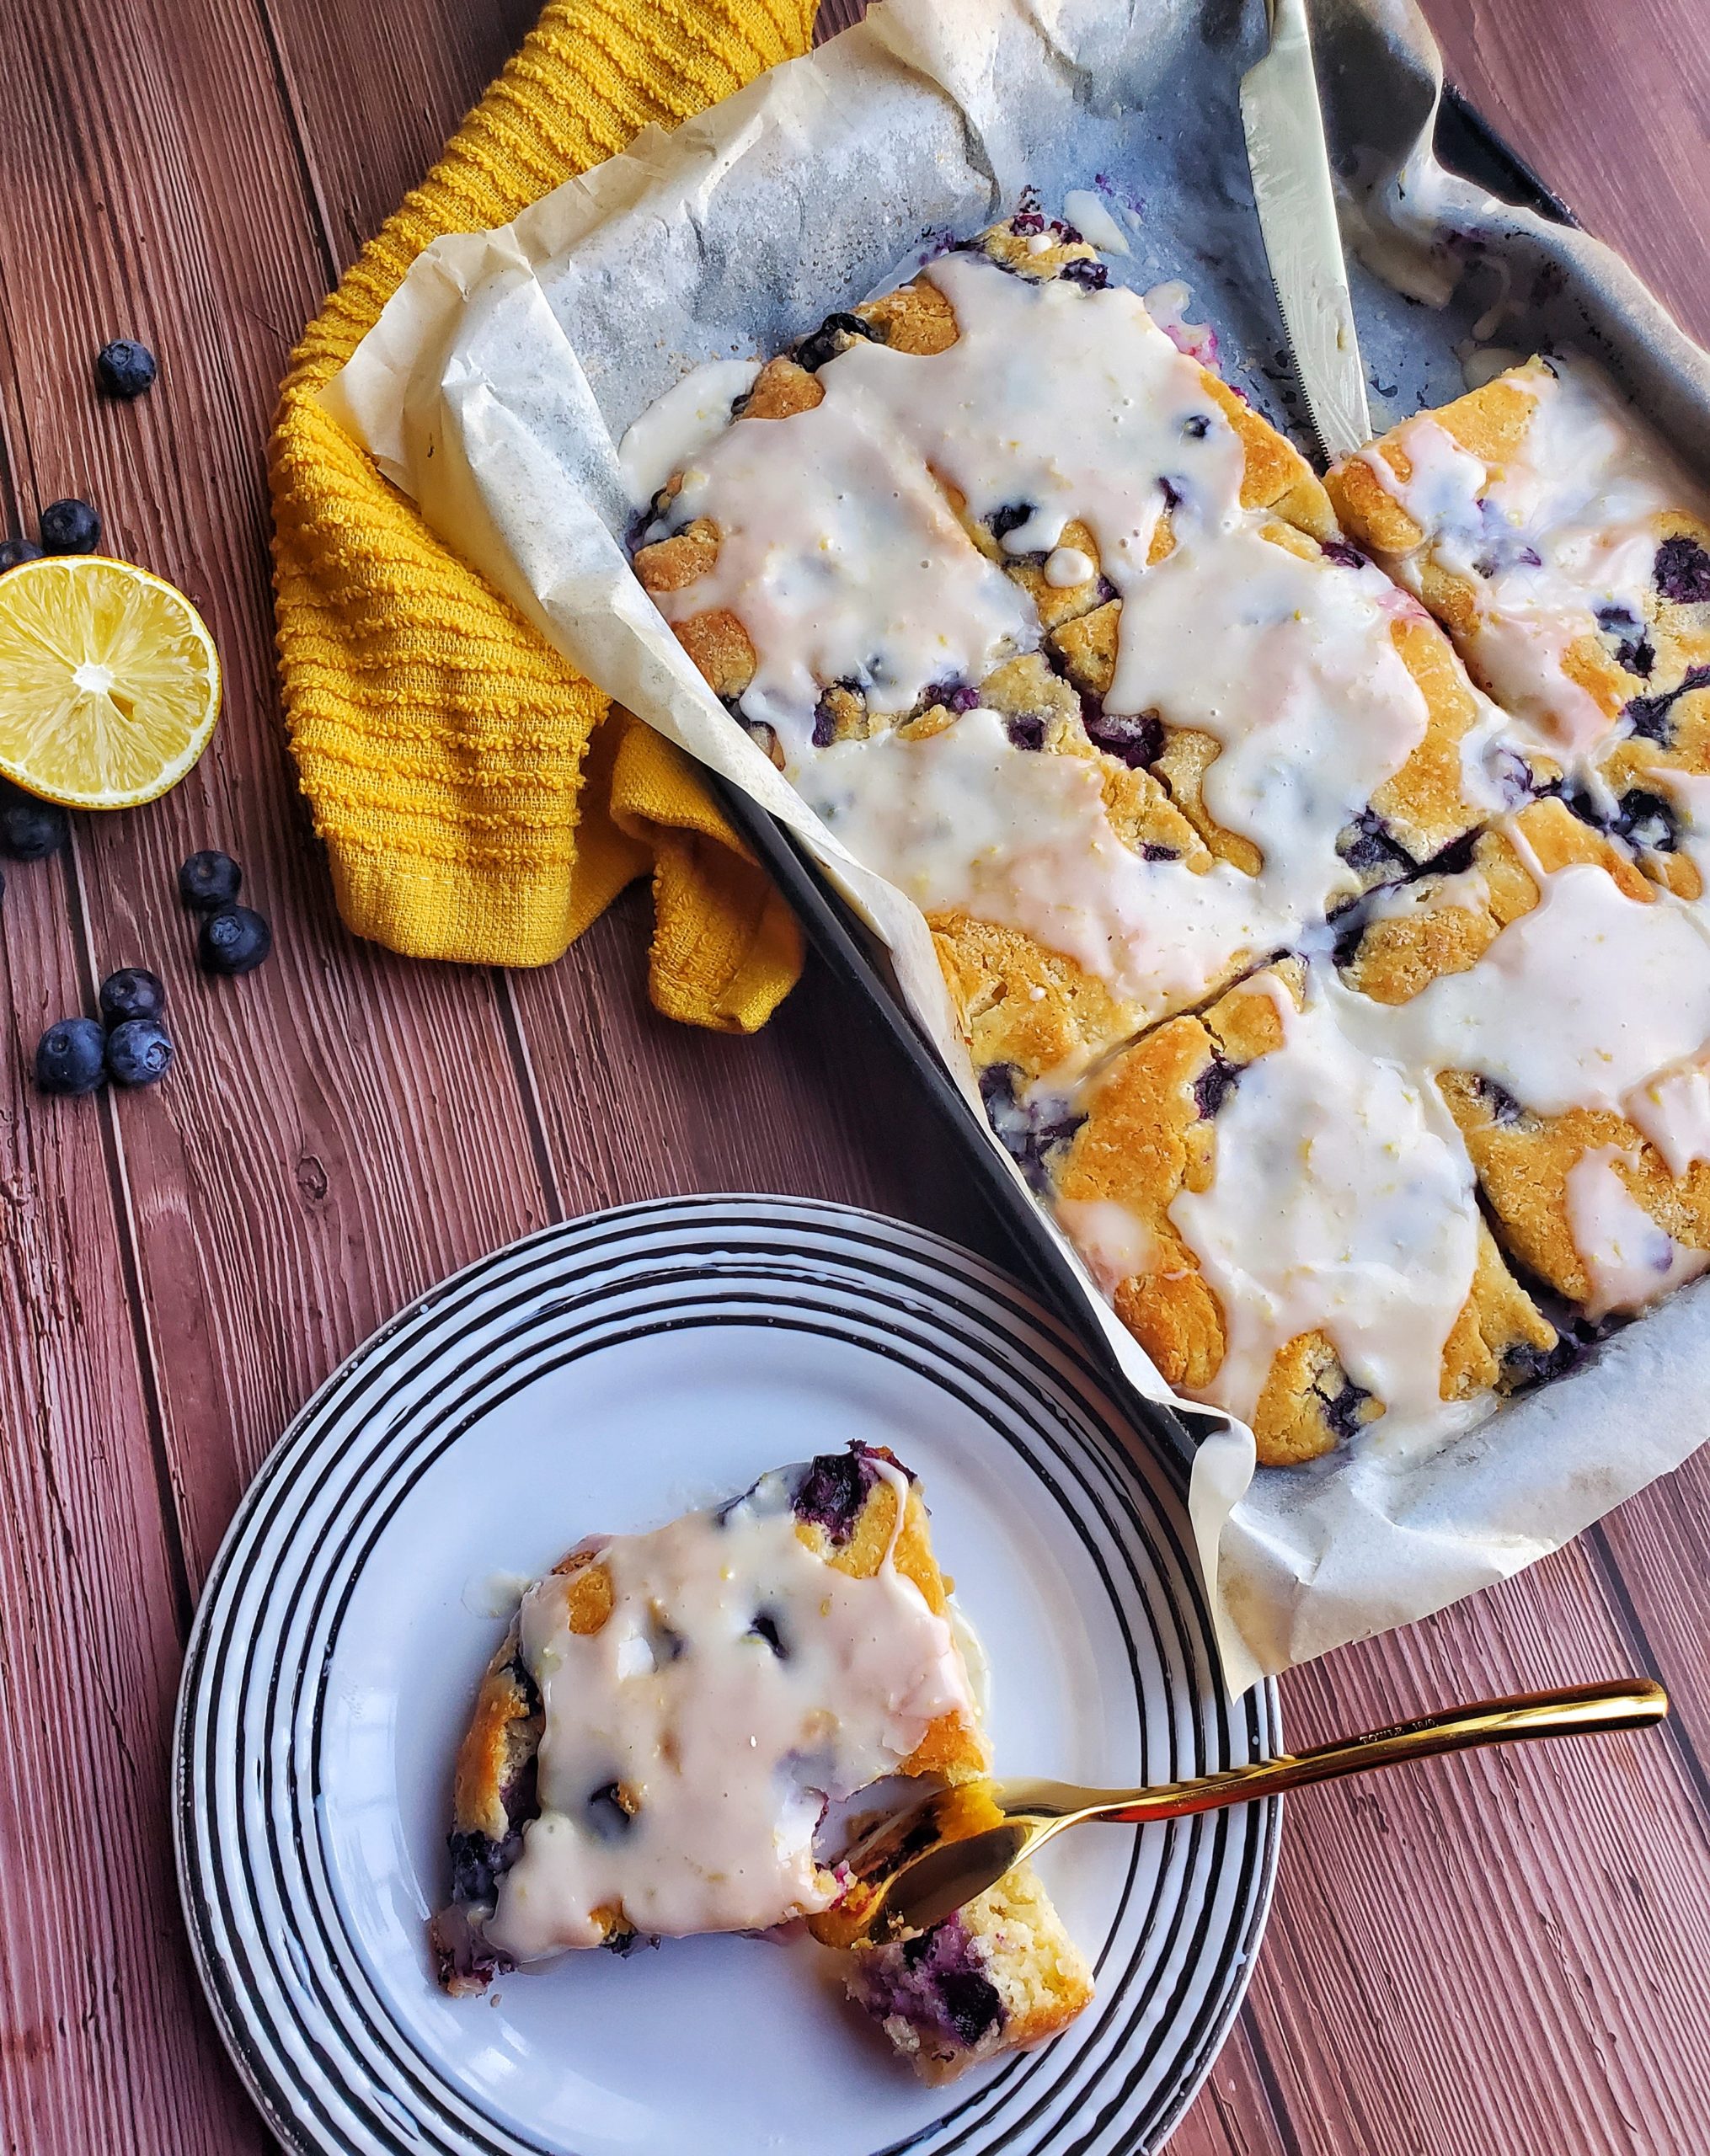
Blueberry Biscuit Bake with Lemon Glaze
Equipment
- 1 large bowl
- 1 small bowl
- sifter
- Whisk
- box grater
- wooden spoon
- parchment paper
- sheet pan
- spoon
- butter knife
Ingredients
Biscuit Ingredients
- 2 ¾ cup all purpose flour
- 2 tsp baking powder
- ½ cup granulated sugar
- 1 tsp kosher salt
- 1 pint blueberries
- ½ cup unsalted butter kept cold
- 1 cup milk kept cold
Lemon Glaze Ingredients
- 1 ½ cup powdered sugar
- 1 ½ tsp vanilla extract
- 2 ½ tbsp milk
- 1 ½ tsp lemon juice
- zest of a lemon
Instructions
Biscuit Instructions
- Preheat the oven to 400 degrees. Line a small sheet pan with parchment paper. Spray the parchment with pan spray and set aside.
- In a large bowl, sift together the flour, baking powder, and sugar. Whisk in the salt.
- Toss in the blueberries and coat with the flour mixture.
- Grate the butter into the flour mixture and lightly mix with a wooden spoon to combine.
- Pour in the milk. Mix with a wooden spoon to incorporate. Then use your hands to thoroughly mix.
- Dump the dough onto the parchment lined sheet pan. Flatten the dough to the size of the pan. With a butter knife or dough cutter, slice the dough into 9 even pieces.
- Bake for 20 minutes, rotating halfway through baking.
- Let cool for 5 minutes before adding lemon glaze.
Ingredient Glaze Ingredients
- In a small bowl, combine all ingredients. Whisk until smooth.
- Drizzle over the blueberry biscuits once baked.