S’mores Ice Cream with Toasted Marshmallows

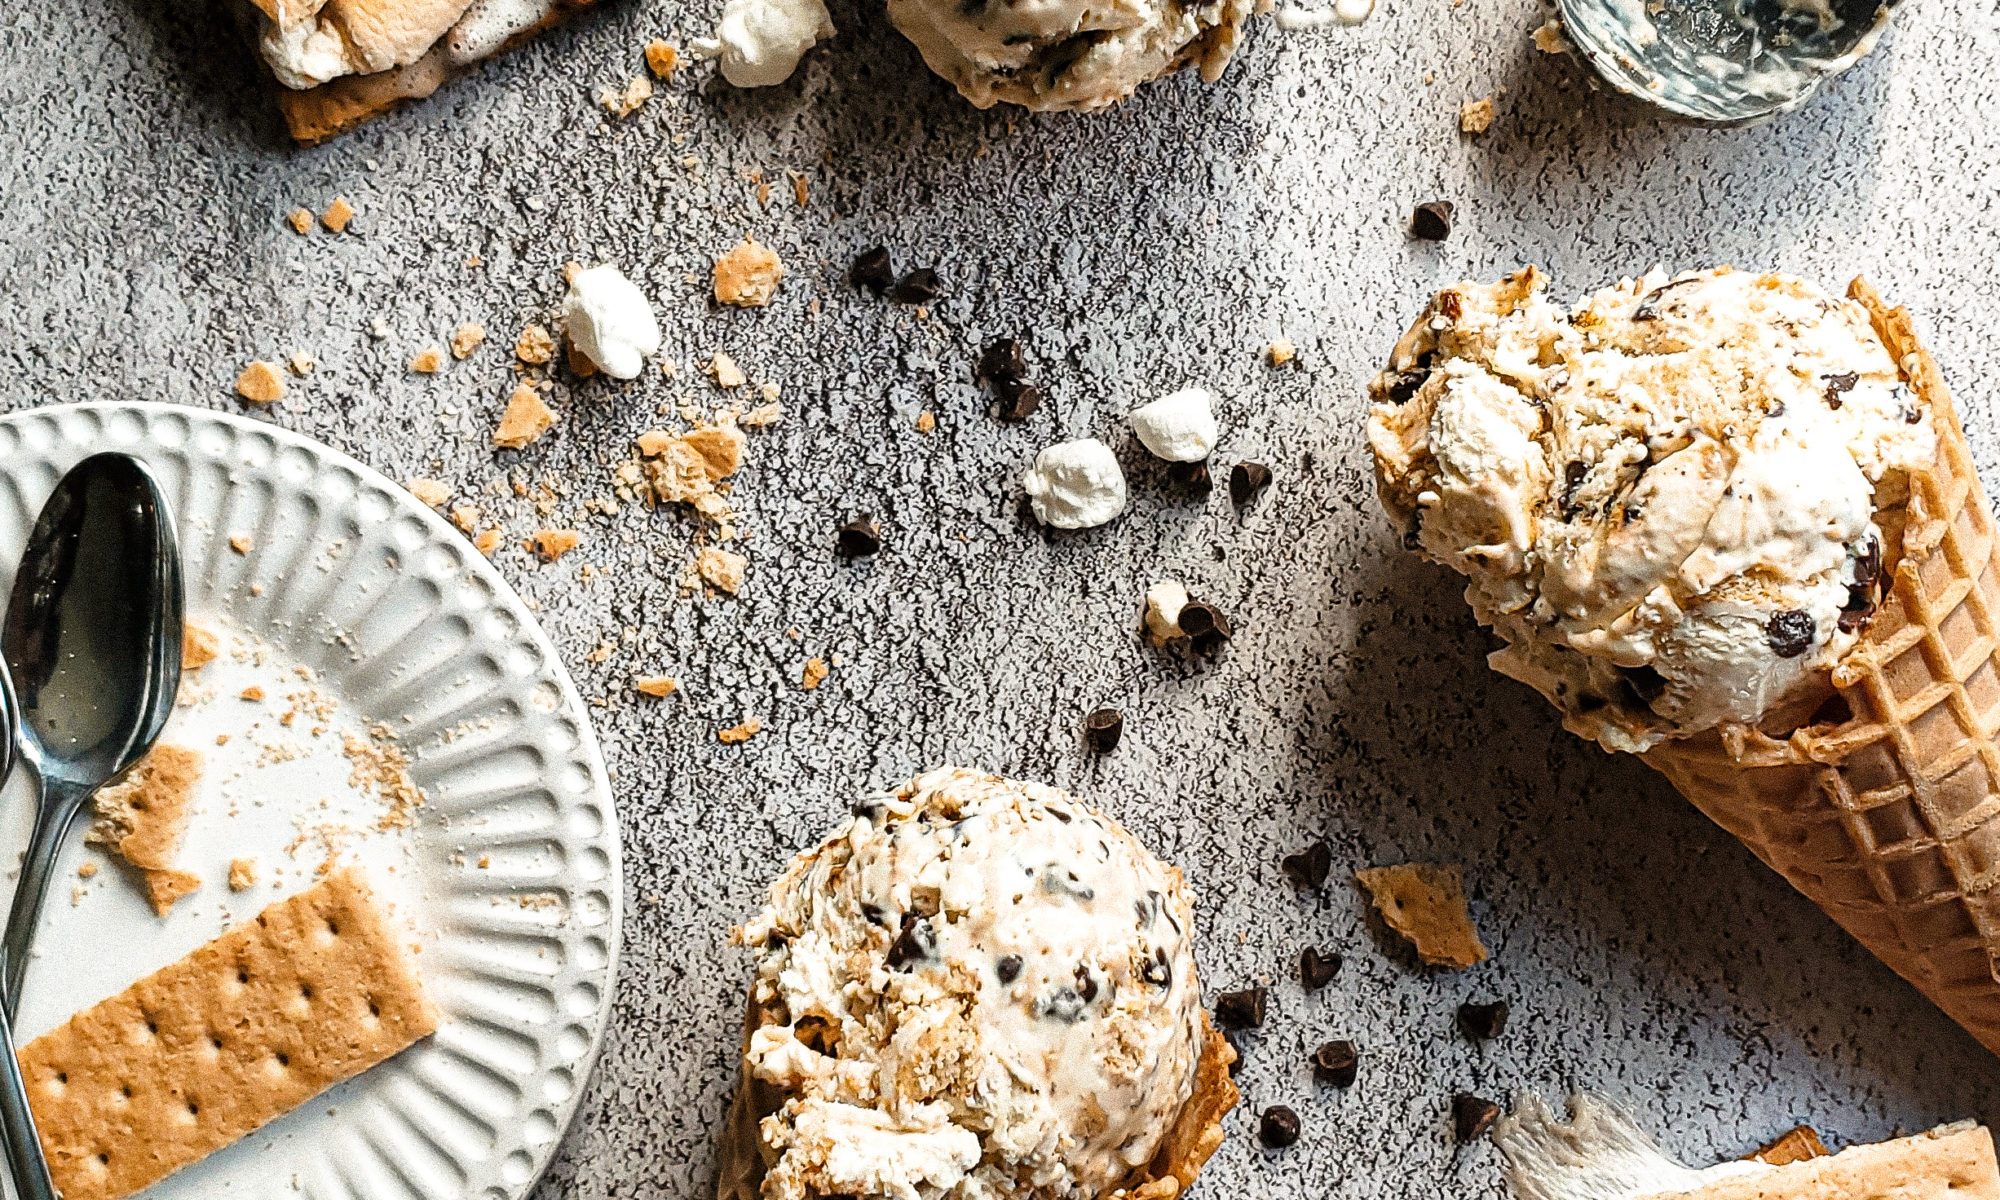
S'mores ice cream in cones

S’mores are a great year-round dessert. With just 6 ingredients, turning it into S’mores ice cream with toasted marshmallows is a winner!
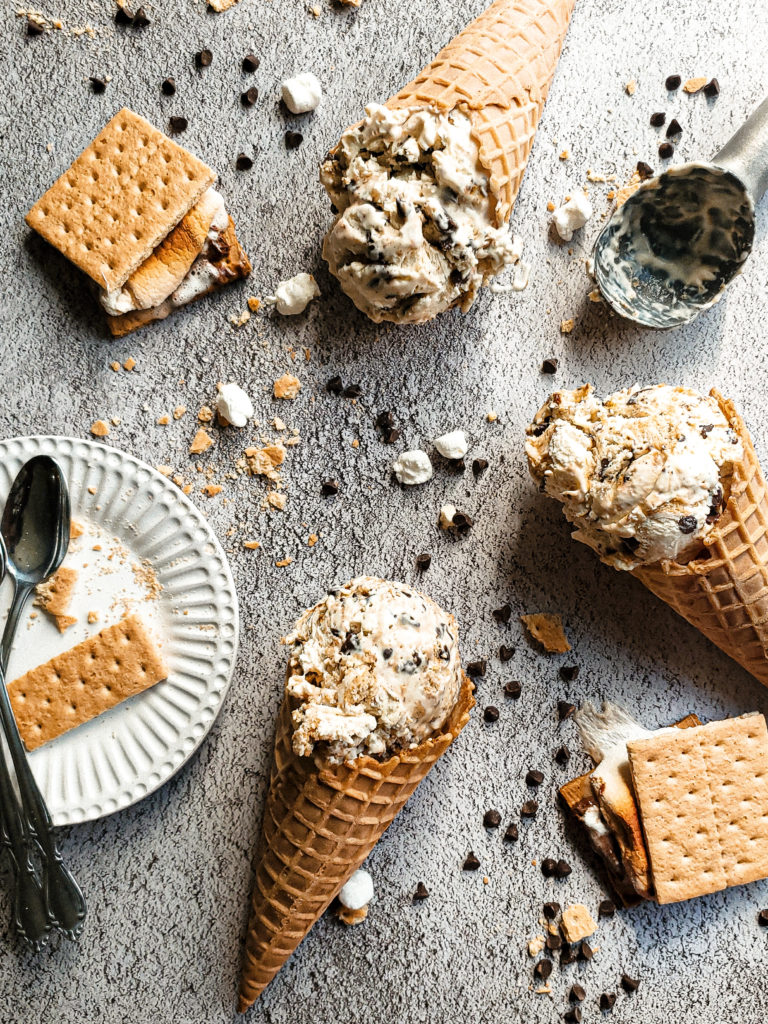
S'mores ice cream in cones

Am I the only one that feels like S’mores are always in season? It’s not just me, right? Ok great!

Why not take this fun dessert, and add a more summer-y feel to set it apart from what we regularly make in cooler temperatures, by adding it to ice cream!

What I love most about this recipe is the toasted marshmallows, which is the fun part of making S’mores, amiright? It gives the ice cream a hint of that sweet toasted flavor we all adore! And, it’s no churn, which means no additional equipment!

S'mores ice cream

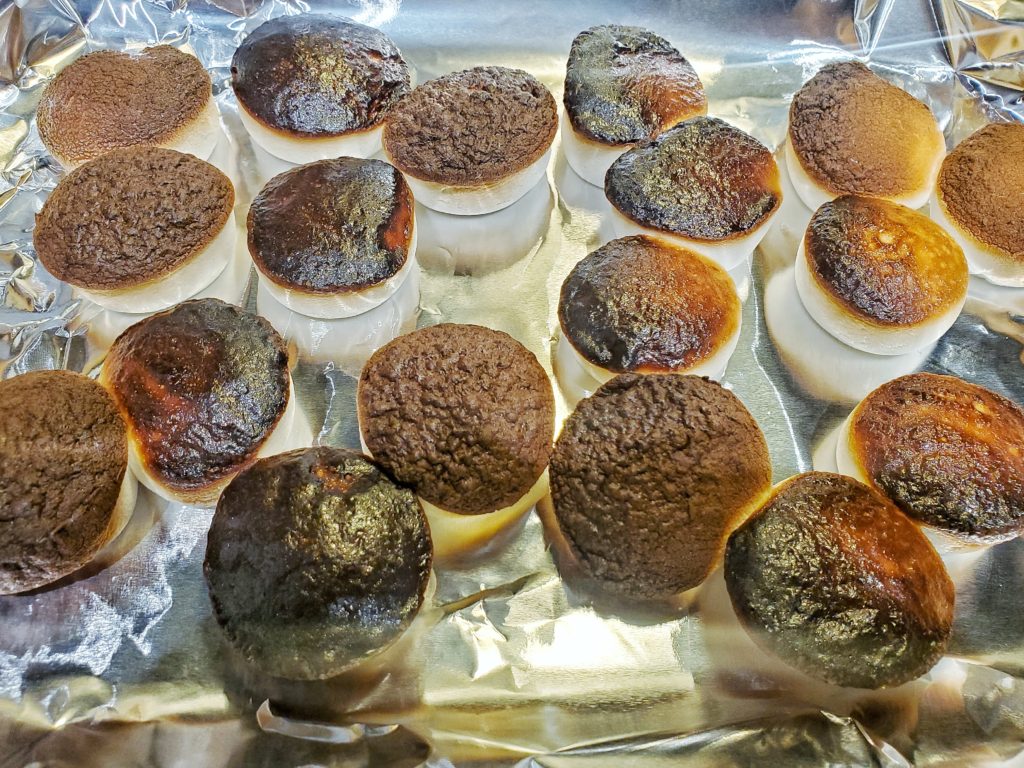
How to roast marshmallows without a campfire


Luckily, we do not need a campfire or an open flame to roast marshmallows! Getting your marshmallows nice and toasty can be done one of 2 ways.

Initially, you’ll need to place the marshmallows onto a baking sheet. From there, either:

  • Roast the marshmallows under the broiler and toast to your liking. On average, this will only take up to a minute, so you absolutely have to keep an eye on the marshmallows so that they do not burn!
  • Use a butane kitchen torch. The direct flame will be similar to that of a campfire. Simply hold the flame directly over each marshmallow. My kitchen torch from Jo Chef worked perfectly for this!
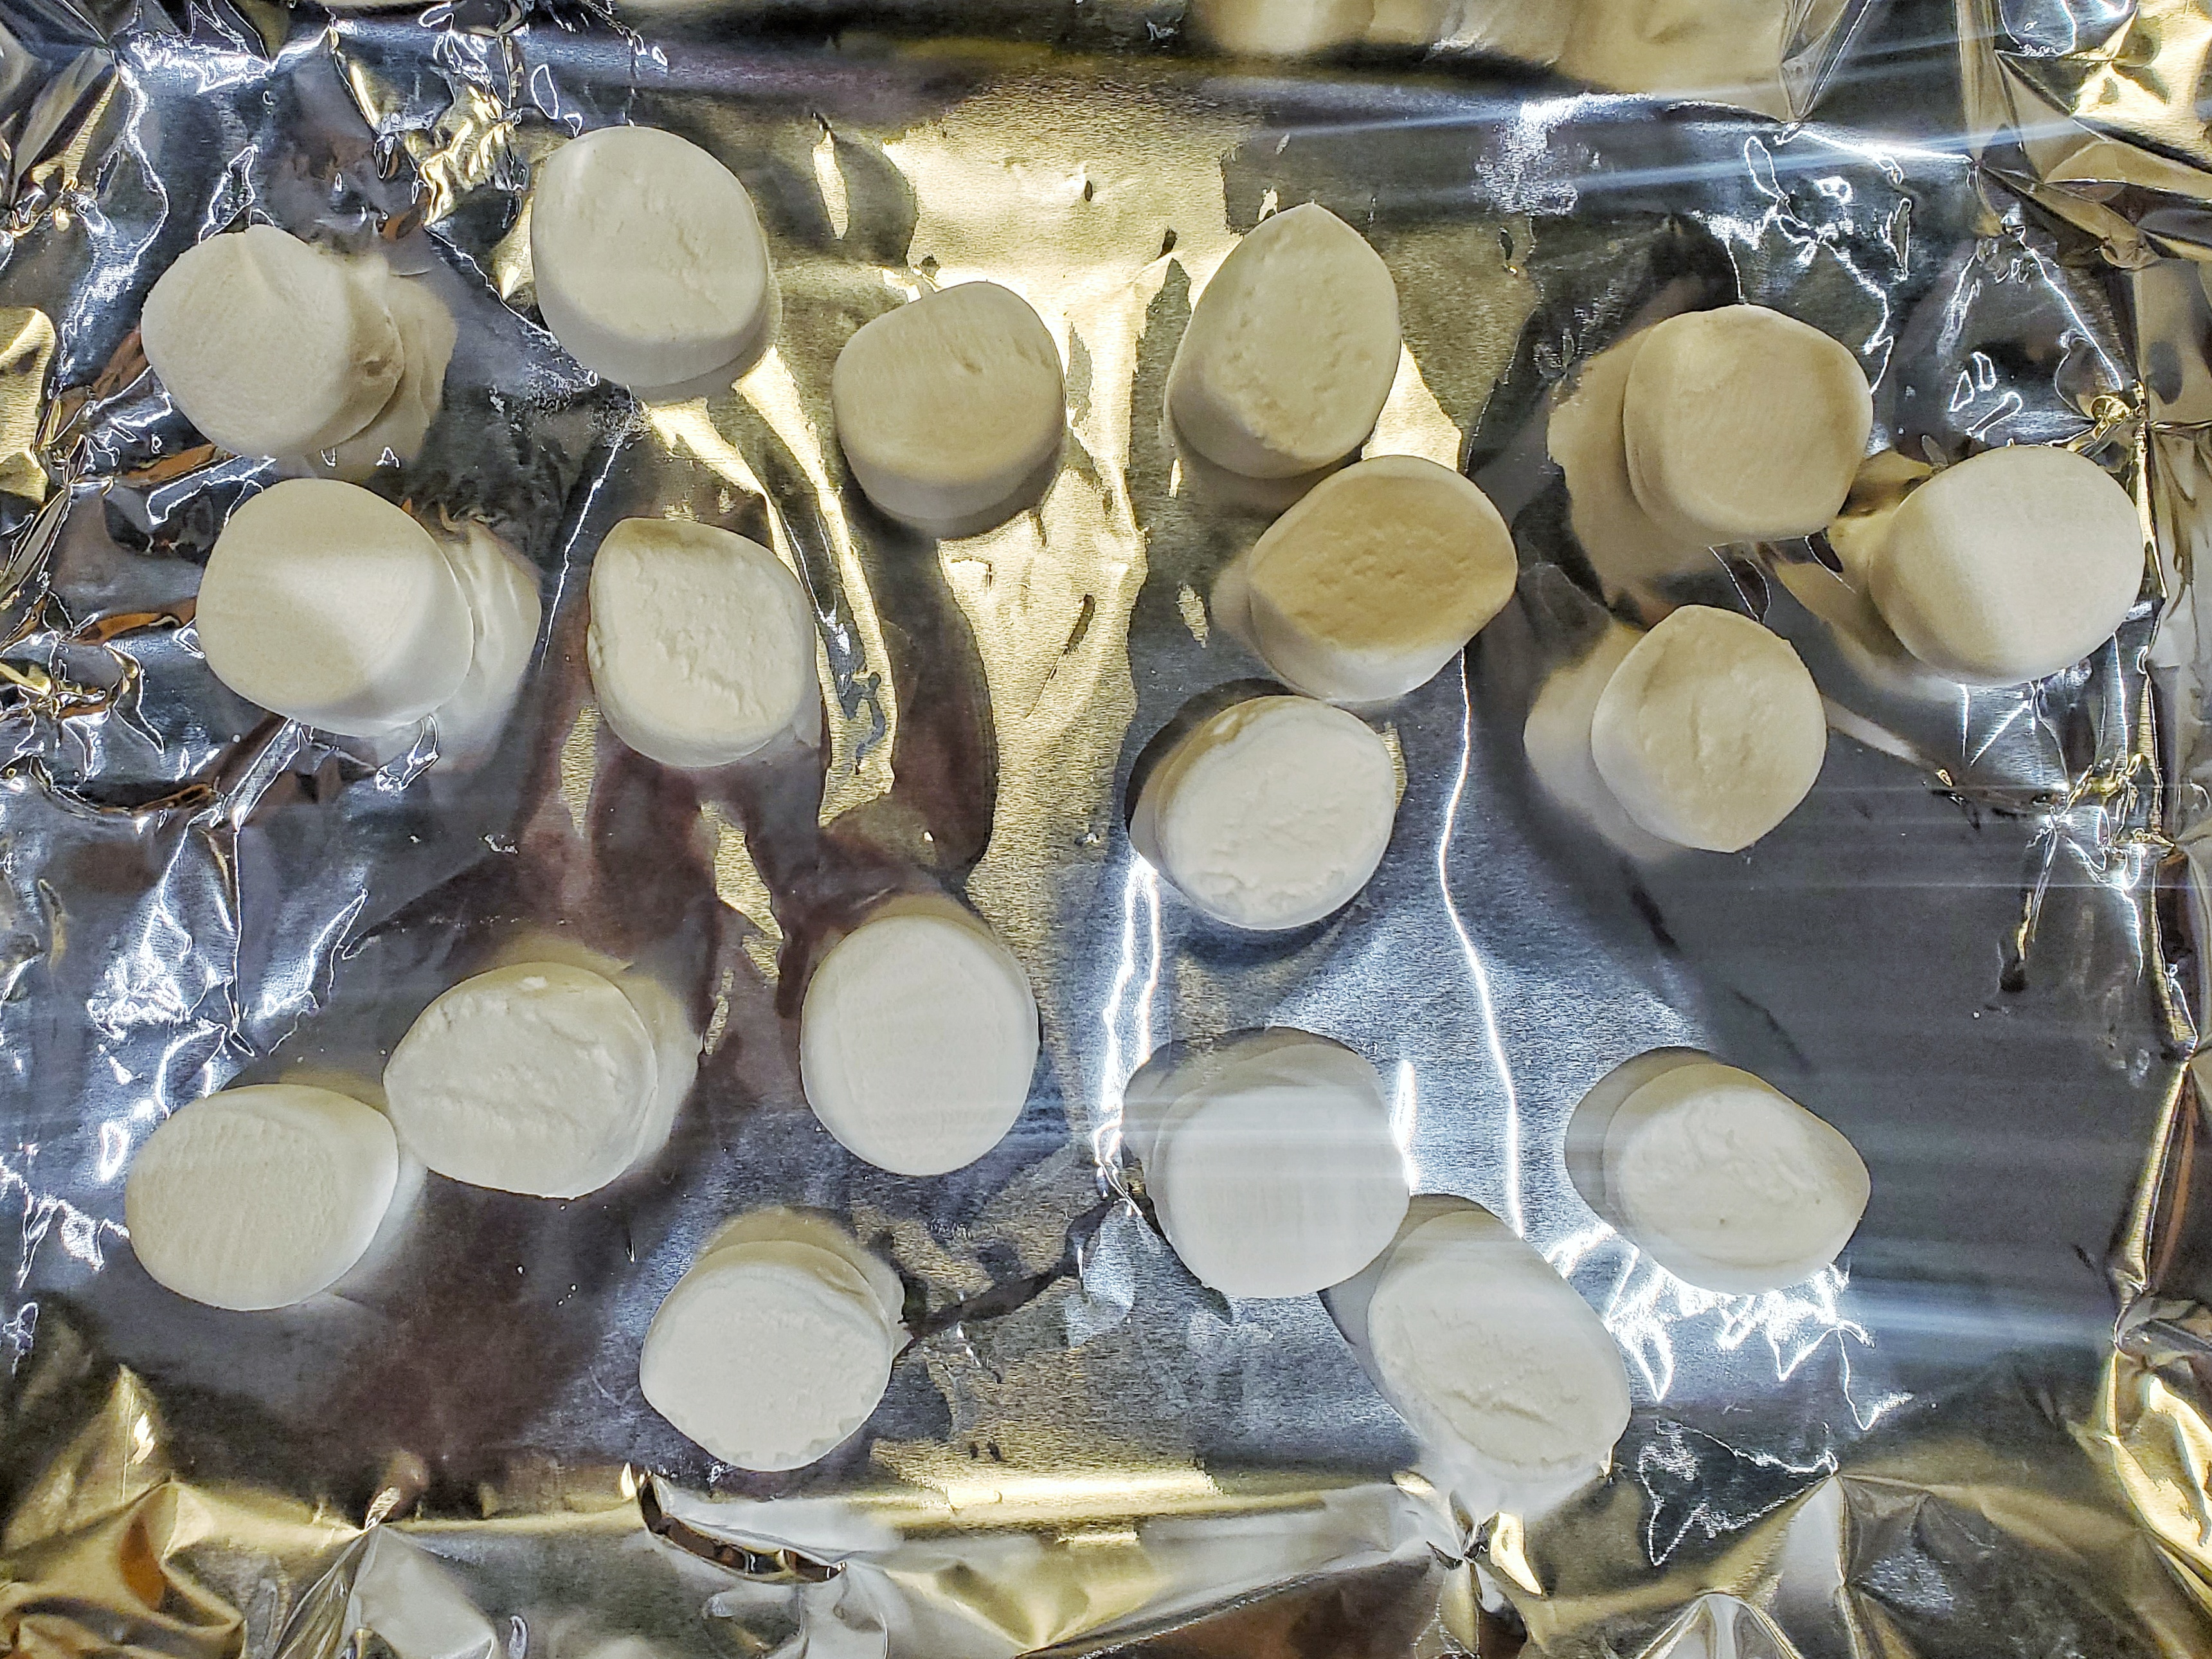
Marshmallows on tray for roasting
Marshmallows ready for roasting
Roasted marshmallows for Smores ice cream
Roasted marshmallows

Types of graham crackers to use for S’mores


The great part about S’mores is that you can use any flavor of graham crackers you’d like!

For my ice cream recipe, I used graham crackers sweetened with honey. I wanted to stick to the sweeter theme of the ice cream. If you want, you can use the cinnamon flavor, or even chocolate graham crackers!

What chocolate should I use to make S’mores ice cream?


I like to be able to taste the flavor of the chocolate, so I went with semi-sweet chocolate chips. They aren’t as sweet as milk chocolate, and not as bitter as dark or bittersweet chocolate. You can switch it up and add white chocolate chips if you’d like!!!

I also went with mini chocolate chips instead of regular. When adding toppings to ice cream, you want to be mindful of their size. The toppings will be harder to chew once frozen, especially with chocolate chips which are already hard. Regular chocolate chips will still be the perfect size, but I preferred the miniatures for this particular recipe.
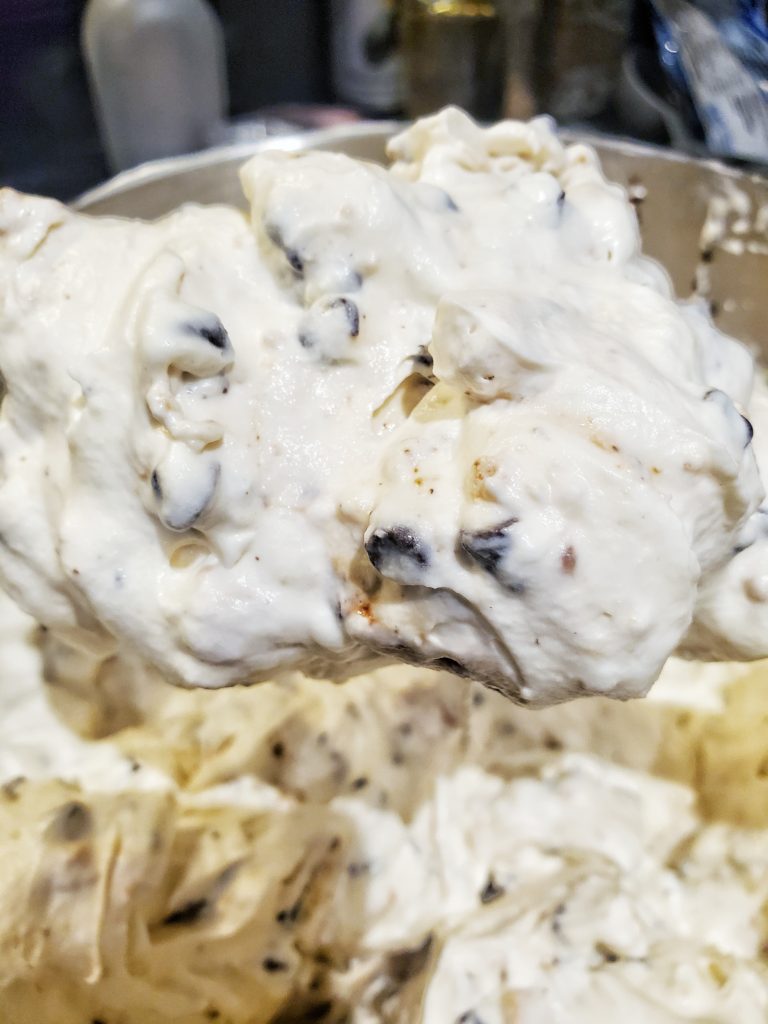
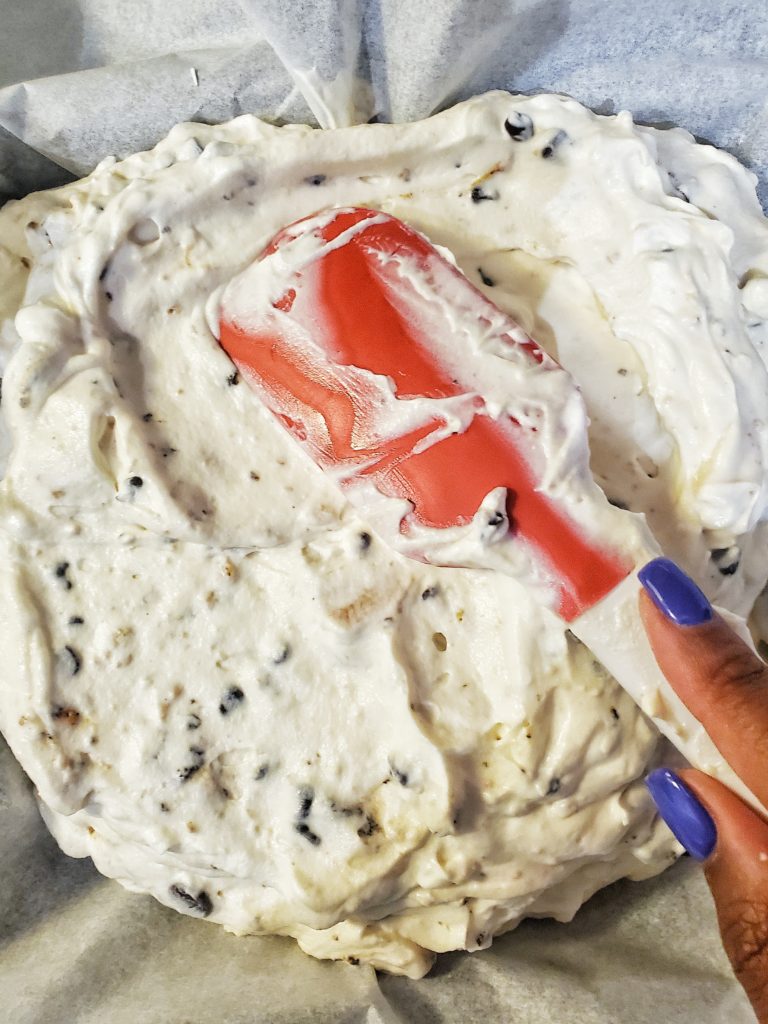
Smores ice cream base
S’mores ice cream base
Smores ice cream spread into a pan
S’mores ice cream spread into a container

Additional toppings for S’mores ice cream


I’ve debated with myself on if I wanted to make the ice cream base chocolate or vanilla. I figured vanilla would be best, and I could add additional chocolate to my liking depending on my mood.


So if you’re looking to kick this up a notch, drizzle your scooped ice cream with chocolate sauce or hot fudge! Sooooooo delicious, since it gives that melted chocolate feel, similar to making fresh S’mores!

Smores ice cream in cones

Homemade ice cream storage:


Once the ice cream is made, it’s best for it to be stored in an airtight container, similar to how store-bought ice cream is packaged. A tupperware container works perfectly.

It also helps to press a layer of plastic wrap or parchment paper directly onto the ice cream. This will prevent ice crystals from forming. After adding that additional layer, you’ll still need to close the container with the airtight lid.

If you’re looking for another no-churn ice cream recipe, check out my Cookie Butter Ice Cream!!!

No Churn S’mores Ice Cream with Toasted Marshmallows

S’mores are a great year-round dessert. Turning it into S’mores ice cream with toasted marshmallows is a winner!
Prep Time15 minutes
Chill Time4 hours
Total Time4 hours 15 minutes
Course: Dessert
Cuisine: American
Keyword: chocolate, dessert, graham cracker, marshmallow, marshmallows, no churn, no churn ice cream, smore, smores
Servings: 12 servings
Author: Crystal

Equipment

  • Handheld or stand mixer
  • Baking sheet
  • Rubber spatula
  • Airtight container
  • Parchment paper or plastic wrap

Ingredients

  • 8 marshmallows cut into halves
  • 2 cups heavy whipping cream
  • 14 ounces sweetened condensed milk
  • 2 tsp vanilla extract
  • ½ cup mini chocolate chips
  • 4 graham crackers broken into chunks

Instructions

  • Place marshmallows onto a baking sheet. Toast the marshmallows under a broiler on high, or with a kitchen torch, for one minute, or until toasted to your liking. Once toasted, set the marshmallows aside to cool.
  • Whip the heavy cream on high, in a large bowl with a hand mixer or on a stand mixer, for 2-3 minutes. The whip cream is the right consistency when stiff peaks are formed.
  • Pour the condensed milk and vanilla extract into the whipped cream. Whip on low for 30 seconds to incorporate.
  • Add the cooled marshmallows, chocolate chips, and graham cracker chunks into the ice cream base. Gently mix the ingredients together with a rubber spatula.
  • Pour the ice cream mixture into an airtight and freezer safe container. Press a layer of plastic wrap or parchment paper directly onto the ice cream.
  • Cover the container with an airtight lid and freeze for 2 hours for a soft serve consistency, or at least 4 hours for a scoopable consistency.

Notes

Mini marshmallows can be used instead of large.
 

Note: this post contains affiliate links.
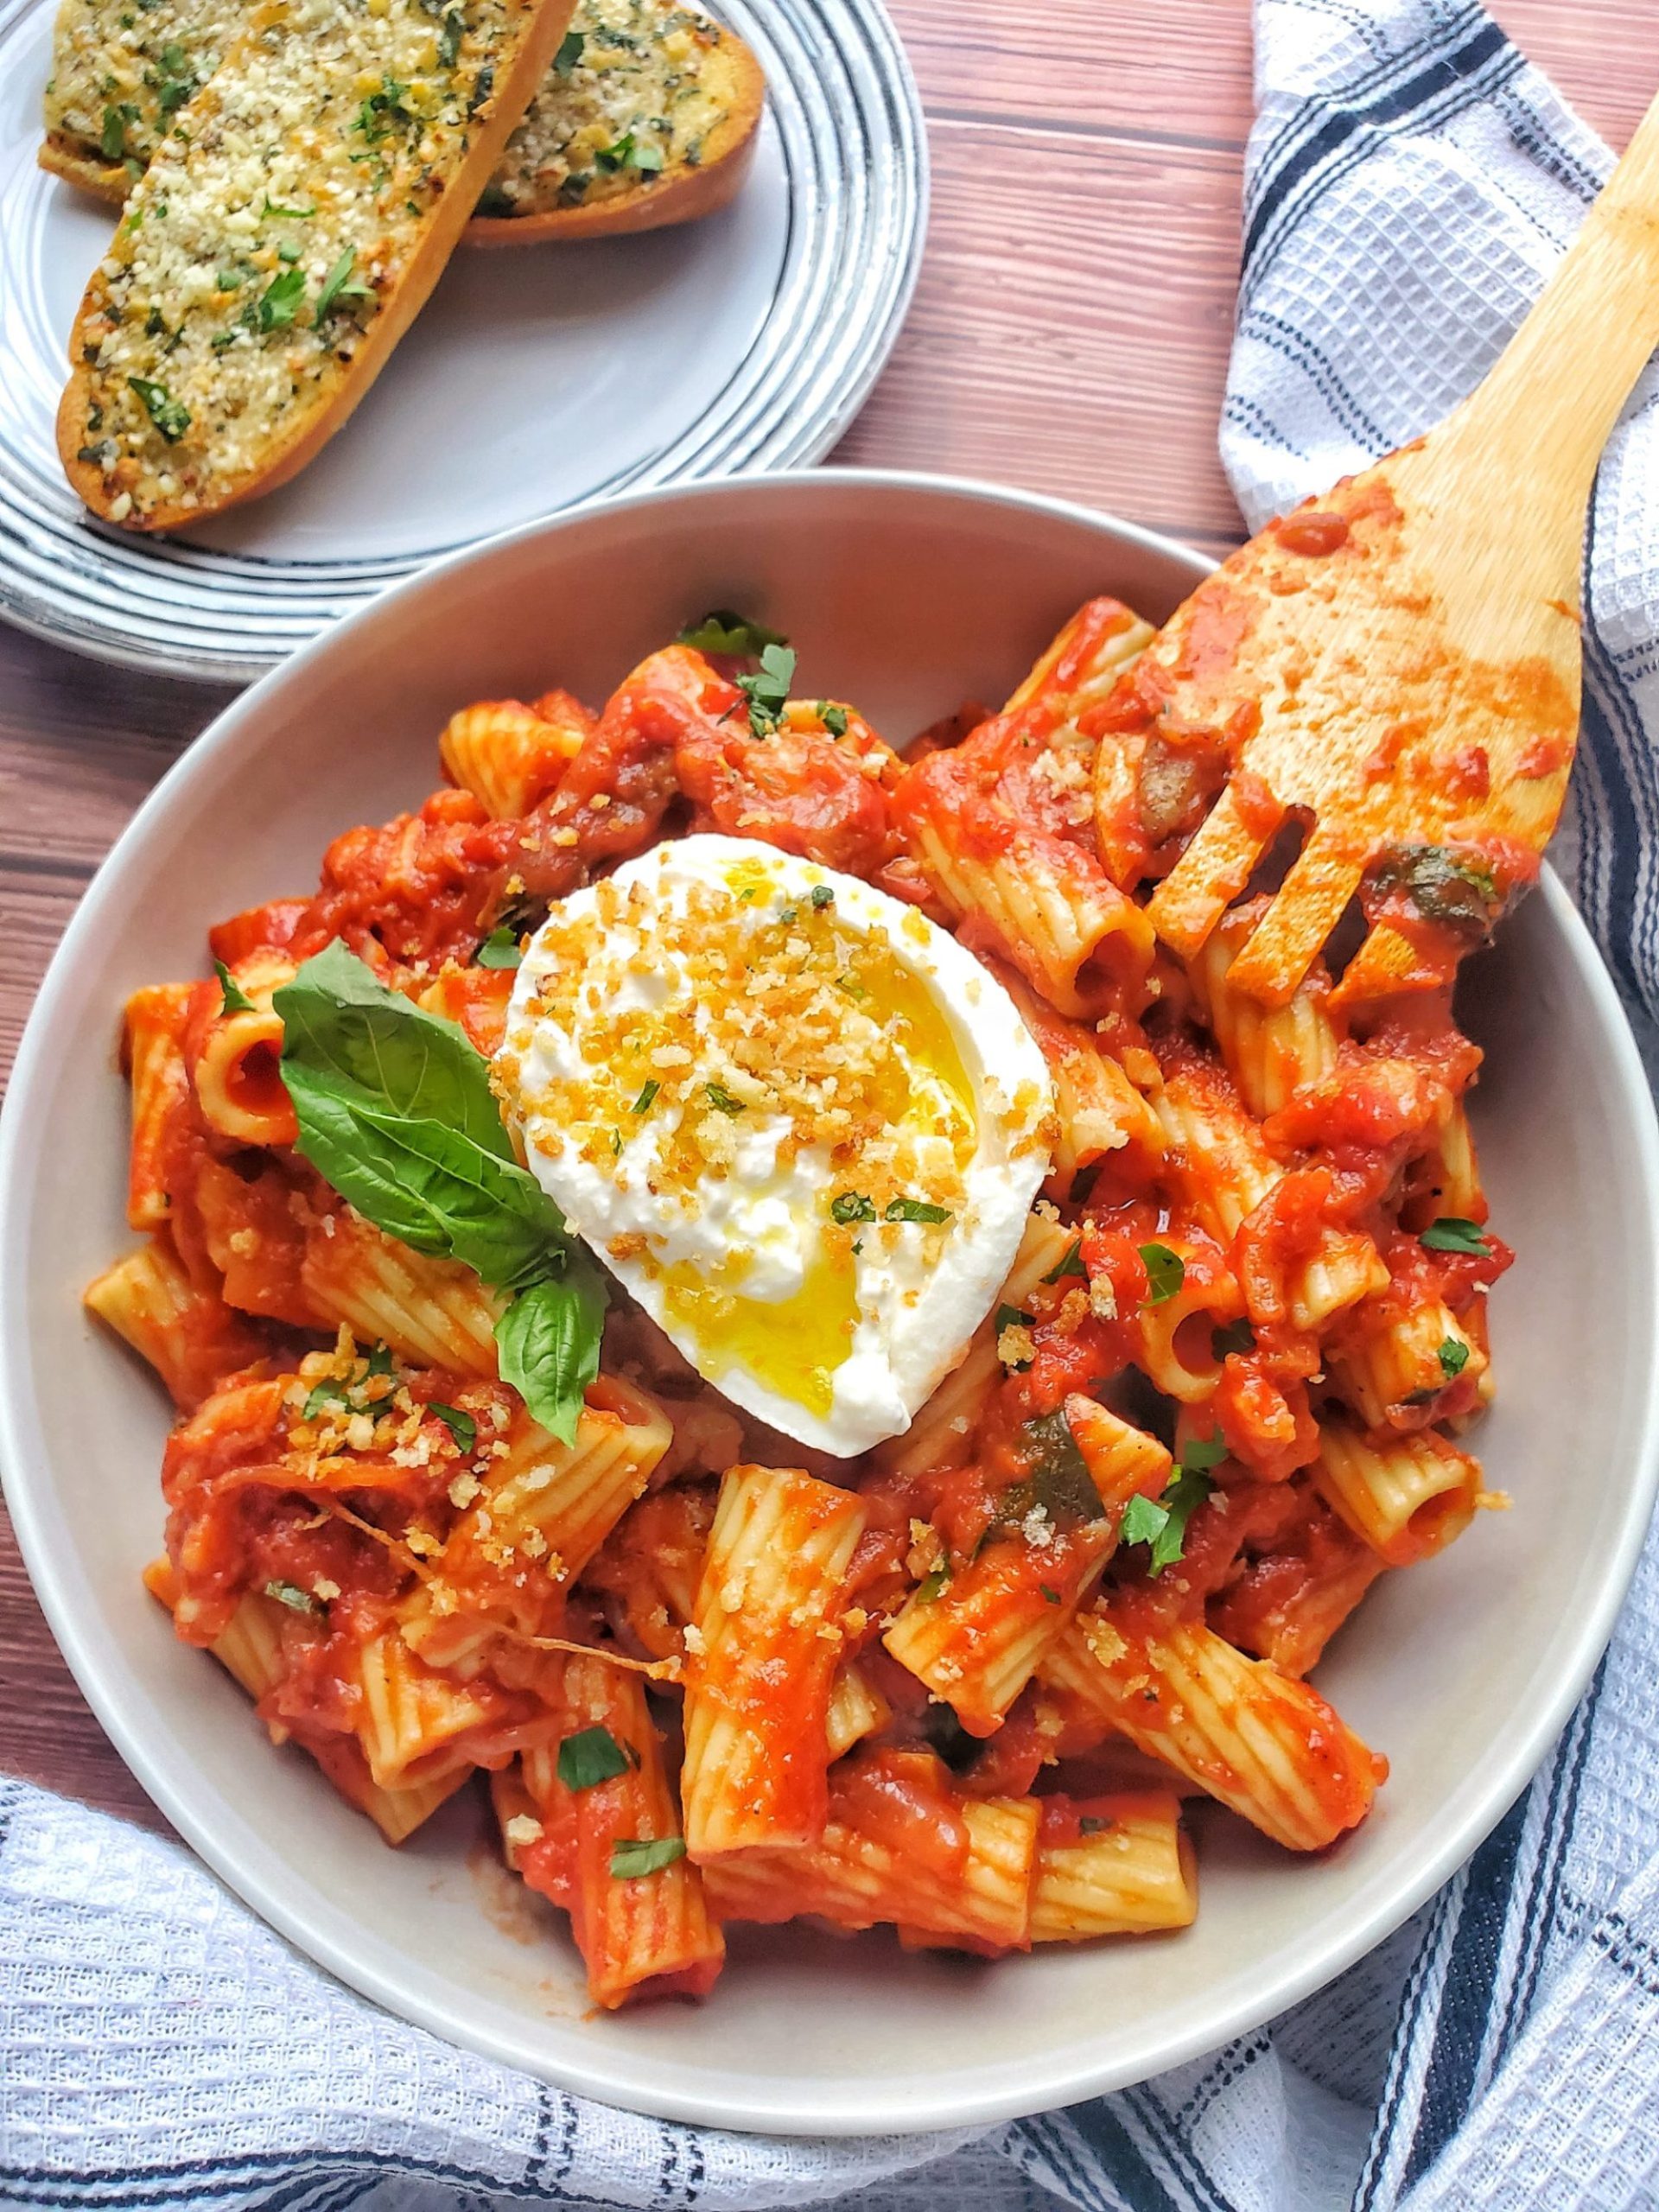
Cookie Butter Cheesecake No Churn Ice Cream with Espresso

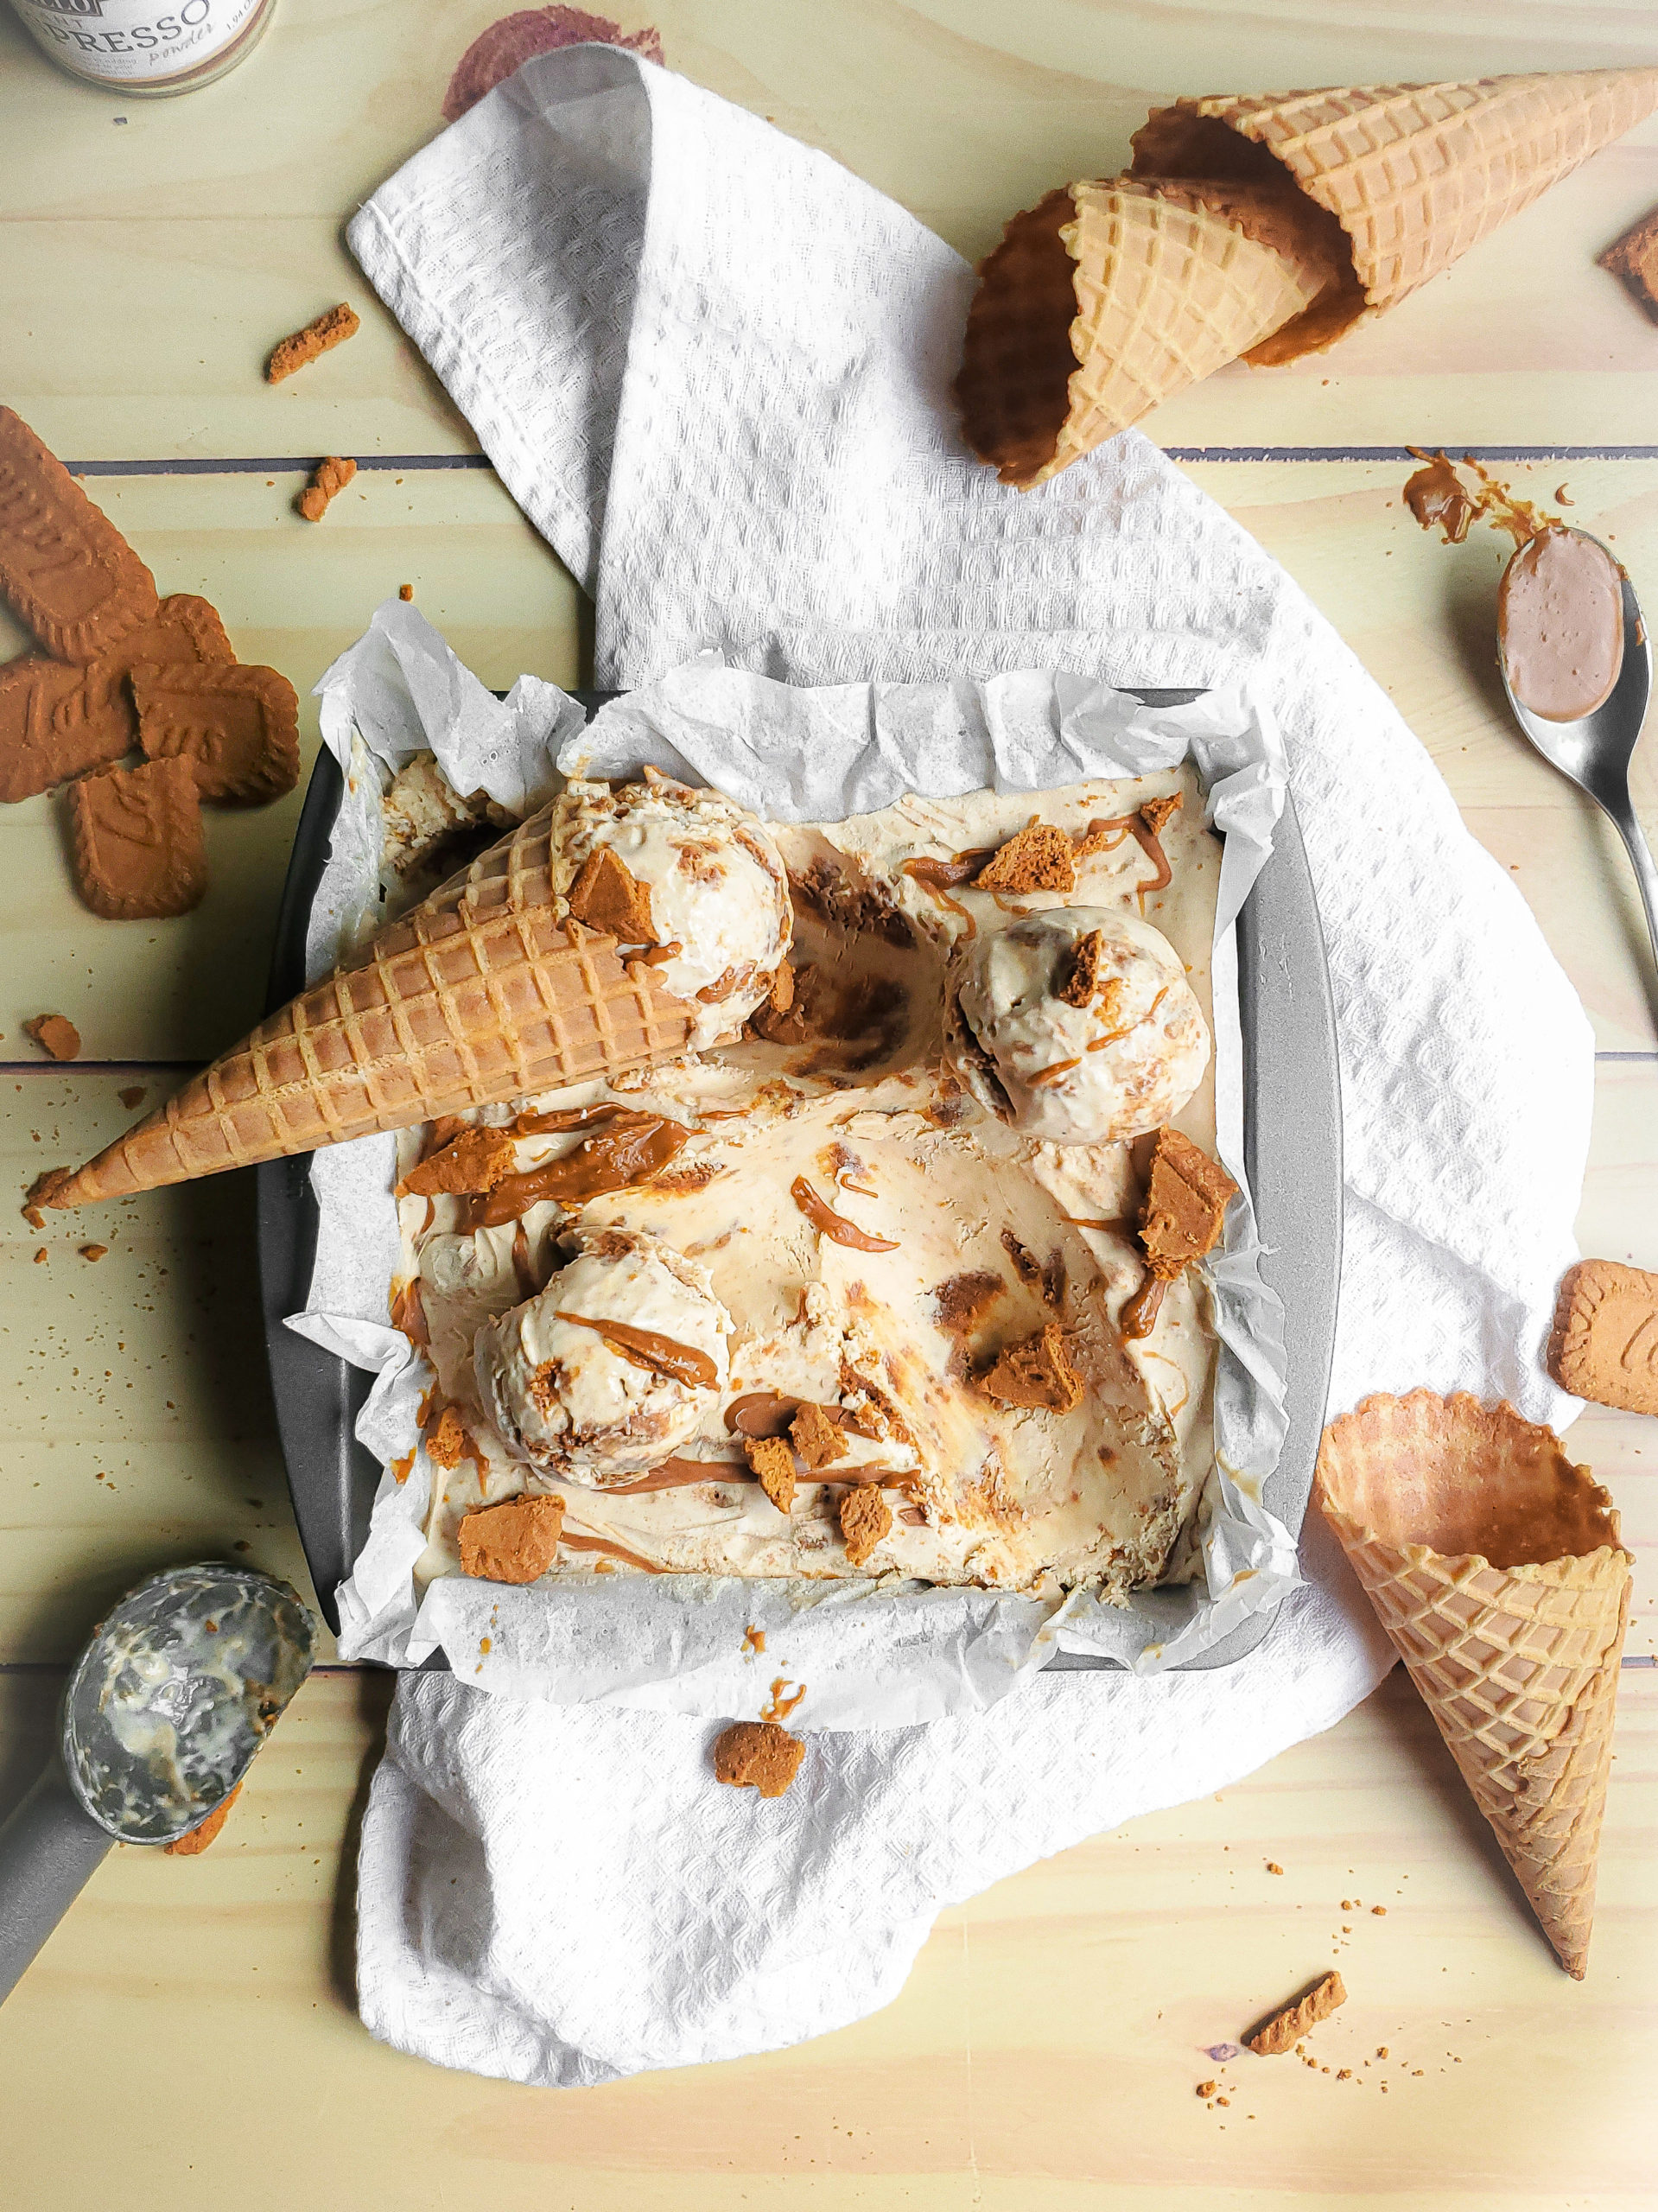
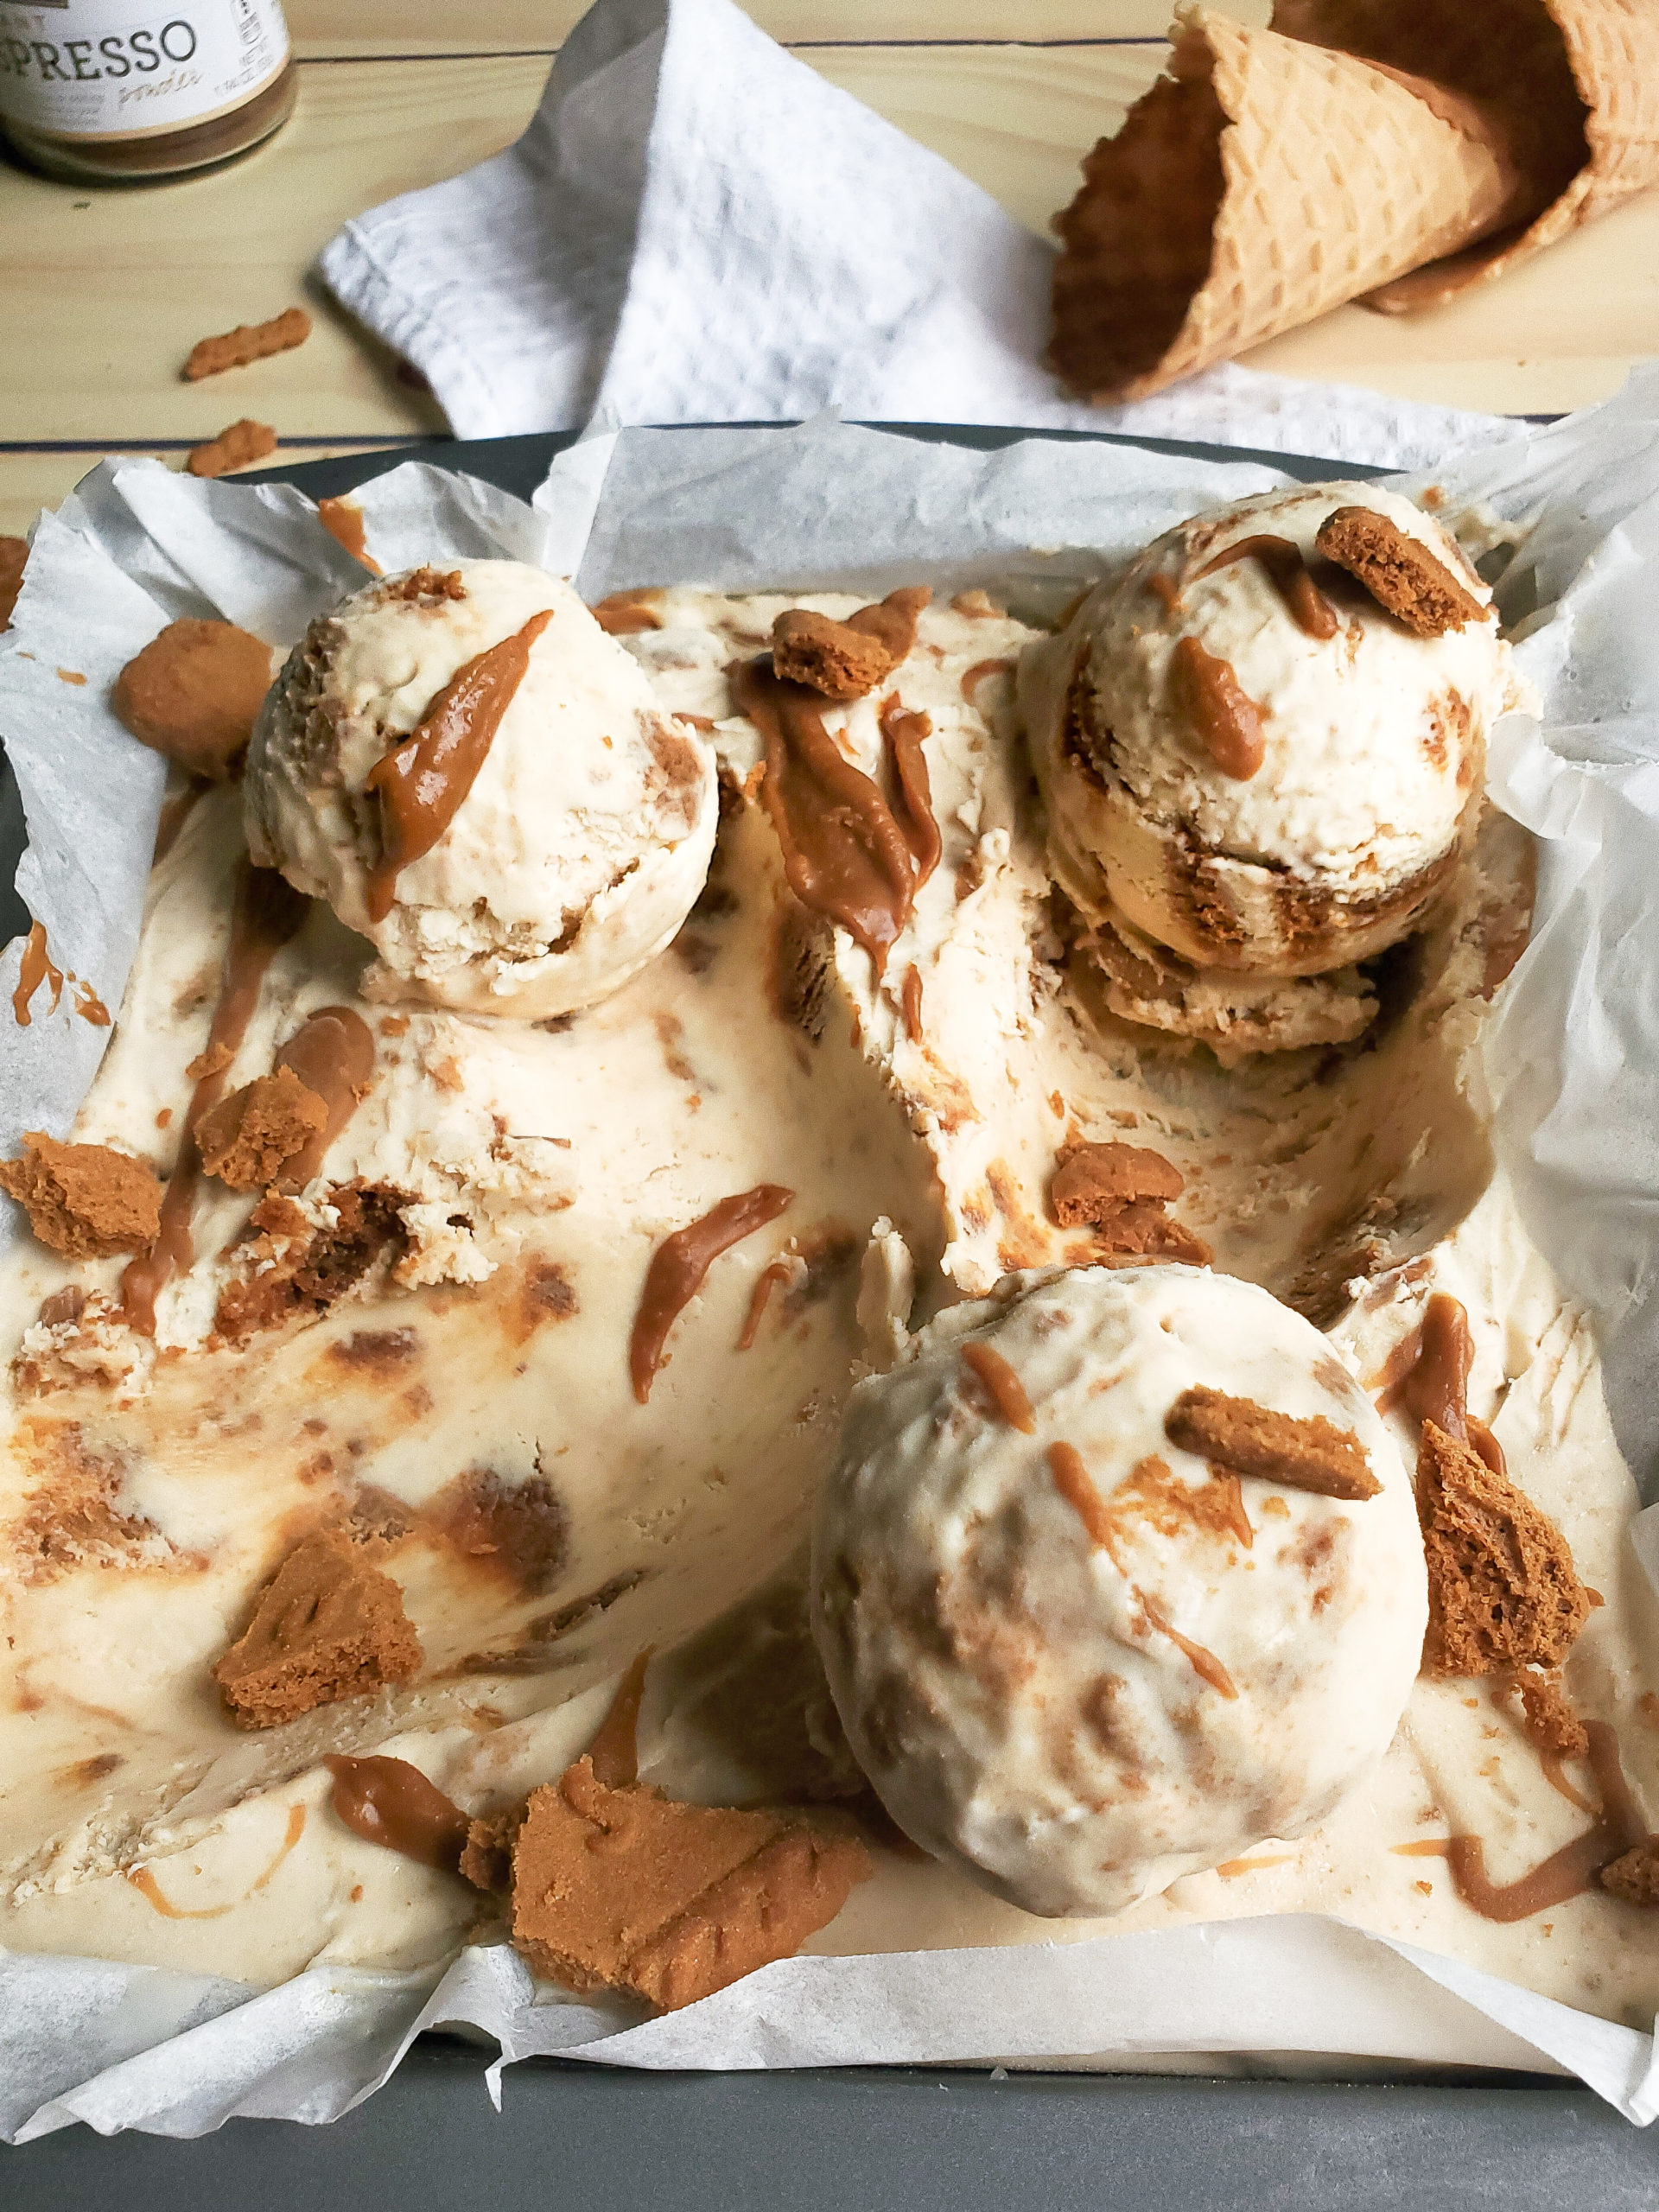
Pan of cookie butter ice cream

No-churn ice cream will be a staple in every household this summer! And my No Churn Cookie Butter Cheesecake Ice Cream with Espresso and Kahlua is one you’ll want to keep in rotation!

Cookie butter ice cream in a pan with waffle cones

So, you’re looking for a way to make homemade ice cream, but do not have an ice cream machine handy. Don’t worry, my friend. That ice cream can still easily be made without one! No churn ice cream is the new kid on the block, and for a good reason…save time, along with money and space on equipment

I may or may not be addicted to cookie butter, so I absolutely had to incorporate it into ice cream! Initially, I wanted to keep it simple by adding the cookie butter and crushed Biscoff cookies, but nope! I had to take it up a notch by soaking those cookies in Kahlua and espresso, and adding some cream cheese to my ice cream base. BOOM! No Churn Cookie Butter Cheesecake Ice Cream with Espresso was born!

What is “no-churn” ice cream?
No churn ice cream simply means that the ice cream is not made with an ice cream maker.

Churned ice cream will usually contain eggs and sugar cooked ahead of time into a custard base. The churning will help to keep the ice cream base nice and smooth, while simultaneously freezing it.

With no churn ice cream, the sugar is replaced with sweetened condensed milk. Additionally, since there is no egg, churning is not necessary! As long as you have a hand or stand mixer, that’ll count as the “churning” needed to make a nice smooth ice cream base.

Pan of homemade cookie butter no churn ice cream

How do I make no-churn ice cream?


It’s soooo simple to make no-churn ice cream at home. So easy that you’ll question why you haven’t been doing this before!

To make no churn ice cream, you’ll do the following:

  1. Make a batch of whipped cream
  2. Mix in sweetened condensed milk and vanilla extract
  3. Gently fold in your ice cream topping(s) of choice
  4. Pour the ice cream mixture into a freezer safe container, cover with plastic wrap and lid, and freeze

How long does no churn ice cream take to make?

As you can see from the steps above, no churn ice cream is really easy to make. The ice cream base takes up to 10 minutes to whip together. Freezing then serving the ice cream will depend on the consistency you’re looking for:

For a softer no churn ice cream, similar to soft serve, freeze for 2 hours.
For a firmer texture, freeze for at least 4 hours.

Scoop of no churn cookie butter ice cream on a cone

How to store homemade ice cream

The great thing about this recipe is the way the ice cream is made is how it’s stored!

It’s best to store homemade ice cream in a freezer safe container with a tight fitting lid. Using an airtight container will help to prevent freezer burn. Take it an extra step by pressing a piece of parchment paper directly on top of the ice cream.

As far as age, I would recommend eating the ice cream within a month (if it lasts that long because ohemgee it’s good!). Most store-bought ice cream has preservatives extending the shelf life several weeks. That of course is not the case with ice cream made at home.

What type of toppings can I use for no churn ice cream?

The great thing about making ice cream in the comfort of your home is literally customizing it to your liking!

Add whatever toppings you’d like to the ice cream base. Be mindful to gently fold those toppings in so that they aren’t breaking up too much in the ice cream.

If you’re using nuts, chunks of candy, cookies, I highly suggest you chop them into as small of a piece as you can. While it sounds fun to bite into a spoonful of ice cream with huge chunks of your favorite topping, that topping will also be very hard to chew when frozen. It will hurt to bite into and we don’t want to lose any teeth. The larger chunks will also make the ice cream harder to scoop. So crush the toppings to the size of a chocolate chip, and you’re good to go!

I’m hoping you get to try (and fall in love with) my No Churn Cookie Butter Cheesecake Ice Cream with Espresso! If so, I’d love it if you left a review and star rating, along with tagging me on Instagram!

No Churn Cookie Butter Cheesecake Ice Cream with Espresso

No-churn ice cream will be a staple in every household this summer! And my Cookie Butter Cheesecake Ice Cream with Espresso and Kahlua is one you’ll want to keep in rotation!
Prep Time10 minutes
Freeze Time4 hours
Total Time4 hours 10 minutes
Course: Dessert
Cuisine: American
Keyword: biscoff, cheesecake, cookie butter, cookies, espresso, ice cream, kahlua, no churn, no churn ice cream, speculoos
Servings: 8 servings
Author: Crystal

Equipment

  • Hand or stand mixer with whip attachment
  • Rubber spatula
  • Small mixing bowls
  • Freezer safe container with an airtight lid
  • Plastic wrap

Ingredients

  • 2 cups heavy whipping cream
  • ½ cup cookie butter
  • 4 ounces cream cheese room temperature
  • 14 ounces sweetened condense milk
  • 1 tsp vanilla extract
  • 2 ounces espresso room temperature
  • 1 ounce Kahlua
  • 20 Biscoff cookies

Instructions

  • Whip the heavy cream on high, in a large bowl with a hand mixer or on a stand mixer, for 2-3 minutes. The whip cream is the right consistency when stiff peaks are formed.
  • In a separate bowl, whip the cookie butter and cream cheese on high for 1 minute, or until smooth.
  • Add the cookie butter mixture to the whipped cream, along with the sweetened condensed milk and vanilla extract. Whip on low for 1 minute.
  • In a small bowl, mix together the espresso and Kahlua.
  • Individually soak both sides of the cookies in the espresso and set aside. The cookies will soak up the liquid quickly, and will only need to be in the espresso for 1 second per side.
  • Crush the cookies into chunks and add to the ice cream base. With a rubber spatula, gently mix in the cookies. (If there is leftover espresso, it can be added into the ice cream base)
  • Pour the ice cream mixture into a freezer safe container. Press a layer of plastic wrap or parchment paper directly onto the ice cream.
  • Cover the container with an airtight lid and freeze for 2 hours for a soft serve consistency, or at least 4 hours for a scoopable consistency.

Notes

Kahlua can be omitted from the recipe. Replace it with additional espresso.
 

I can tell you’re a huge fan of cookie butter! You should definitely try your hand at my Cookie Butter Tiramisu and Cookie Butter Chocolate Pudding Pie!!!

Easy No Bake Cookie Butter & Chocolate Pudding Pie

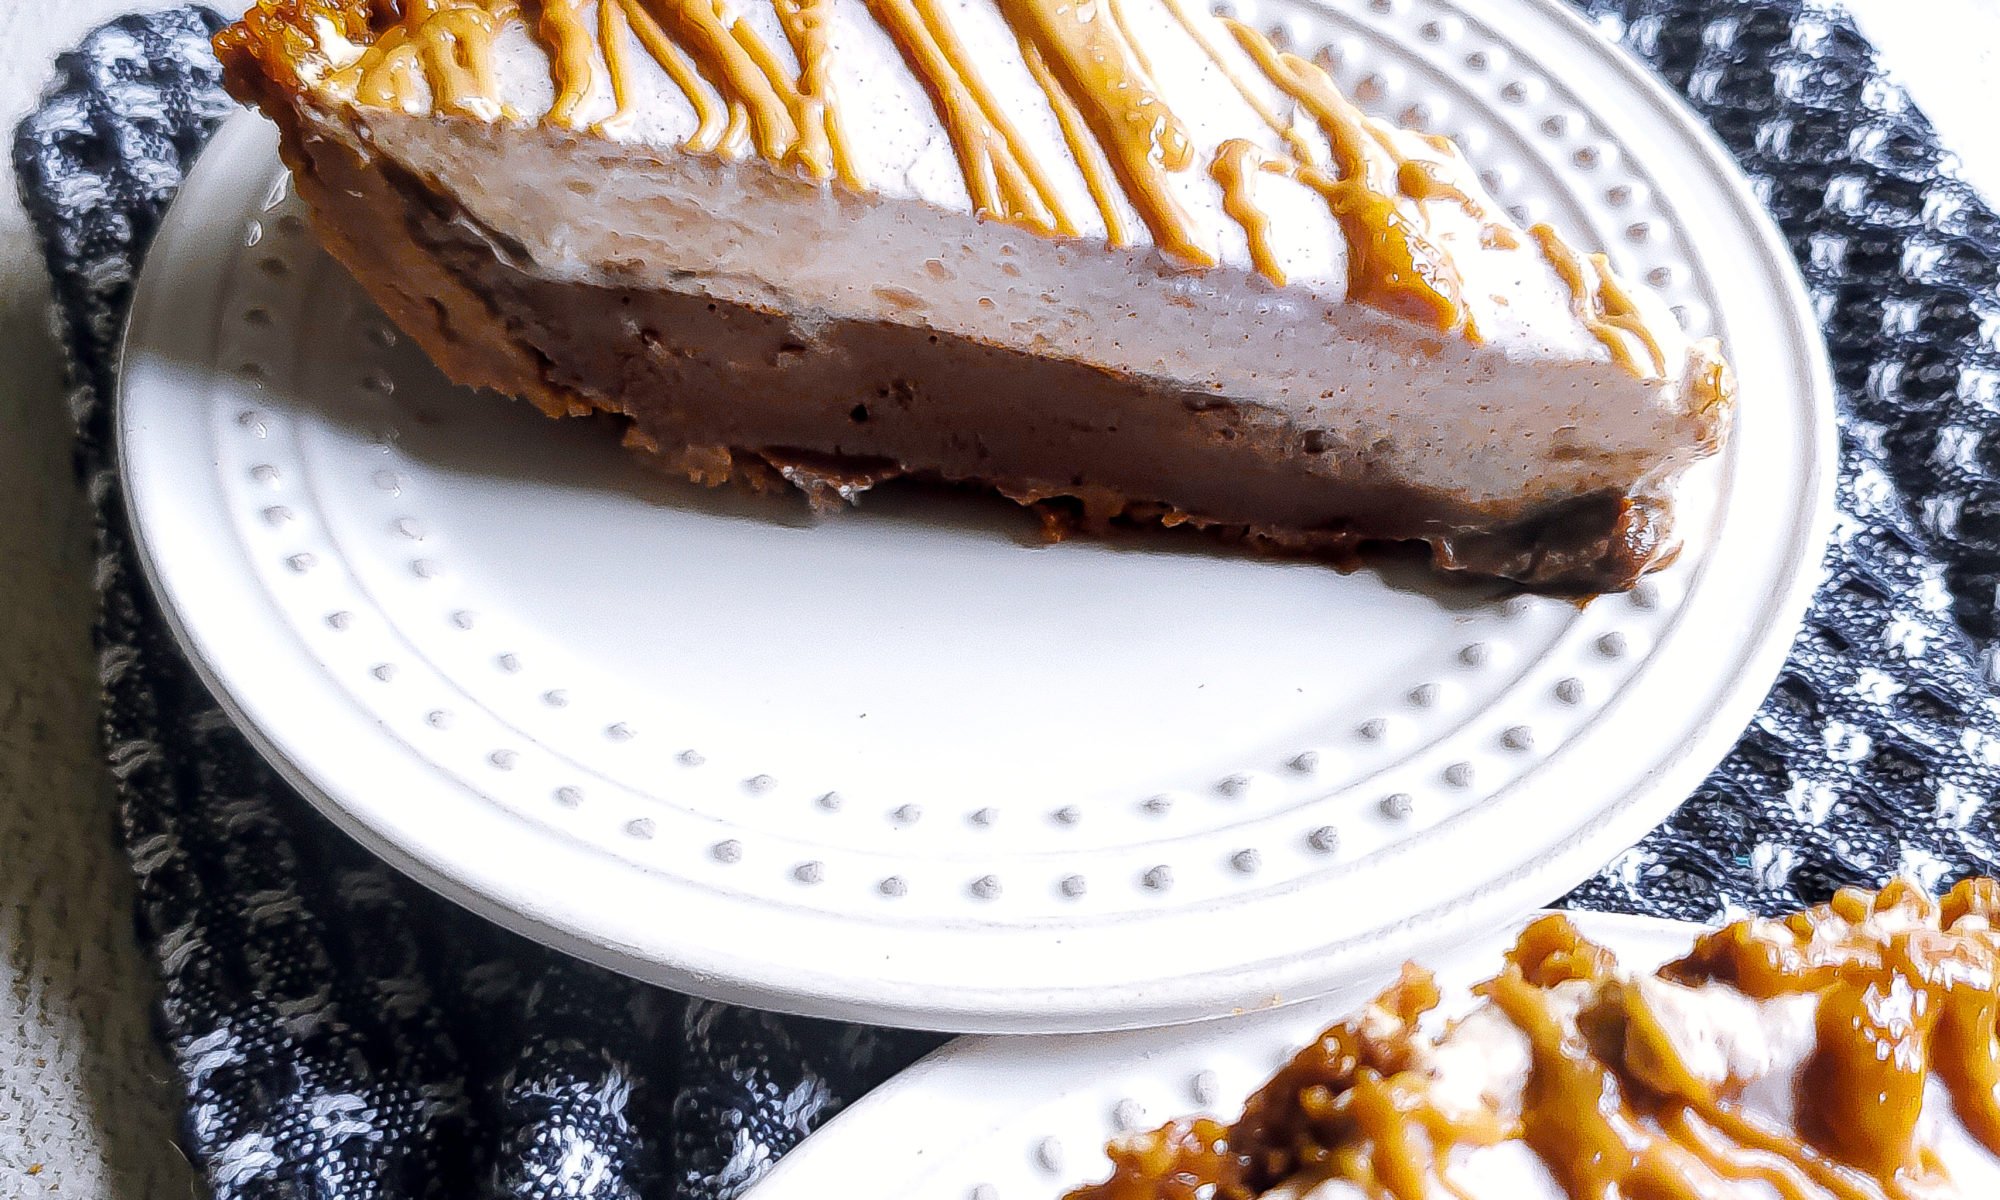
Close up of chocolate cookie butter pudding pie
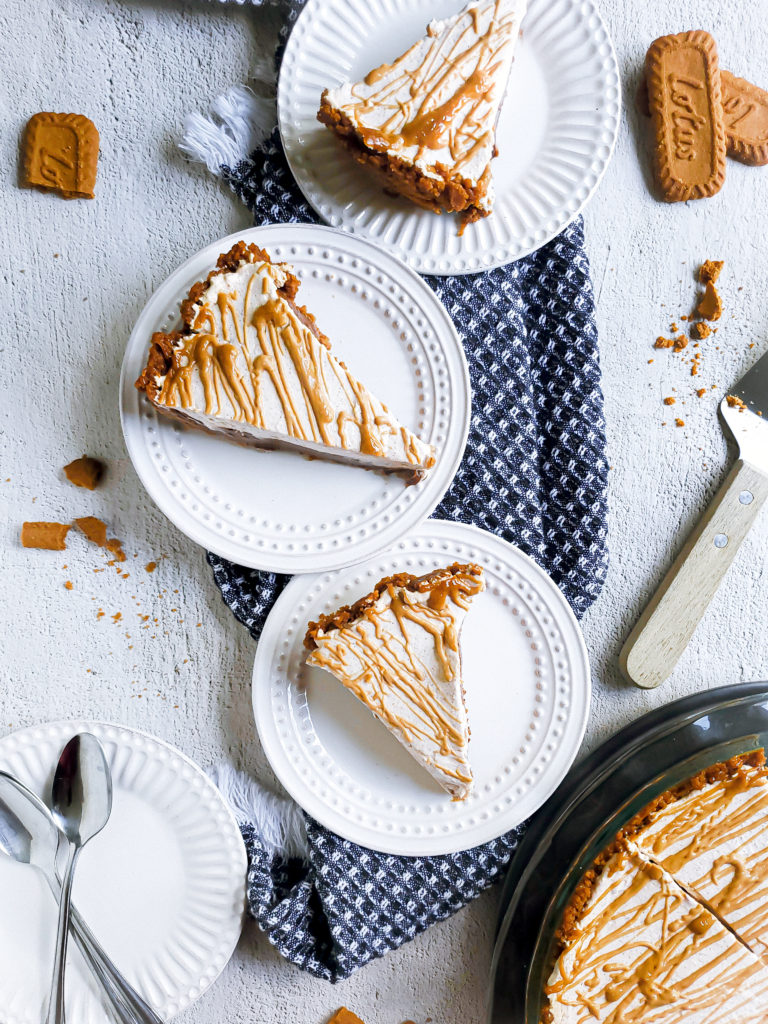
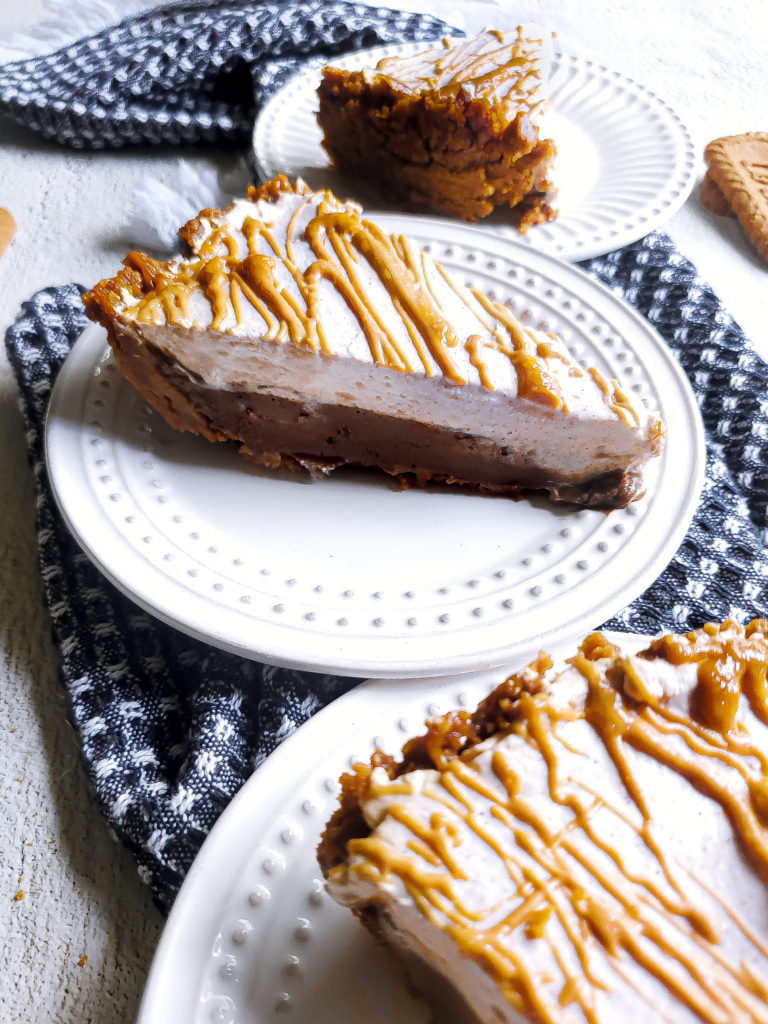
Slices of pudding pie

In just an hour and a half, you can have this delicious cookie butter and chocolate pudding pie for dessert, and without turning on an oven! The combo of the cookie butter and chocolate is so good on its own. Topping it with cinnamon whipped cream makes it even better! Making a cookie crust with Biscoff cookies makes these even better-er!!! (Yeah, I’m aware that’s not a real word.)

How do I assemble the pudding pie?

This chocolate cookie butter pudding pie with cinnamon whipped cream topping is 3 recipes in one: the crust, the pudding, and the whipped cream. It may sound like a lot, but trust me when I say each individual recipe is very easy to do! The hard part of this recipe is waiting for the pudding to cool and set before eating, because you’ll definitely want to eat this right away.

Just as a quick summary, the pie is made by:

  • Cooking the pudding and letting it cool
  • Making the cookie crust while the pudding cools
  • Adding the pudding into the crust, covering, and chilling
  • Topping the pudding with whipped cream
Close up of chocolate cookie butter pudding pie

Luckily, Cookie butter can be found in a few places. 

I used Lotus Biscoff’s smooth cookie butter for this recipe, which I’ve found in Target, Giant, and Wegmans

There’s also the option to use Trader Joe’s Speculoos cookie butter if you can’t get your hands on Lotus Biscoff’s brand. Walmart also has their version of Speculoos available. 

I’ve found all of these in the peanut butter aisle.

Where can I find Biscoff cookies?

The Biscoff cookies can be found at the same stores listed above, in the packaged cookie aisle. It will most likely be in the smaller section with specialty cookies. They come in a sleeve of about 30 cookies. 

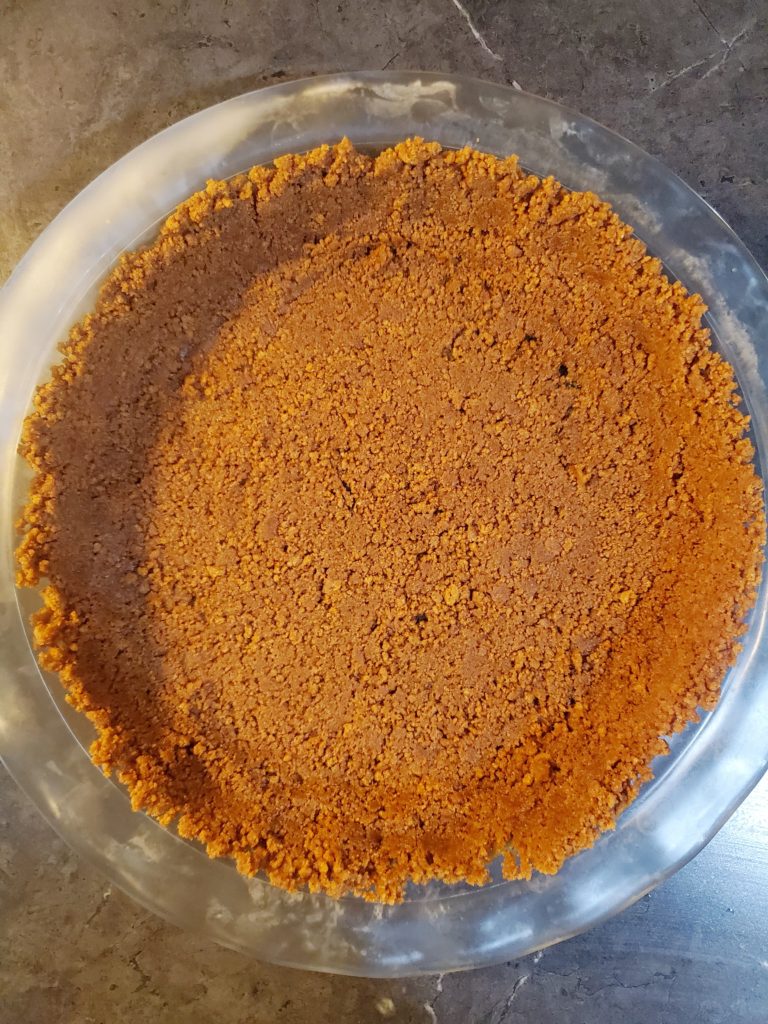
Biscoff cookie crust

What to use if you don’t have Biscoff cookies:

Now, if you’re a huge cookie butter fan, you’ll definitely want to get your hands on Biscoff cookies to make the cookie crust from scratch.

But if you can’t find any, a graham cracker or Oreo cookie crust will work! You can purchase a pre-made crust to save a step. Just make sure you get a 9 inch deep dish version of the crust to go along with the amount of filling being made. 

Tips for making the chocolate pudding:

The chocolate cookie butter pudding cooks pretty fast. The ingredients get mixed together then warmed on the stovetop.

You’ll need to keep an eye on the mixture once it begins to steam. About a minute after that, the mixture will slowly simmer. This mixture will go from a thin to thick liquid in one minute. At this point, you’ll need to continuously whisk the pudding so it doesn’t burn, and so it’ll stay smooth. 

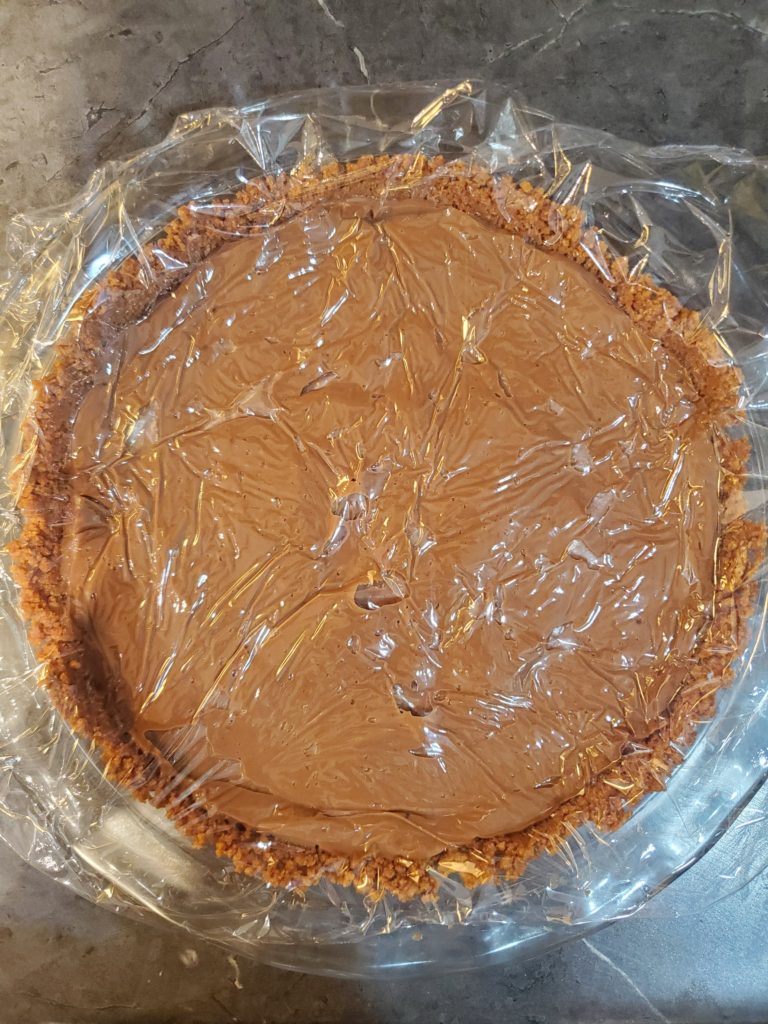
Additionally, while the pudding cools in the fridge, you’ll need to press plastic wrap directly onto the pudding itself. This helps to prevent a layer of film from forming on the pudding as it cools.

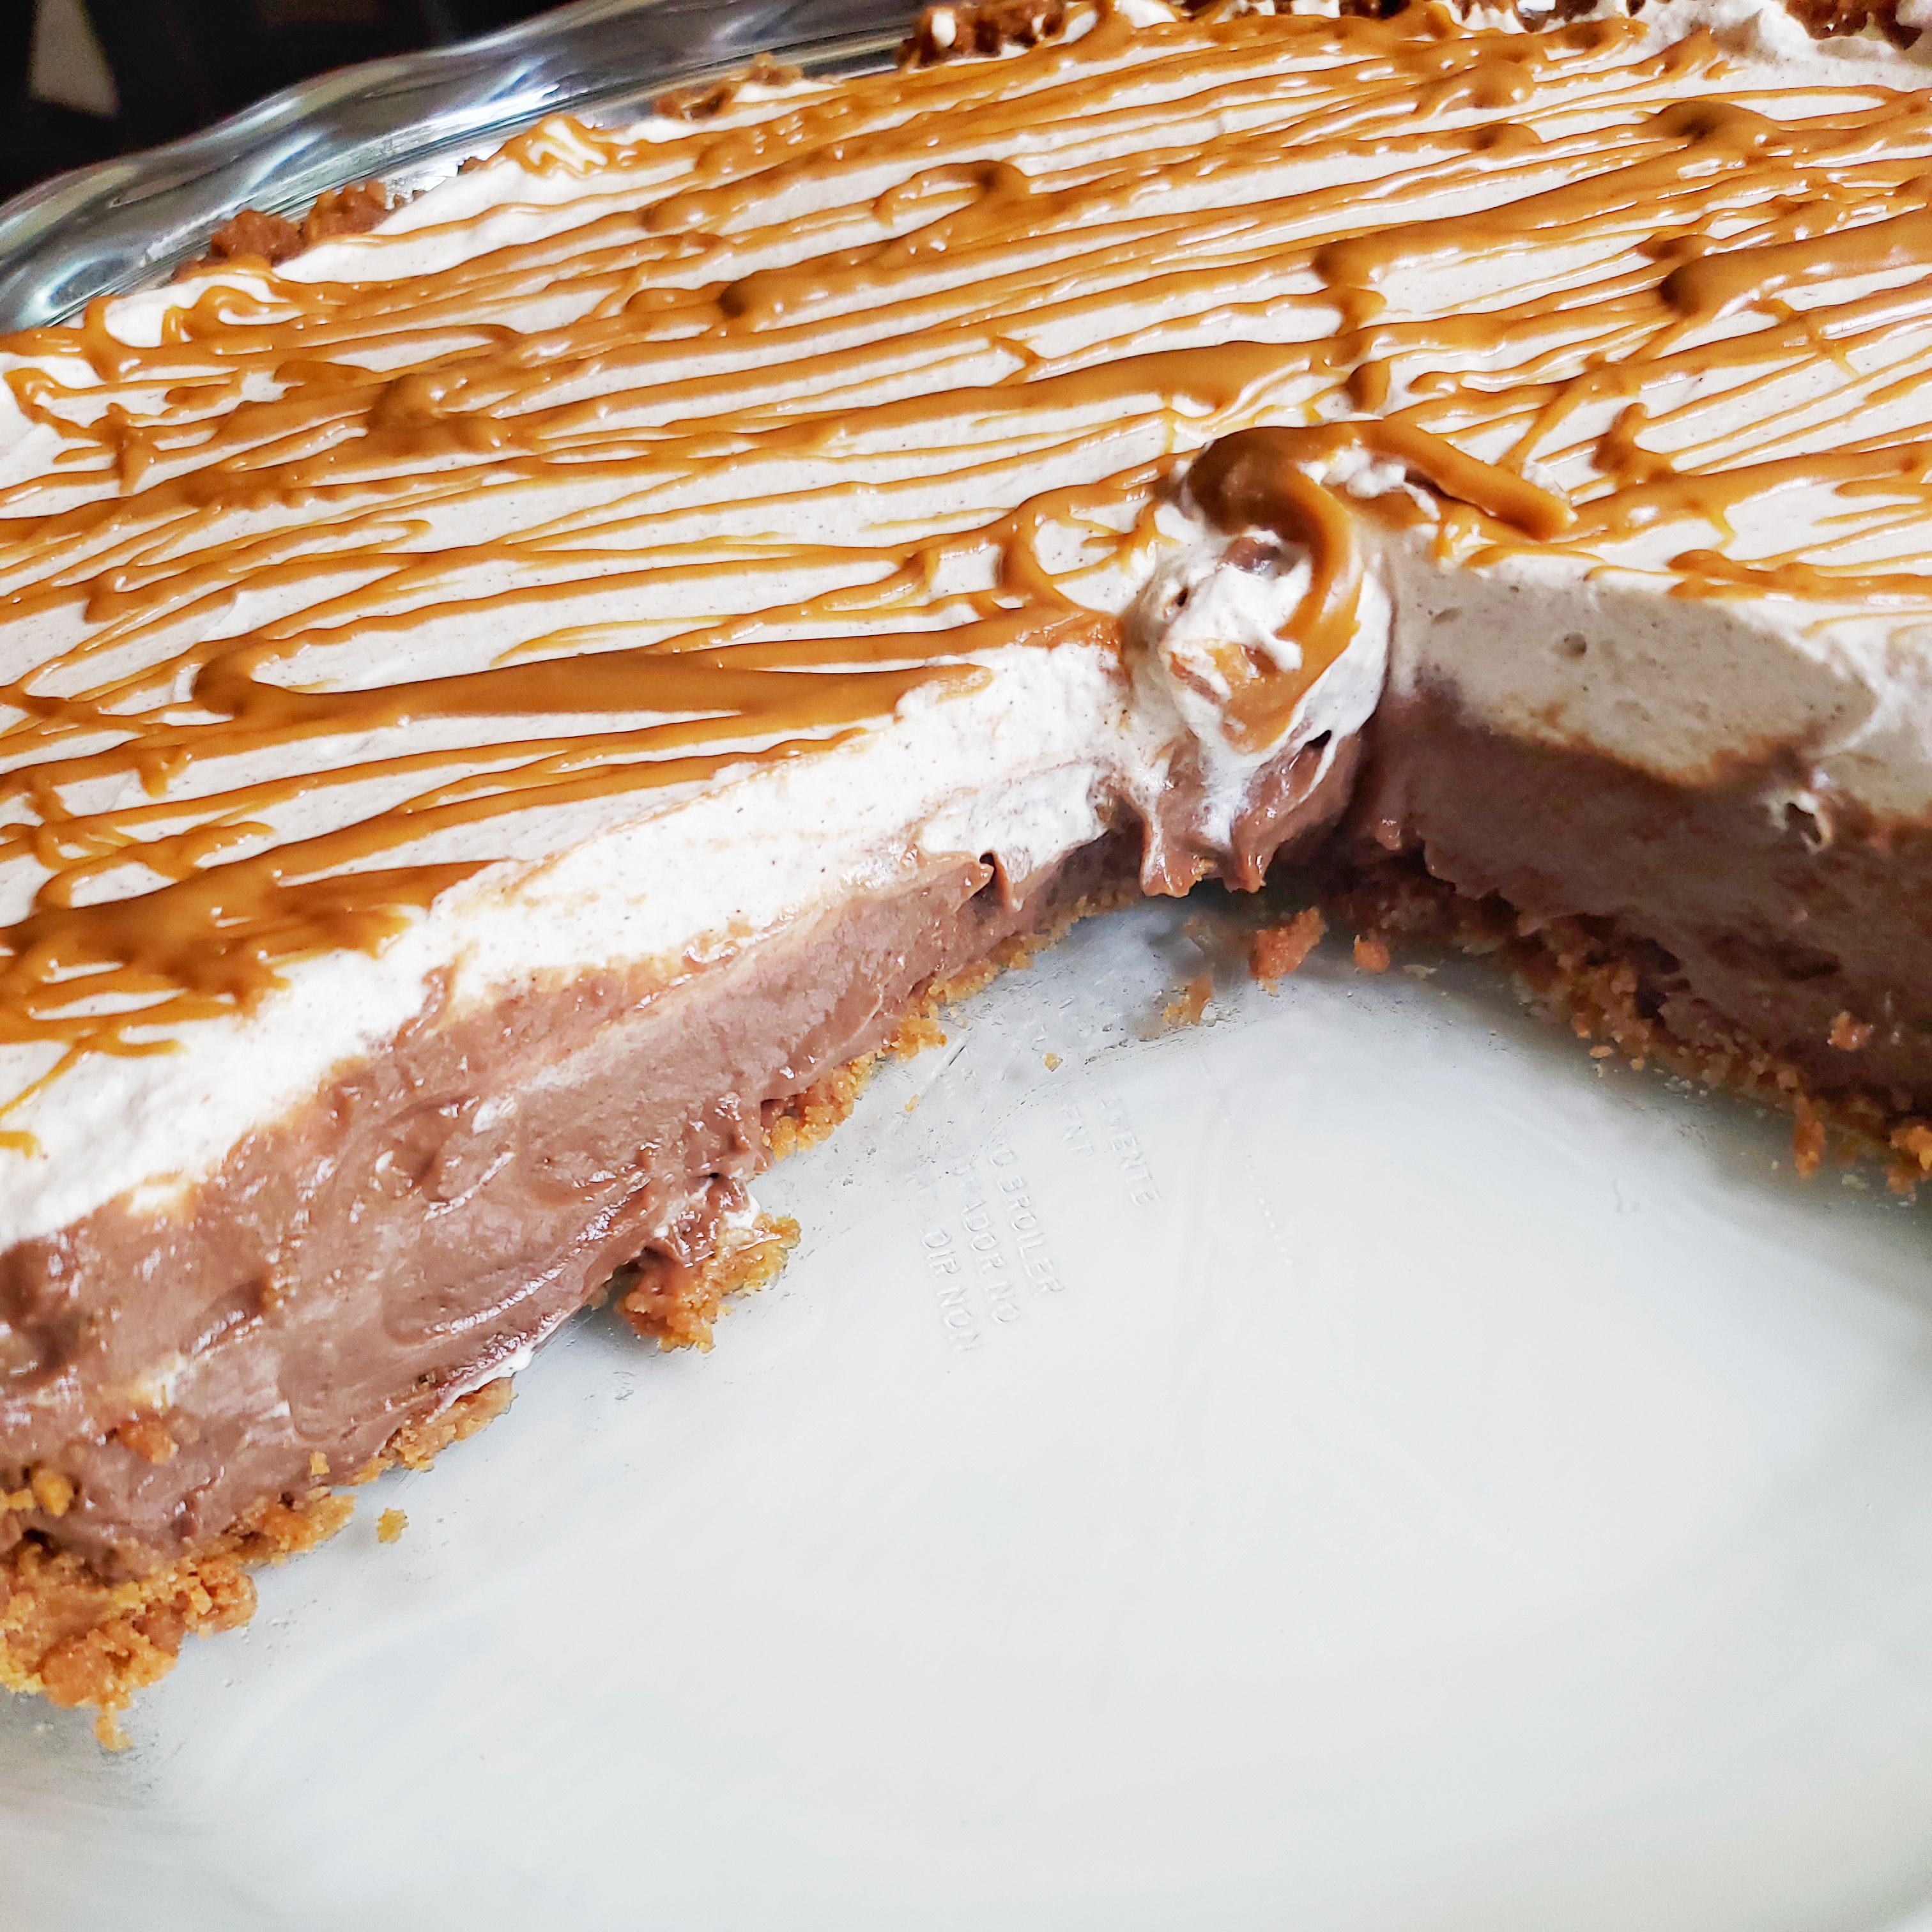
Chocolate pudding with cookie crust in a pie tin
Plastic wrap pressed on the pudding prevents the pudding from drying out!
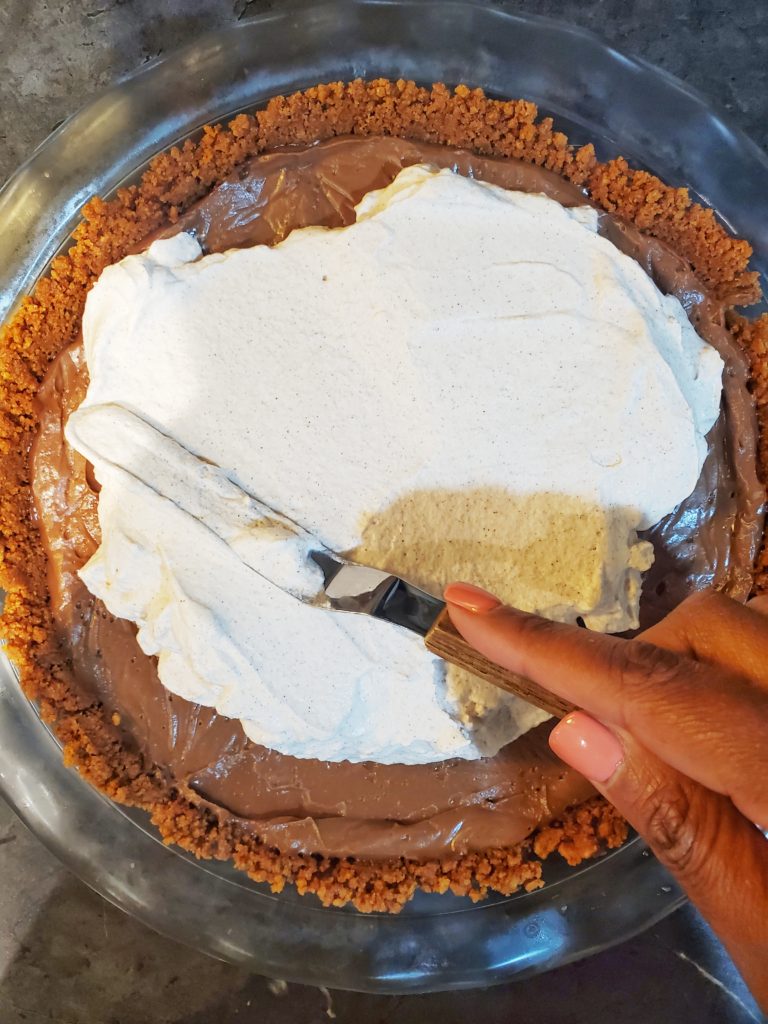
Whipped topping spread onto pudding pie
Cinnamon whipped topping is spread over the chilled pudding

How to make the pudding pie into individual desserts:

When I initially tested this recipe, it was to make sure the flavors worked together well. I did NOT originally make a cookie crust, but just crumbled some cookies to top the pudding. 

With that being said, YES, this can be made into single servings!

The cooked chocolate cookie butter pudding has to be cooled completely. Once the pudding has cooled a bit in the heat-proof container, cover with plastic and refrigerate for at least one hour. Make your cinnamon whipped cream topping and keep in the fridge until ready to serve.

Once you’re ready to serve, scoop your desired amount of pudding into a cup or bowl, and top with the whipped cream. Sprinkle with crushed Biscoff cookies and dig in!

Additional toppings for the chocolate pudding pie:

The drizzle you see in the pics of the pie is melted cookie butter! 

Very easy to do. Microwave a couple of big spoonfuls of the cookie butter in a microwave safe dish for just 10-15 seconds. It doesn’t need any more time than this! If you cook it longer, the cookie butter will cook and get crunchy. (It’ll taste really damn good, but that’s not what we’re here for). Once melted, drizzle on top of the chilled pie!

You can also drizzle chocolate or caramel ice cream topping, and even crush some Biscoff cookies to sprinkle!

Close up of chocolate cookie butter pudding pie

I’m hoping that you’ll love my chocolate cookie butter pudding pie with cinnamon topping as much as I do! If you get a chance to make it, feel free to leave a comment!!!

Slices of pudding pie
Print Recipe
5 from 14 votes

Chocolate Cookie Butter Pudding Pie with Cinnamon Whipped Cream Topping

If you’re a fan of cookie butter and pudding pies, you’ll definitely fall in love with my Chocolate Cookie Butter Pudding Pie!
Prep Time25 minutes
Cook Time1 hour
Total Time1 hour 25 minutes
Course: Dessert
Cuisine: American
Keyword: biscoff, cookie butter, easy dessert, no bake, pie, pudding, pudding pie, speculoos
Servings: 8 servings
Author: Crystal

Equipment

  • Whisk
  • Sauce pot
  • spatula
  • Pie tin
  • Handheld or stand mixer

Ingredients

Pudding ingredients

  • ½ tsp ground cinnamon
  • 3 tbsp granulated sugar
  • pinch of salt
  • ¼ cup cocoa powder
  • 6 ounces half and half
  • 10 ounces milk
  • 1 tsp vanilla extract
  • ½ cup smooth cookie butter
  • 2 ounces semisweet chocolate chips

Cookie Crust ingredients

  • 6 tbsp unsalted butter melted
  • 24 each Biscoff cookies

Whipped Topping ingredients

  • 8 ounces heavy whipping cream
  • 3 tbsp powdered sugar
  • 2 tsp vanilla extract
  • 1 tsp ground cinnamon

Instructions

Pudding Instructions

  • In a small sauce pot, whisk together the cinnamon, sugar, salt, and cocoa powder.
  • Pour the half and half and milk into the pot while whisking to incorporate. Add the vanilla extract, cookie butter, and chocolate chips.
  • Warm the ingredients on medium heat, stirring with a whisk to help melt the cookie butter and chocolate chips, and bring to a simmer. Once it simmers, cook for 1 minute to thicken while continuously whisking. Remove from heat.
  • Pour mixture into a heat safe dish or bowl. Let sit at room temperature to slightly cool for 15-20 minutes, stirring occasionally to release some of the steam.
  • While the pudding is cooling, make the cookie crust.

Cookie Crust instructions

  • In a food processor, ground up the Biscoff cookies to make crumbs fine crumbs
  • Pour in the melted butter and mix with a spoon.
  • Lightly spray your pie tin with a nonstick pan spray. Evenly press the crumb mixture into the pie tin, making sure to also press up against the sides.
  • Refrigerate the pie crust for 15 minutes before adding the pudding layer.

Whipped Topping instructions

  • In a small bowl, beat the heavy cream with a hand mixer on high for 4-5 minutes, to make a soft whipped cream.
  • Add in the powdered sugar, vanilla, and cinnamon. Beat to combine on high for an additional 30 seconds.
  • Refrigerate until ready to assemble pie.

Pie Assembly

  • Pour the pudding into the chilled cookie crust. Spread evenly with a spatula or with the back of a spoon.
  • Place a piece of plastic wrap directly on top of the pudding, pressing it onto the mixture.
  • Refrigerate for 1 hour to let the pudding set.
  • Remove the pie from the fridge, and remove the plastic wrap.
  • Spread the whipped cream topping to cover the pudding.
  • Cut and serve!

Notes

If you can not find Biscoff cookies, a chocolate or graham cracker crust will work for this recipe. 
Cool Whip can be replaced for the homemade whipped cream. You will need an 8 ounce container plus 1 teaspoon of ground cinnamon. 

I can tell you’re a fan of cookie butter! Sooooo, check out this recipe for Cookie Butter Tiramisu!

Pin It on Pinterest