How to Make Sweet Potato Cornbread With Maple Bourbon Butter

Sweet potato cornbread in a cast iron skillet

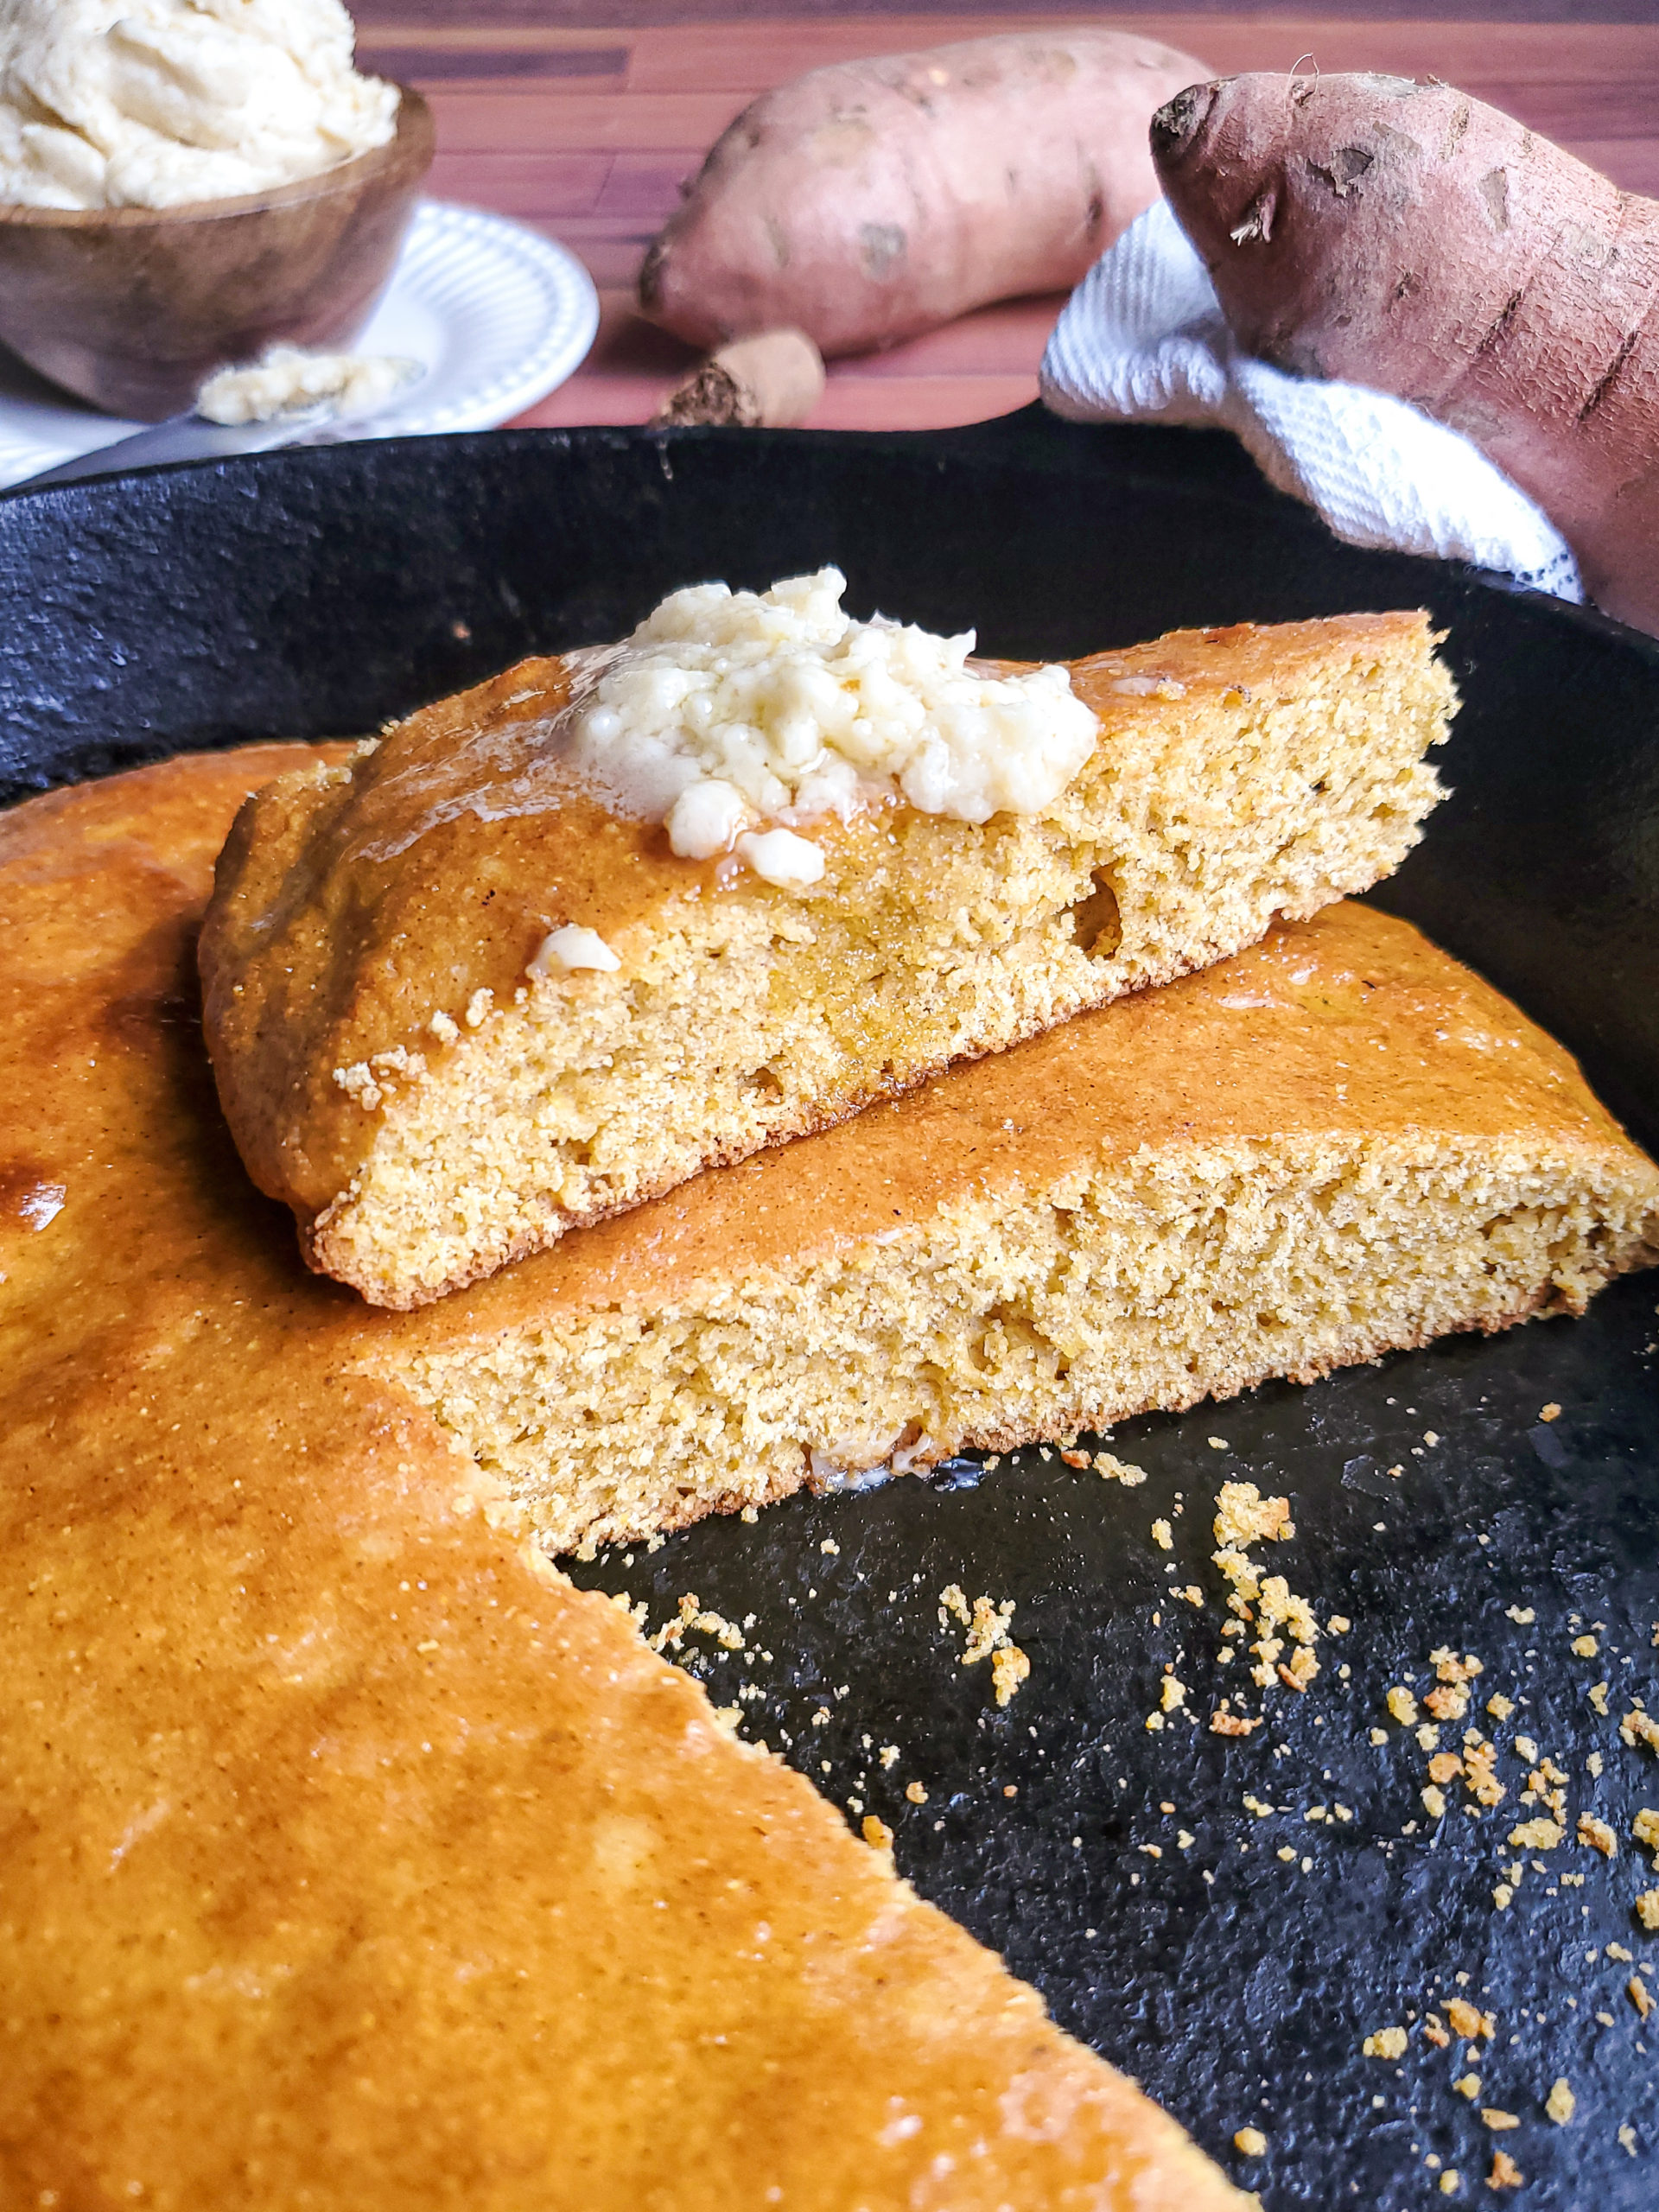
This spin on classic cast iron cornbread will definitely be a side dish you’ll keep in rotation. My sweet potato cornbread recipe is a winner especially with a schmear of maple bourbon butter!

If you’re looking for a way to jazz up cornbread, you’ve come to the right place! The sweet potatoes help to keep the cornbread nice and moist. The addition of spices to the batter makes this sweet potato cornbread perfect for the holiday season. But if you’re like me, you’ll eat this year round!
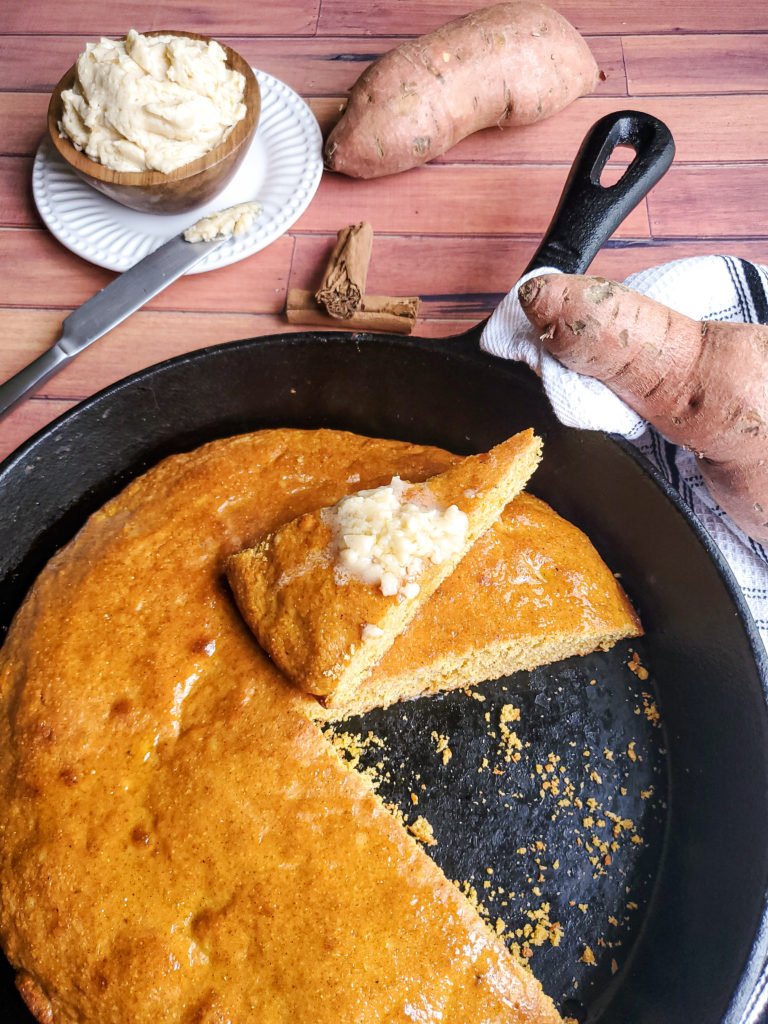
Sweet potato cornbread in a cast iron skillet

The sweet potato cornbread is great on its own, or with melted butter. But, we’re here to jazz up classic cornbread, right? Great! The maple bourbon butter pairs amazingly well with this! Maple and sweet potato are a perfect match, along with maple and bourbon. Throw all of those together, and you’ll now have the recipe your friends and family demand you make for gatherings.

A cool cooking hack for sweet potato puree


The sweet potato cornbread takes 40 minutes to make. Normally, that’s about how long it would take just for a sweet potato to cook in the oven. But, I used one of my favorite cooking hacks to put this recipe together.

Instead of cooking sweet potatoes ahead of time, I used sweet potato baby food! I go this route whenever I have a recipe that requires a small amount of a pureed fruit or vegetable that I don’t keep in the house. Since it’s also shelf stable, I can keep the baby food in the pantry for several months, versus the raw veggie spoilingwaaayyy before the baby food does. If you go the puree sweet potato route, omit a half a cup of the milk.

How to make sweet potato puree:

If you prefer to use fresh sweet potatoes, the puree can most certainly be made ahead of time:

  • Peel and roughly chop a half pound of sweet potatoes
  • Add to a small pot and cover the potatoes with water
  • Bring the water to a boil, then lower the temperature and simmer for about 15 minutes, or until the potatoes are tender when poked with a fork
  • Strain the potatoes, and puree in a blender on high until smooth, for about one minute

Why should I use a cast iron skillet for my cornbread?


You don’t HAVE to use a cast iron skillet to bake your cornbread. But trust me when I say it’s definitely the better option. Using a cast iron skillet to cook your cornbread ensures it’ll cook evenly.

Preheating your cast iron before adding your batter also gives the cornbread that golden brown crust on the bottom and edges. Let’s face it…the best slice of cornbread is the edge. So baking it in a preheated cast iron gives the whole pan of cornbread that edge-piece factor.

Can I bake cornbread in something else other than a cast iron skillet?


Yes! Cast iron skillets are the better way to bake cornbread, but it isn’t mandatory.

You can use any baking dish that you have available. I would suggest using a pan that is wider than 10 inches, whether it’s a circle, square, or rectangle dish. This will ensure the cornbread still cooks evenly, and will prevent the center from being under baked.

There’s also the option to make these into sweet potato cornbread muffins! Can never go wrong with single servings of this recipe!

Regardless of which option you choose, the cornbread will take a few more minutes to bake in the oven than it would in a cast iron, since a preheated cast iron will cook it faster and more evenly.
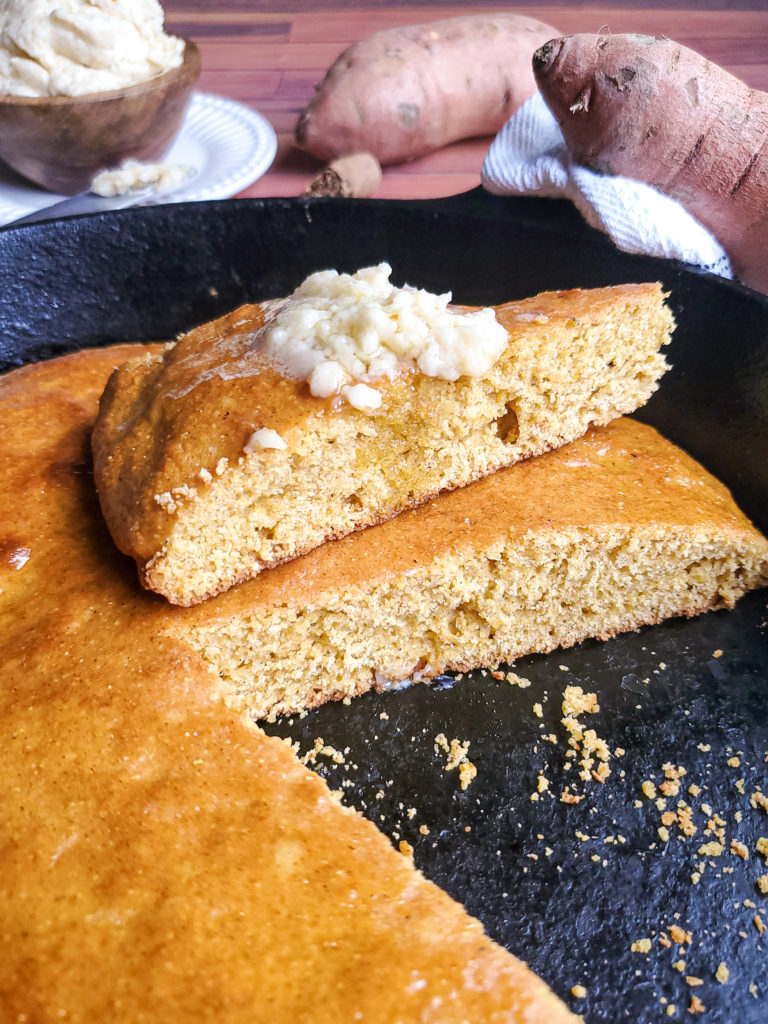
Sweet potato cornbread in a cast iron skillet

How to make a moist cornbread


Fat is what will make or break a batch of cornbread’s moisture level.

I’ve tested out my classic skillet cornbread recipe a couple of ways…once with butter, and once with mayonnaise. Both tasted delicious, but I noticed the batch with the mayo had a different moisture level than the butter did. The cornbread batch made with butter, however, tasted better.

With my cornbread science experiment, I decided to use melted butter for my classic cornbread recipe. There is a good amount of moisture in it from the buttermilk to make up for what isn’t there like the mayonnaise batch had.

With my sweet potato cornbread recipe, there is a lot less milk. So to get that moisture back, I opted for mayonnaise. The sweet potato puree makes up for the flavor that isn’t added from the butter.

What type of milk should I use for cornbread?


Like I mentioned above, you want some type of fat in your cornbread batter. This is also a factor when it comes to the milk you’re using.

With that being said, it’s best to not use skim milk. If that’s all you have on hand, this recipe can still be made. Just keep in mind that the cornbread will be a bit drier than it should be.

The best milk to use for cornbread is whole milk or full fat buttermilk. 2% milk works well too.

How do I store leftover cornbread?


The best way to store leftover cornbread is in an airtight container in the fridge.

If you’d like, the cornbread can also be frozen for up to 3 months. If you go this route, wrap the cornbread with plastic wrap. Then place the cornbread into a Ziploc bag.

How to reheat leftover cornbread


Leftover cornbread can be reheated in the microwave for 30-45 seconds. I’d suggest covering the cornbread with a damp paper towel before reheating. It helps to add back any moisture that may have been lost due to the age of the cornbread.
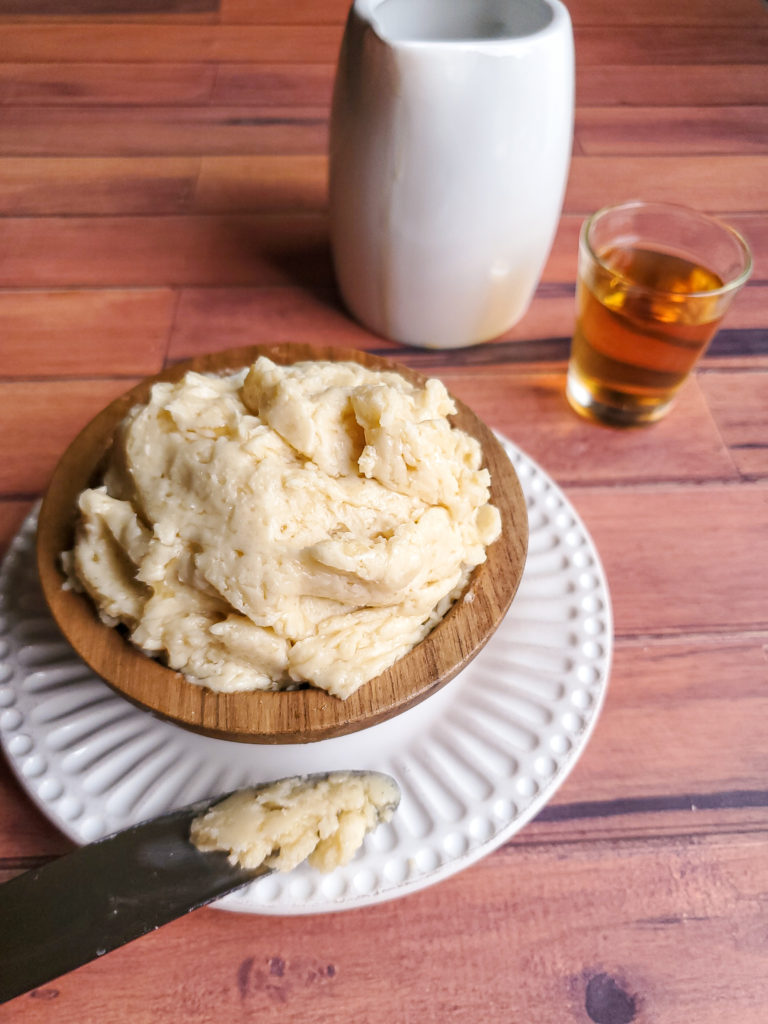
Whipped maple bourbon butter in a bowl

Can I omit the alcohol from the maple bourbon butter?


You most certainly can!

There’s only a tablespoon and a half of bourbon in my maple bourbon butter, but it can absolutely be left out. The bourbon amount can also be reduced if you’d like.

If you get a chance to test out my sweet potato cornbread, feel free to leave me a review!

Sweet potato cornbread in a cast iron skillet
Print Recipe
5 from 2 votes

Sweet Potato Cornbread with Maple Bourbon Butter

This spin on classic cast iron cornbread will definitely be a side dish you’ll keep in rotation.
Prep Time10 minutes
Cook Time30 minutes
Total Time40 minutes
Course: Side Dish
Cuisine: American
Keyword: bourbon, butter, cornbread, cornmeal, maple, sweet potato, sweet potatoes
Servings: 12 slices
Author: Crystal

Equipment

  • Mixing bowl
  • Whisk
  • Rubber spatula
  • Cast iron skillet
  • Measuring cups and spoon
  • Electric hand mixer

Ingredients

Sweet Potato Cornbread

  • 8 ounce sweet potato
  • ¾ cup granulated sugar
  • 1 ½ cup all purpose flour
  • ½ cup ground cornmeal
  • ½ tbsp kosher salt
  • 1 tsp baking powder
  • 1 tsp ground cinnamon
  • a dash ground nutmeg
  • 2 eggs lightly beaten
  • ¼ cup buttermilk
  • 1 cup sweet potato baby food see notes
  • cup mayonnaise
  • 1 tsp vanilla extract
  • 1 tbsp melted butter

Maple Bourbon Butter

  • 4 ounces unsalted butter softened
  • 1 ½ tbsp bourbon
  • 3 tbsp maple syrup

Instructions

How to make the Sweet Potato Cornbread

  • Preheat oven to 400 degrees. Place a cast iron skillet in the oven while it is preheating.
  • With a fork, poke holes into the sweet potato on all sides, a total of 10 times. Microwave on a plate on high for 5 minutes, flipping halfway through cooking. Let the sweet potato sit for 3 minutes before cutting it in half. Remove the skin. Mash the cooked potato with a fork and set aside.
  • In a large bowl, mix sugar, flour, cornmeal, salt, baking powder, cinnamon, and nutmeg with a large whisk, making sure all the dry ingredients are thoroughly mixed together. Set aside.
  • In a separate bowl, whisk together eggs, milk,mayonnaise, vanilla, and the cooked sweet potato.
  • Pour the wet ingredients in with the dry ingredients. Gently mix the ingredients with a wooden spoon or plastic spatula. Be sure to scrape the sides of the bowl so all of the dry ingredients have been mixed in.
  • Once the oven is set to the correct temperature, remove the cast iron from the oven. Spread the melted butter into the cast iron, then pour in the cornbread mixture. Spread the cornbread mixture evenly in the pan with a spoon or spatula.
  • Bake for 25-28 minutes, or until a knife or toothpick comes out clean when inserted into the center of the cornbread.
  • Let the cornbread rest for 5 minutes before serving. Cut and serve with maple bourbon butter!

How to make the Maple Bourbon Butter

  • Place the softened butter into a small bowl. With an electric hand mixer, whip the butter in high for 30 seconds, or until smooth.
  • While the mixer is still on, slowly pour in the maple syrup, then the bourbon. Continue whipping on high for 30 more seconds.
  • Can be used immediately, or stored in an airtight container in the fridge.

Notes

If you can not find sweet potato baby food, sweet potato puree can be made from scratch:
  • Peel and roughly chop 8 ounces worth of sweet potatoes
  • Add to a small pot and cover the potatoes with water
  • Bring the pot to a boil, then lower the temperature and simmer for about 15 minutes, or until the potatoes are tender when poked with a fork
  • Strain the potatoes, and puree in a blender on high until smooth, for about one minute
For an even faster route, microwave your sweet potato for 5 minutes. You’ll need to poke a few holes into the potato with the tip of a knife or fork, and be sure to flip the potato over halfway through cooking. If you go this route, you’ll need to add an additional half cup of milk added to the recipe.
The bourbon for the maple bourbon butter can be reduced or omitted. 

If you’re looking for a more simple cornbread recipe, check out my Southern Honey Buttermilk Skillet Cornbread! I love to add a schmear of softened butter, and a drizzle of honey!
Grilled Corn on the Cob with Garlic Parmesan Sauce

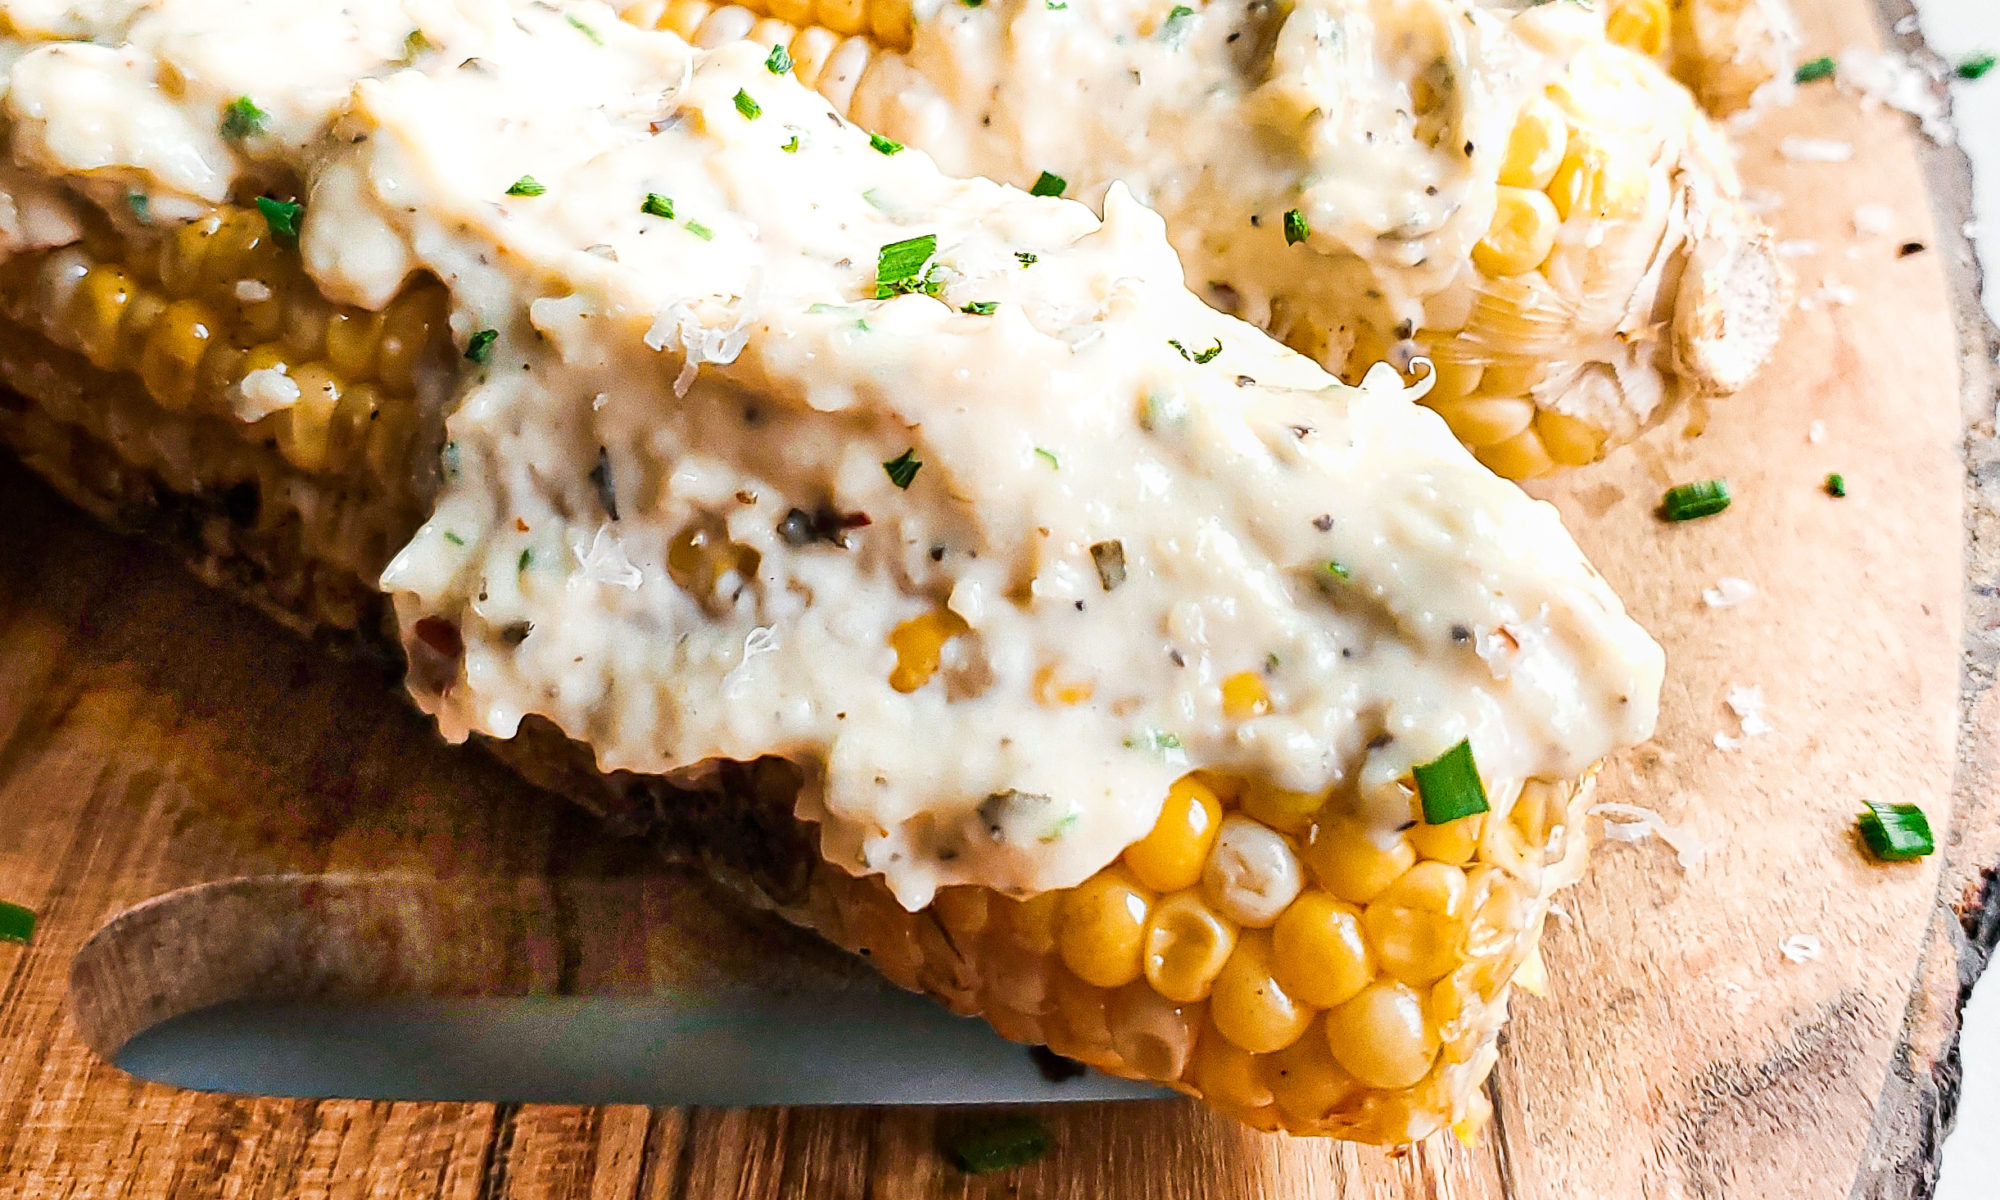
Grilled corn on a platter with garlic parmesan sauce

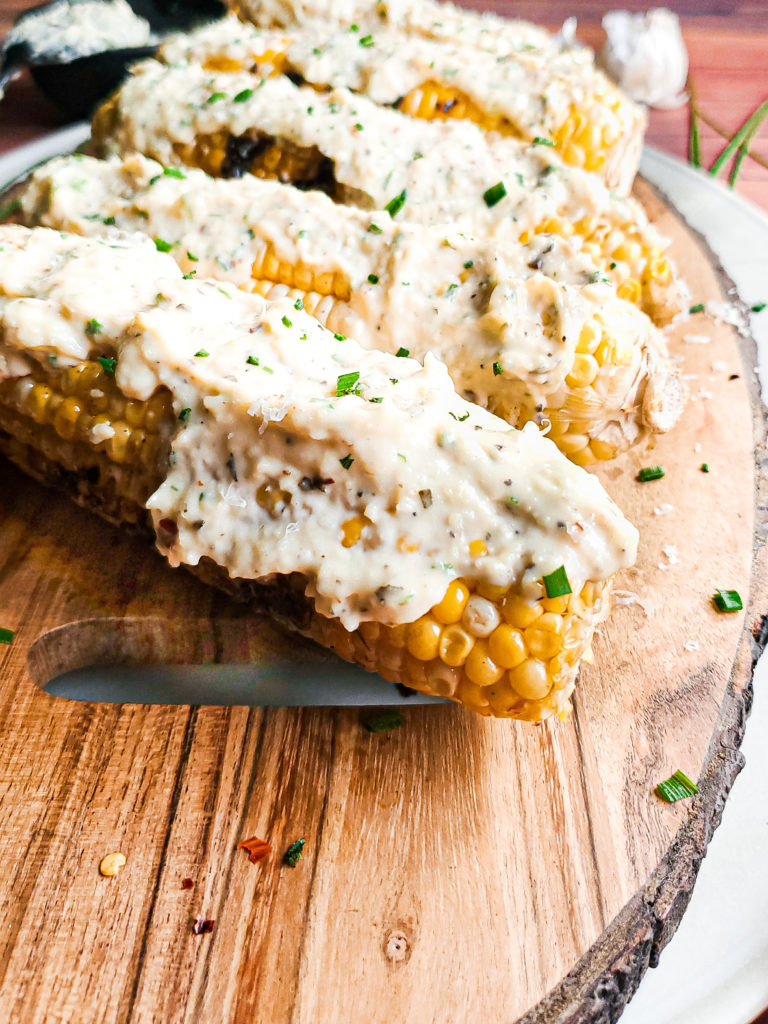
If you’re a fan of Mexican street corn, you’ll definitely fall in love with my grilled corn on the cob with garlic parmesan sauce! The garlic and cheese compliments the corn extremely well, and perfect for the summer!

Grilled corn on a wood platter with garlic parmesan sauce

I’m sure you’re looking for an easy side dish for grilling season, and I’m glad to say you’re in the right place. Well, if you’re just looking for an easy recipe, even without a grill, I got ya! This grilled corn gets slathered with a seasoned mayonnaise, similar to what’s done with Mexican street corn.

What is Mexican street corn?


Mexican street corn, sometimes referred to as elote, is a dish made of grilled corn. Once grilled, a mixture of mayo, crema, and chili powder gets spread on top and sprinkled with cotija cheese. It is sometimes also dusted with additional chili powder, and a fresh squeeze of lemon juice gives it a nice fresh flavor.

My garlic parmesan inspiration:


One of my favorite chefs, Chef Resha, posted a recipe of elote-style chicken wings. She took the mayo mixture that would go onto Mexican street corn and tossed it with air-fried chicken wings. I don’t have an air fryer but tried the recipe out with baked wings. Soooooo bomb! Definitely check out Chef Resha’s elote style wings.

The wings reminded me of street corn having a baby with garlic parmesan wings. So my brain said “Do what Resha did with making the elote sauce for wings, but take the classic wing sauce and put it on corn.” Boom….garlic parmesan corn was born!

How to make grilled garlic parmesan corn

It’s sooooo easy yall! Start by getting your corn on the grill. While they’re cooking, mix together all the ingredients for the garlic parmesan sauce. Once the corn is cooked, slather the garlic parmesan sauce on that bad boy!

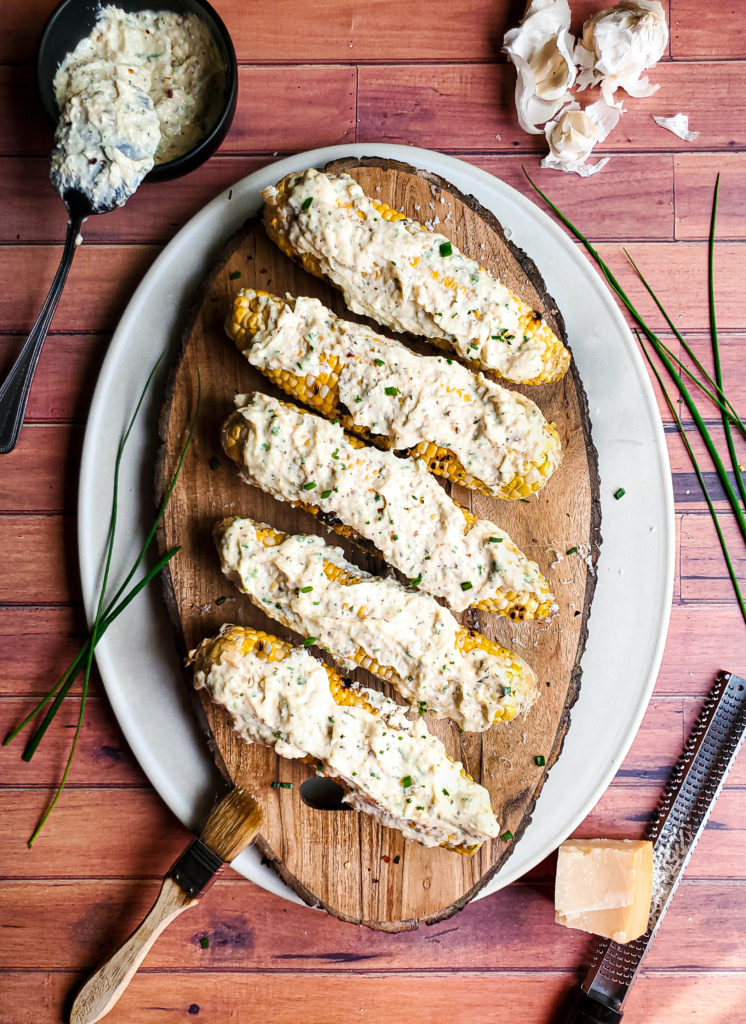
Grilled corn on a platter with garlic parmesan sauce

How to cook corn if you don’t have a grill

I rarely use my grill. I do have a cast iron pan with grates that I often use indoors that will take the same amount of time for the corn to cook as it would when being grilled.

If you have a regular cast iron skillet, the corn can be seared that way. Preheat your cast iron to medium heat before searing the corn. Let the corn cook for 10 minutes, rotating the corn while cooking to get some color on the kernels on all sides.

There’s also the option to roast your corn! This method does take much longer though, by wrapping the corn in foil and baking for 30-40 minutes at 400 degrees. So either grilling or cooking on the stovetop is the best option. 

Corn with husks vs without husks

The corn on the cob can be grilled with the husks on! The husks are dry, so you’ll need to soak the ears of corn for a bit before cooking.

Add the whole ears of corn into a large container (or sink) and submerge them in cold water. Let this sit for 15 minutes. Remove the corn from the water and pat dry. You can then partially peel the husks back and grill the corn.

However, I prefer the corn grilled without the husks for this recipe. I like to bite right into the corn that has grill marks on all sides, and also want to be able to spread more of the garlic parmesan sauce all over. For grilled corn without a sauce, I don’t mind the husks being left on.

Type of garlic to use for garlic parmesan sauce

Now, this is a super garlicky recipe. So raw garlic is what I used. 

I take fresh garlic cloves and grate it with a microplane right into the sauce. 

I also love using premade garlic paste, like the one from Gourmet Garden

Use either of the options above. I’d avoid using jarred diced garlic since it’s not as flavorful. But if that’s all that you have access to, it can still be used!

Also, if you’re not a fan of the raw garlic taste, you can use garlic confit. Pretty easy to make and to keep on hand for other recipes that you just want a hint of garlic. 

Platter of grilled corn slathered with garlic parmesan sauce

Other uses for garlic parmesan sauce

Listen yall….this garlic parmesan sauce is GOOD! Like, for real.

If you have some chicken wings and want to jazz it up a bit, make a batch of the sauce in this recipe to toss the wings in. I’ve also used the sauce to dip with my herb roasted smashed potatoes.

Since this is a super flavorful mayonnaise, you can use this on a sandwich too! Whew…..the possibilities are endless! But to start, jazz up your grilled corn first!

Grilled corn on a platter with garlic parmesan sauce
Print Recipe
5 from 11 votes

Grilled Corn on the Cob with Garlic Parmesan Sauce

If you’re a fan of Mexican street corn, you’ll definitely fall in love with my grilled garlic parmesan corn on the cob!
Prep Time5 minutes
Cook Time15 minutes
Total Time20 minutes
Course: Appetizer, Side Dish, Snack
Cuisine: American
Keyword: corn, corn on the cob, dukes mayonnaise, ears of corn, elote, garlic, garlic parm, garlic parmesan, parmesan, summer, summer recipes, summer side dish, summer side dishes, summer time
Servings: 4 ears of corn
Author: Crystal

Equipment

  • Grill
  • Tongs
  • pastry brush
  • Cutting board
  • Large tray or dish
  • Butter knife or spoon
  • Small bowl
  • Cheese grater
  • Whisk

Ingredients

Grilled Corn

  • 1 tbsp olive oil
  • 4 each ears of corn husks removed

Garlic Parmesan Sauce

  • ¾ cup mayonnaise
  • ½ tbsp apple cider vinegar
  • 1 ½ tsp lemon juice
  • 4 each garlic cloves peeled
  • ½ tsp kosher salt
  • ¼ tsp ground black pepper
  • ¼ tsp garlic powder
  • ¼ tsp red pepper flakes
  • ¼ tsp dried oregano
  • ¼ tsp dried basil
  • ½ tbsp chives finely chopped
  • 3 tbsp grated parmesan cheese

Instructions

Grilled Corn

  • Preheat grill to medium heat
  • Brush the ears of corn with olive oil. Grill for 10-15 minutes turning occasionally.
  • Once the corn is cooked, remove from the grill onto a large plate or dish.
  • To keep the corn warm, cover loosely with aluminum foil.

Garlic Parmesan Sauce

  • In a small bowl, combine the ingredients with a whisk. Set aside until ready to use.

Garlic Parmesan Corn Assembly

  • Spread the garlic parmesan sauce onto the grilled corn with a butter knife or back of a spoon.

Notes

Either freshly grated or jarred parmesan cheese. 
Fresh or dried herbs are fine. For this recipe, I prefer fresh chives so the onion flavor is a little stronger, and dried oregano and basil so those flavors aren’t as prominent.
Leftover  garlic parmesan sauce can be stored in an airtight container in the fridge. The shelf life is whichever date for the parmesan cheese or the mayonnaise expires first. 

How to make homemade ricotta cheese in one hour

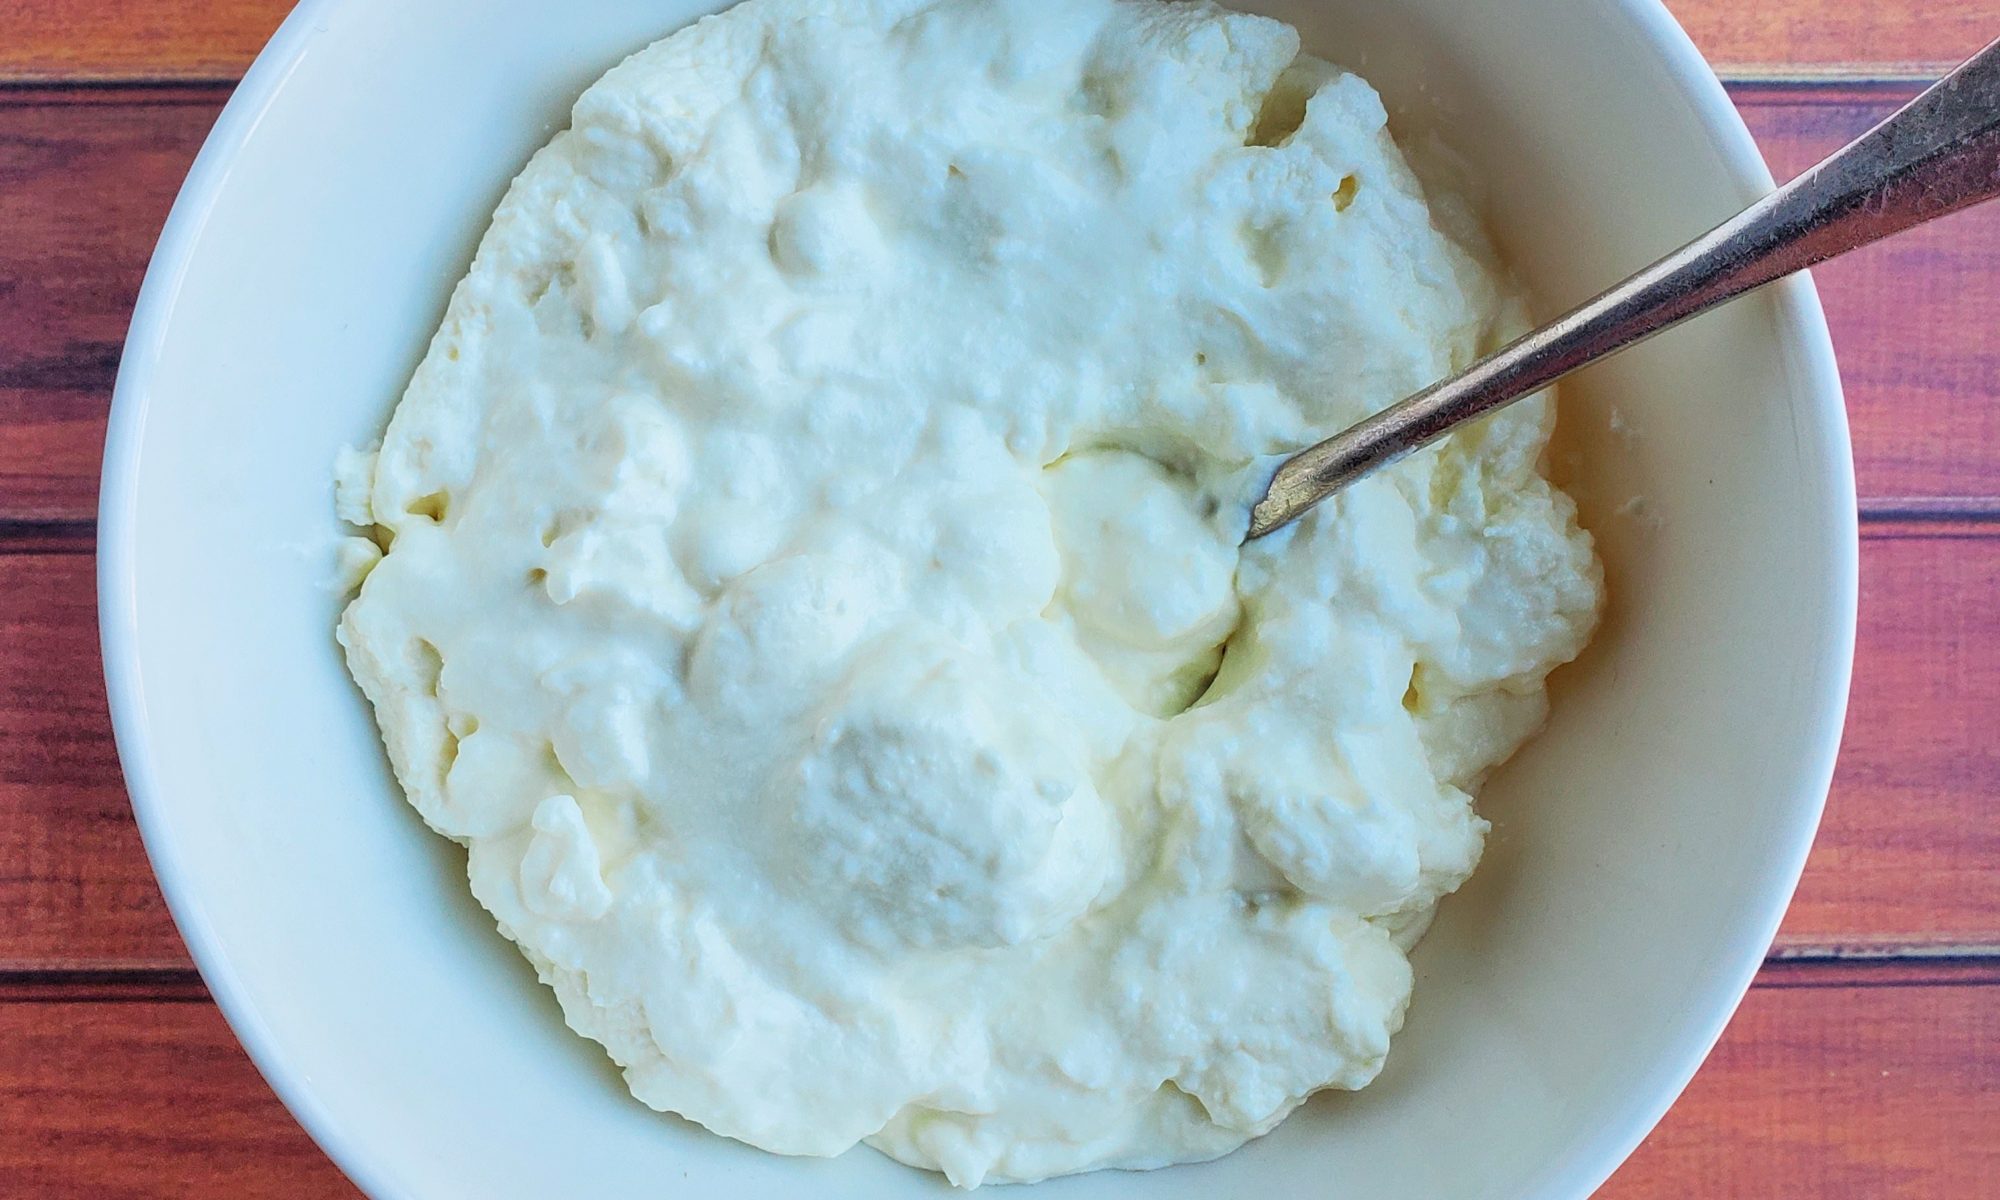
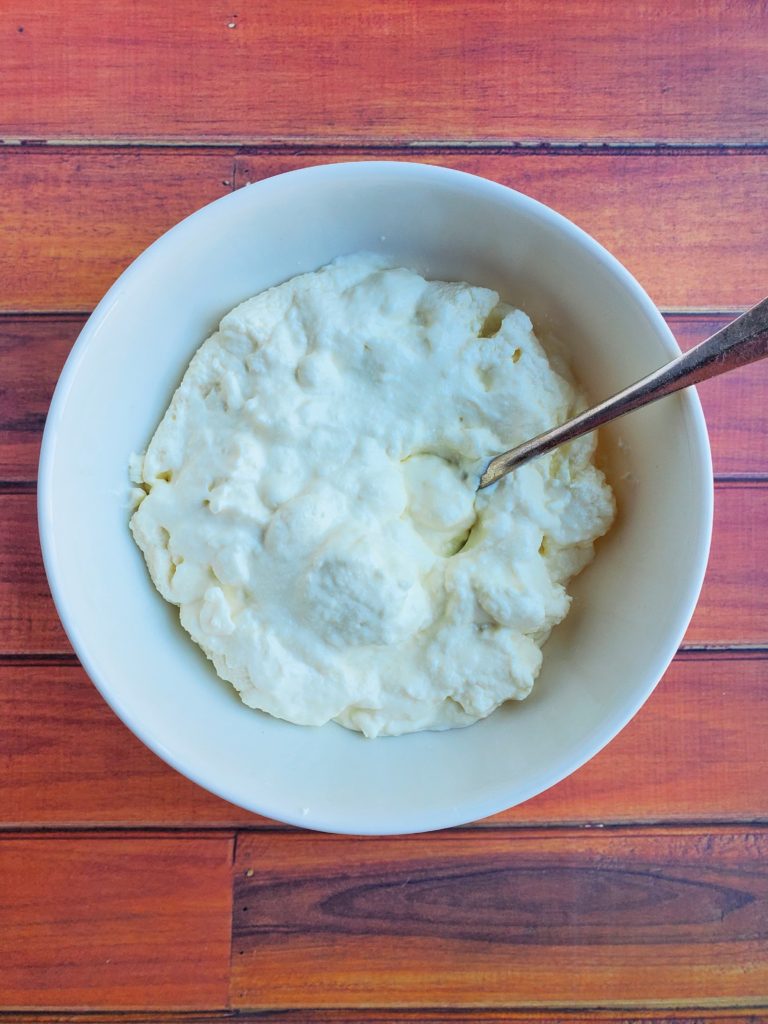
Homemade ricotta cheese in a bowl

I’m here to let you know that fresh ricotta cheese can be made very easily at home. It’s basically a fool proof recipe that takes just an hour to prepare!

Homemade ricotta cheese in a bowl

What exactly IS ricotta cheese?

Ricotta translates to “recooked”. This is from cooking pasteurized milk and adding an acid. This causes some science-y shit where the liquid, called whey, separates from the milk solids, called curds. Think of old milk curdling. Same deal, but you’re doing it deliberately with milk that ain’t old. Everything gets strained for several minutes, and what’s left is fresh ricotta!

What tools and equipment do I need to make fresh ricotta?

While it is super easy to do, there are a couple of tools that you’ll need to execute this correctly that you may not have in your home:

-Mesh strainer: A colander (pasta strainer) works really well with this as well.

-Cheesecloth: You’ll need this to properly separate the curds from the whey. You can get this really cheap at your local grocery store. It definitely comes in handy when you need to strain liquids to catch solids that a regular strainer can’t catch. 

Aside from that, you’ll also need a wooden spoon for stirring, a small pot for heating the milk, and a bowl to fit the mesh strainer

What to do if you can’t find cheesecloth?

Cheesecloth can sometimes be hard to find. Or maybe you want to save a trip to the grocery store. No worries! I’ve strained the ricotta cheese with a clean dish towel when don’t have cheesecloth available.

I’ve also tested this out using 3 paper towels. Not the best option for straining excess liquid out of the cheese. But if you’re fine with your ricotta being very creamy, the paper towel option does work! Just be sure to use durable paper towels and not the cheaper stuff!

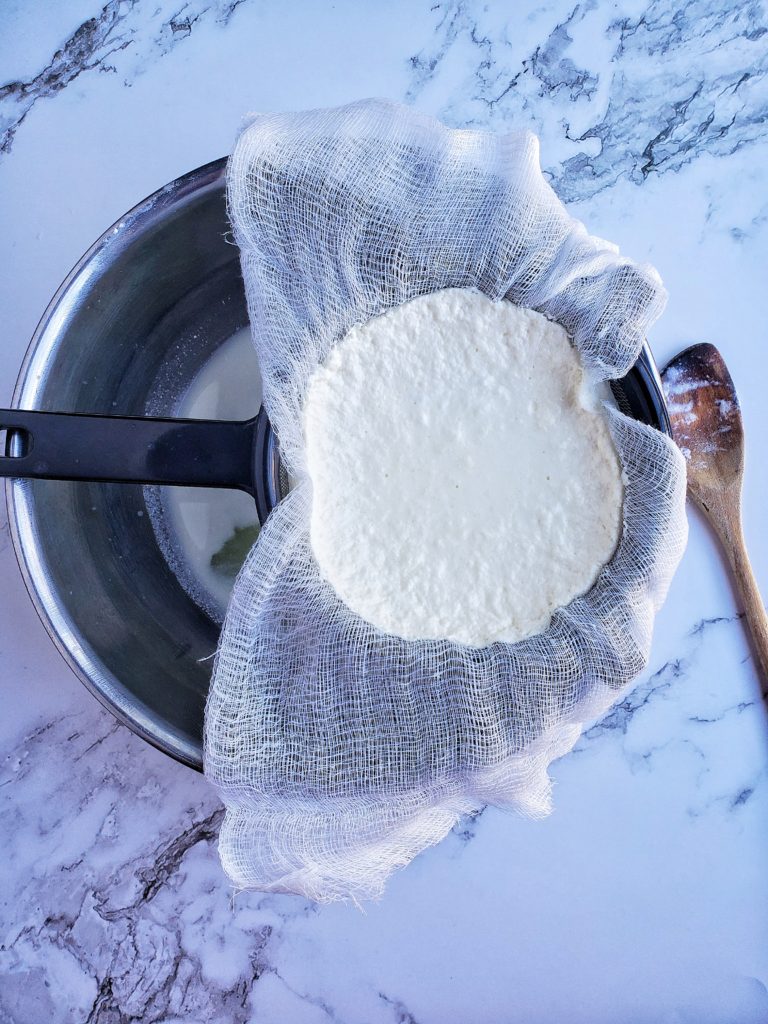
Ricotta cheese straining in a bowl

Is old milk safe to cook with?

To go back to the comment of old milk curdling: Don’t toss out that milk that expired a couple of days ago…..you can cook with it folks! Now, wouldn’t go as far as keeping milk in your house 3 weeks after it’s expired. But, if you so happen to have older milk (or even half and half, or cream), and have plans to cook something with it, you’ll be safe! 

Now, only do this for dishes where the food will be cooked in some way. You can also get away with using it for baked goods. Overall, it’s best to use expired milk for things where the milk isn’t one of the main ingredients. 

For example, I’ll use older milk and cream for mac n cheese sauce. While the milk is a big component in the sauce, it isn’t the absolute main ingredient. It’s a star, but not THE star for the cheese sauce. In turn, I will NOT use expired milk or cream to make chicken alfredo. The cheese to milk ratio isn’t as close as it is for mac cheese. So basically, do not use this for your cereal or your hot chocolate or else you’ll be mad AF.

Long story short: if the milk doesn’t stink, it’s still safe to use for cooking. The furthest I go past an expiration date is 1 week for milk, and 2 weeks for half and half and cream. 

If you don’t feel safe doing this, don’t worry. I’m just tryna help everyone and save some money or a trip to the grocery store. 

What is the best type of milk to use for homemade ricotta?

I’ve made this recipe with both whole and 2% milk, and it all comes out pretty good! However, my recipe does also use heavy cream to help the cheese come out creamier. But with that being said, use whatever milk you have on hand!

It’s best not to use skim milk, since there’s hardly any milk fat left to create the curds.

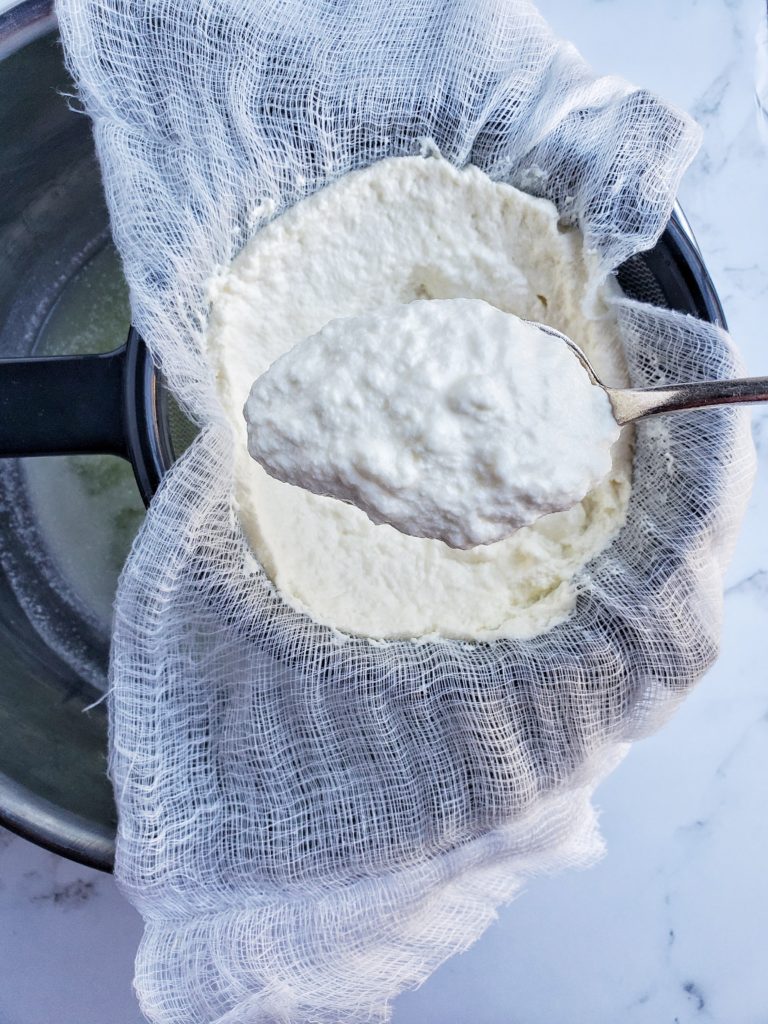
Spoonful of fresh homemade ricotta cheese

Can I make fresh ricotta cheese without the heavy cream?

You most certainly can! Just replace the heavy cream in my recipe with the milk of your choice.

Again, my recipe does make a creamier ricotta cheese, so omitting the heavy cream will make the recipe a little less creamy. But cooking this with just milk still comes out pretty good! If you go this route, whole milk is the more flavorful option.

What should I do with the leftover liquid from straining ricotta?

Whey, that leftover liquid from straining your fresh ricotta, does not have to be thrown out! If you have a pastry recipe that uses water, use the whey instead! It’s like a flavorful water. Think of it like using chicken stock instead of water for a soup.

Lemon juice substitution for homemade ricotta

I get that not everyone has fresh lemons on hand to make ricotta cheese. No worries! You can use equal parts vinegar! White vinegar or apple cider vinegar works best.

Vinegar of course has a stronger taste than lemon juice. If I make a batch of ricotta cheese this way, the vinegar taste is present, but not super strong. So I prefer to use this ricotta cheese for savory dishes that will be cooked even further (like lasagna). Ricotta made with lemon juice works for any cooked recipe as well as fresh.

Homemade Fresh Ricotta Cheese

Prep Time5 minutes
Cook Time5 minutes
Resting time50 minutes
Total Time1 hour
Course: Appetizer, Main Course
Cuisine: Italian
Keyword: cheese, fresh cheese, homemade, ricotta, ricotta cheese
Servings: 1 cup
Author: Crystal

Equipment

  • Mesh strainer or colander
  • Cheesecloth
  • wooden spoon
  • Small saucepot

Ingredients

  • 2 cups milk
  • 1 cup heavy cream
  • ¼ tsp salt
  • 2 tbsp lemon juice

Instructions

  • On medium high heat, combine milk, cream, and salt into a small pot.
  • As soon as the mixture comes to a boil, immediately remove from heat.
  • Add the lemon juice to the milk. Stir once with a wooden spoon. Keeping the milk in the pot, set aside for 20 minutes. Lumps will begin to form in the milk, but do not touch this mixture at all while it’s sitting.
  • While the milk is sitting, prepare to strain the liquid. Place a mesh strainer or colander into a bowl. Cover the strainer with 2 layers of cheesecloth.
  • After the milk has sat, slowly pour it onto the cheesecloth in the strainer. Once all the liquid has been poured, set the bowl aside for 30 minutes. The ricotta can be left to strain for an additional 30 minutes if you’d like a thicker ricotta cheese.

Notes

Whole or 2% milk can be used for this recipe.
If you don’t have lemon juice available, it can be substituted with vinegar. 

Check out my lemon ricotta pancake recipe! Perfect way to use up ricotta cheese, whether homemade or store-bought!

Pin It on Pinterest