No-churn ice cream will be a staple in every household this summer! And my No Churn Cookie Butter Cheesecake Ice Cream with Espresso and Kahlua is one you’ll want to keep in rotation!
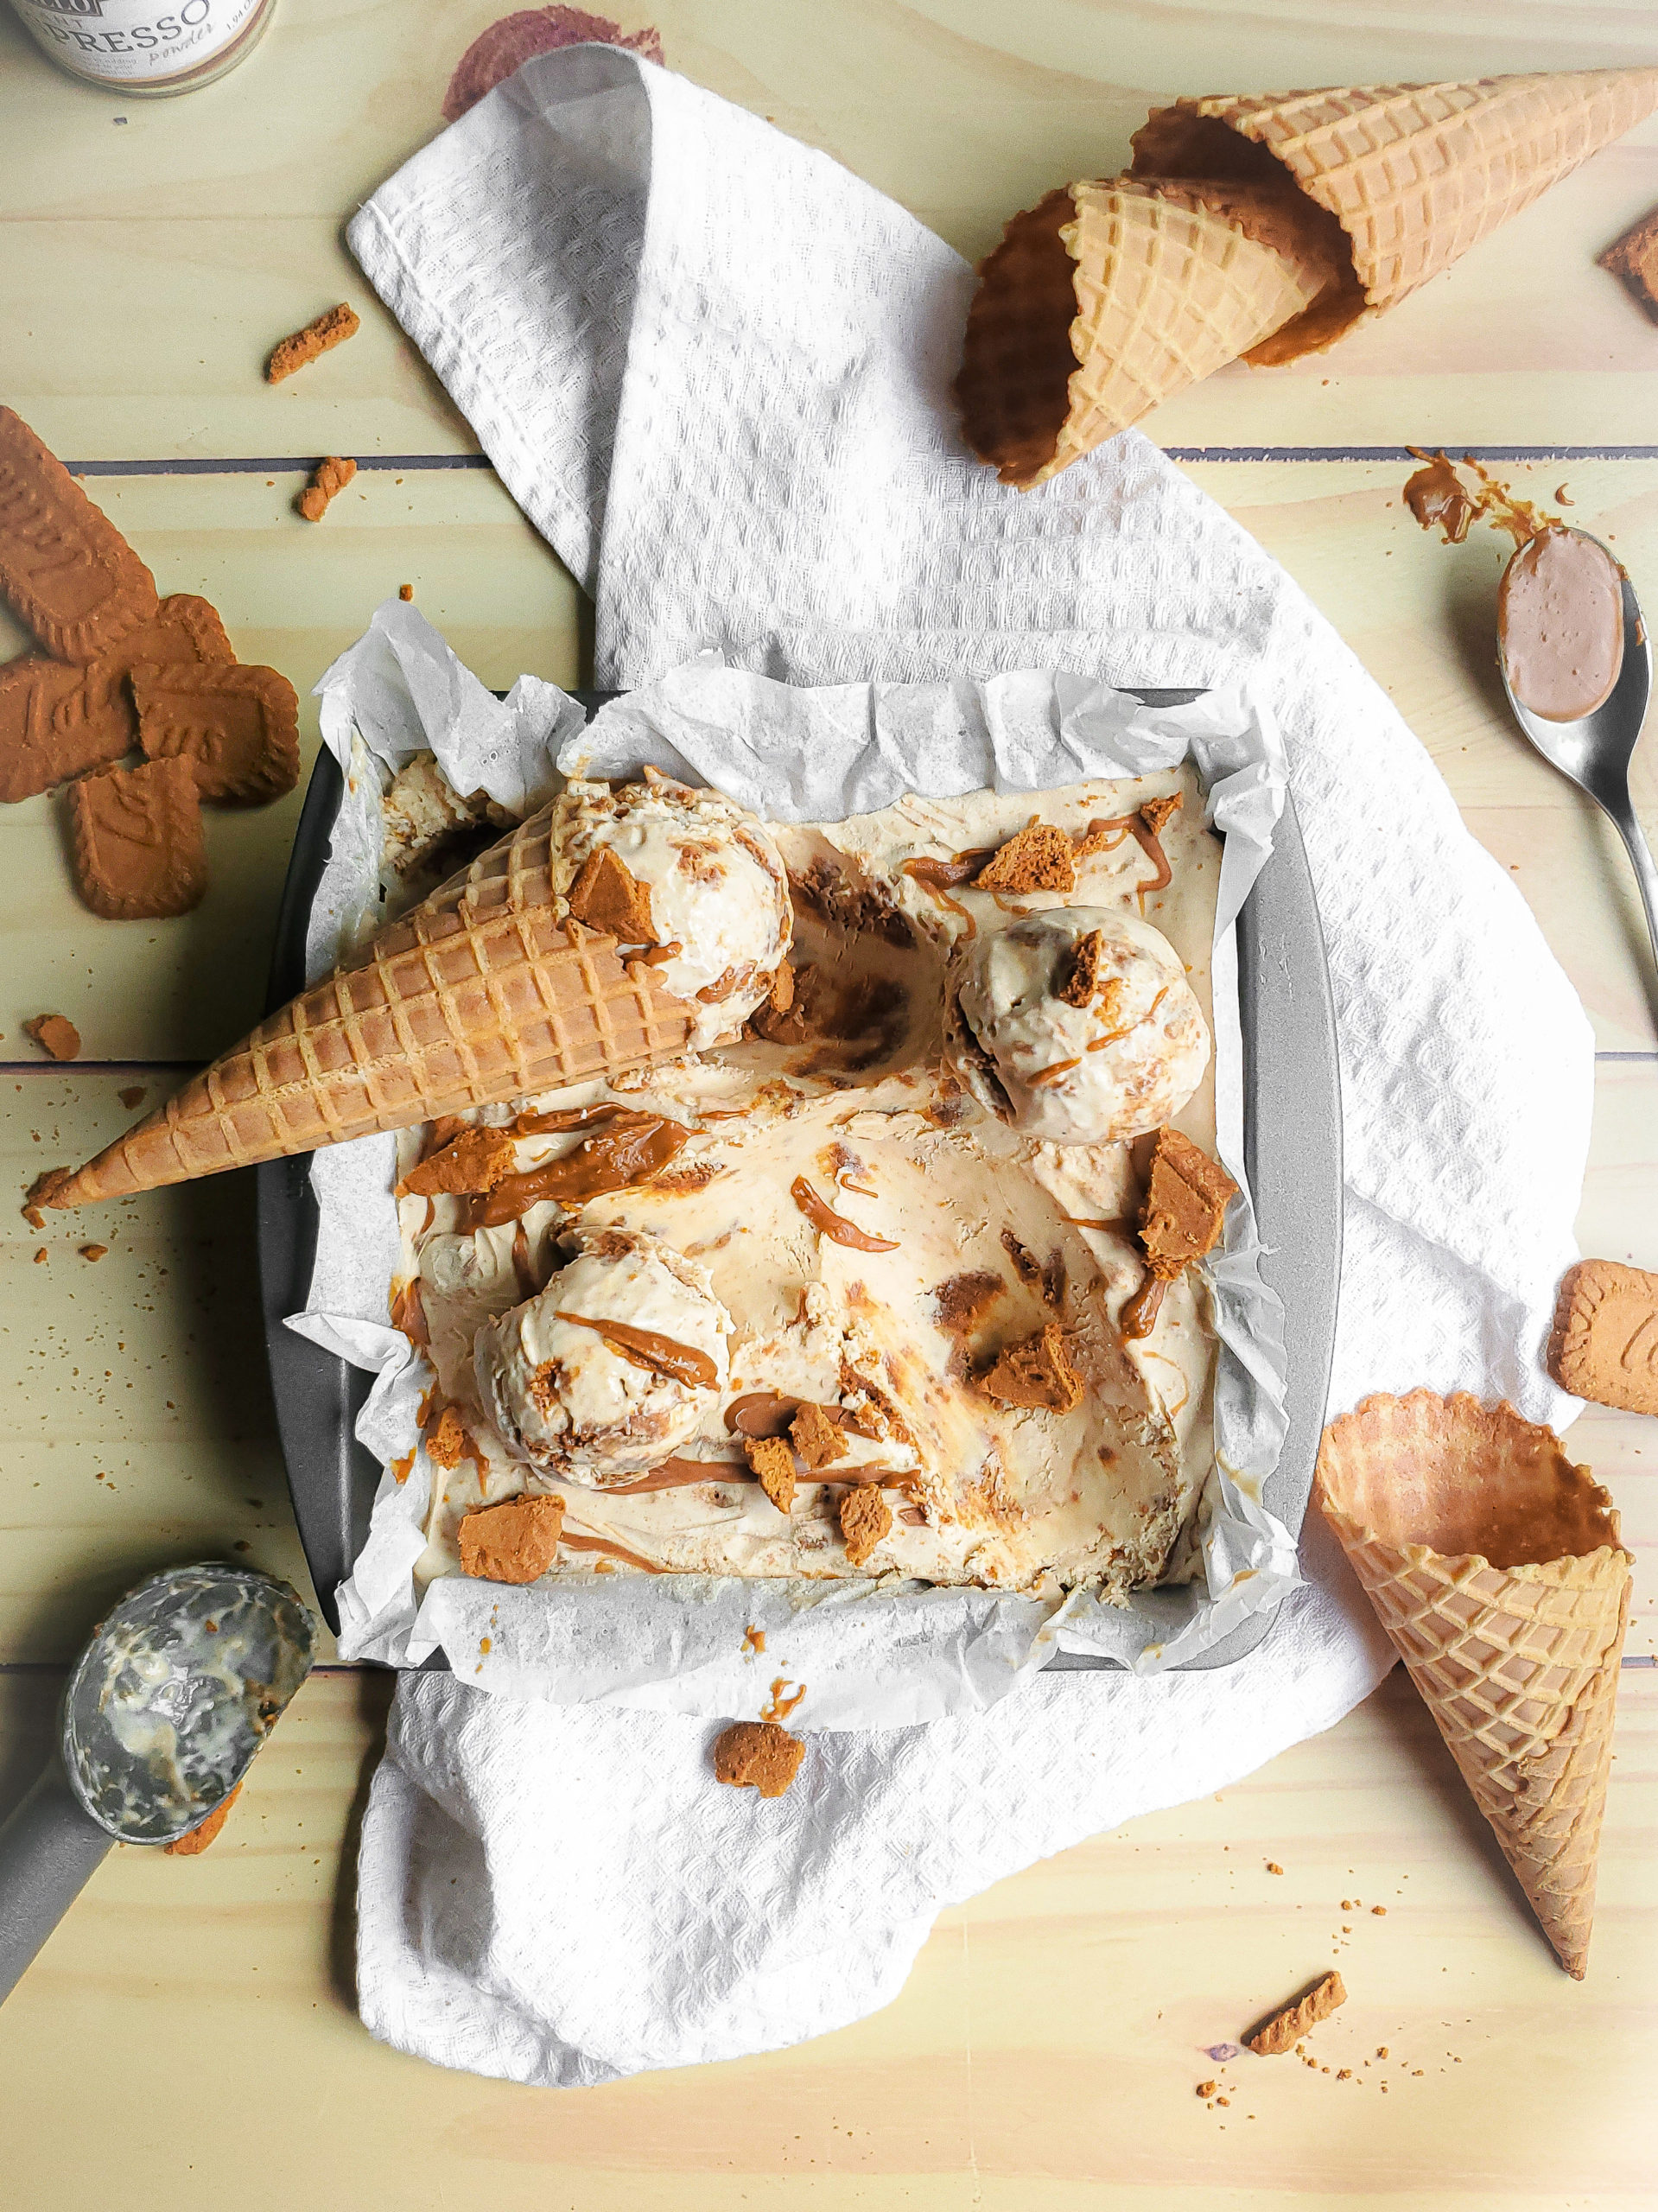
So, you’re looking for a way to make homemade ice cream, but do not have an ice cream machine handy. Don’t worry, my friend. That ice cream can still easily be made without one! No churn ice cream is the new kid on the block, and for a good reason…save time, along with money and space on equipment
I may or may not be addicted to cookie butter, so I absolutely had to incorporate it into ice cream! Initially, I wanted to keep it simple by adding the cookie butter and crushed Biscoff cookies, but nope! I had to take it up a notch by soaking those cookies in Kahlua and espresso, and adding some cream cheese to my ice cream base. BOOM! No Churn Cookie Butter Cheesecake Ice Cream with Espresso was born!
What is “no-churn” ice cream?
No churn ice cream simply means that the ice cream is not made with an ice cream maker.
Churned ice cream will usually contain eggs and sugar cooked ahead of time into a custard base. The churning will help to keep the ice cream base nice and smooth, while simultaneously freezing it.
With no churn ice cream, the sugar is replaced with sweetened condensed milk. Additionally, since there is no egg, churning is not necessary! As long as you have a hand or stand mixer, that’ll count as the “churning” needed to make a nice smooth ice cream base.
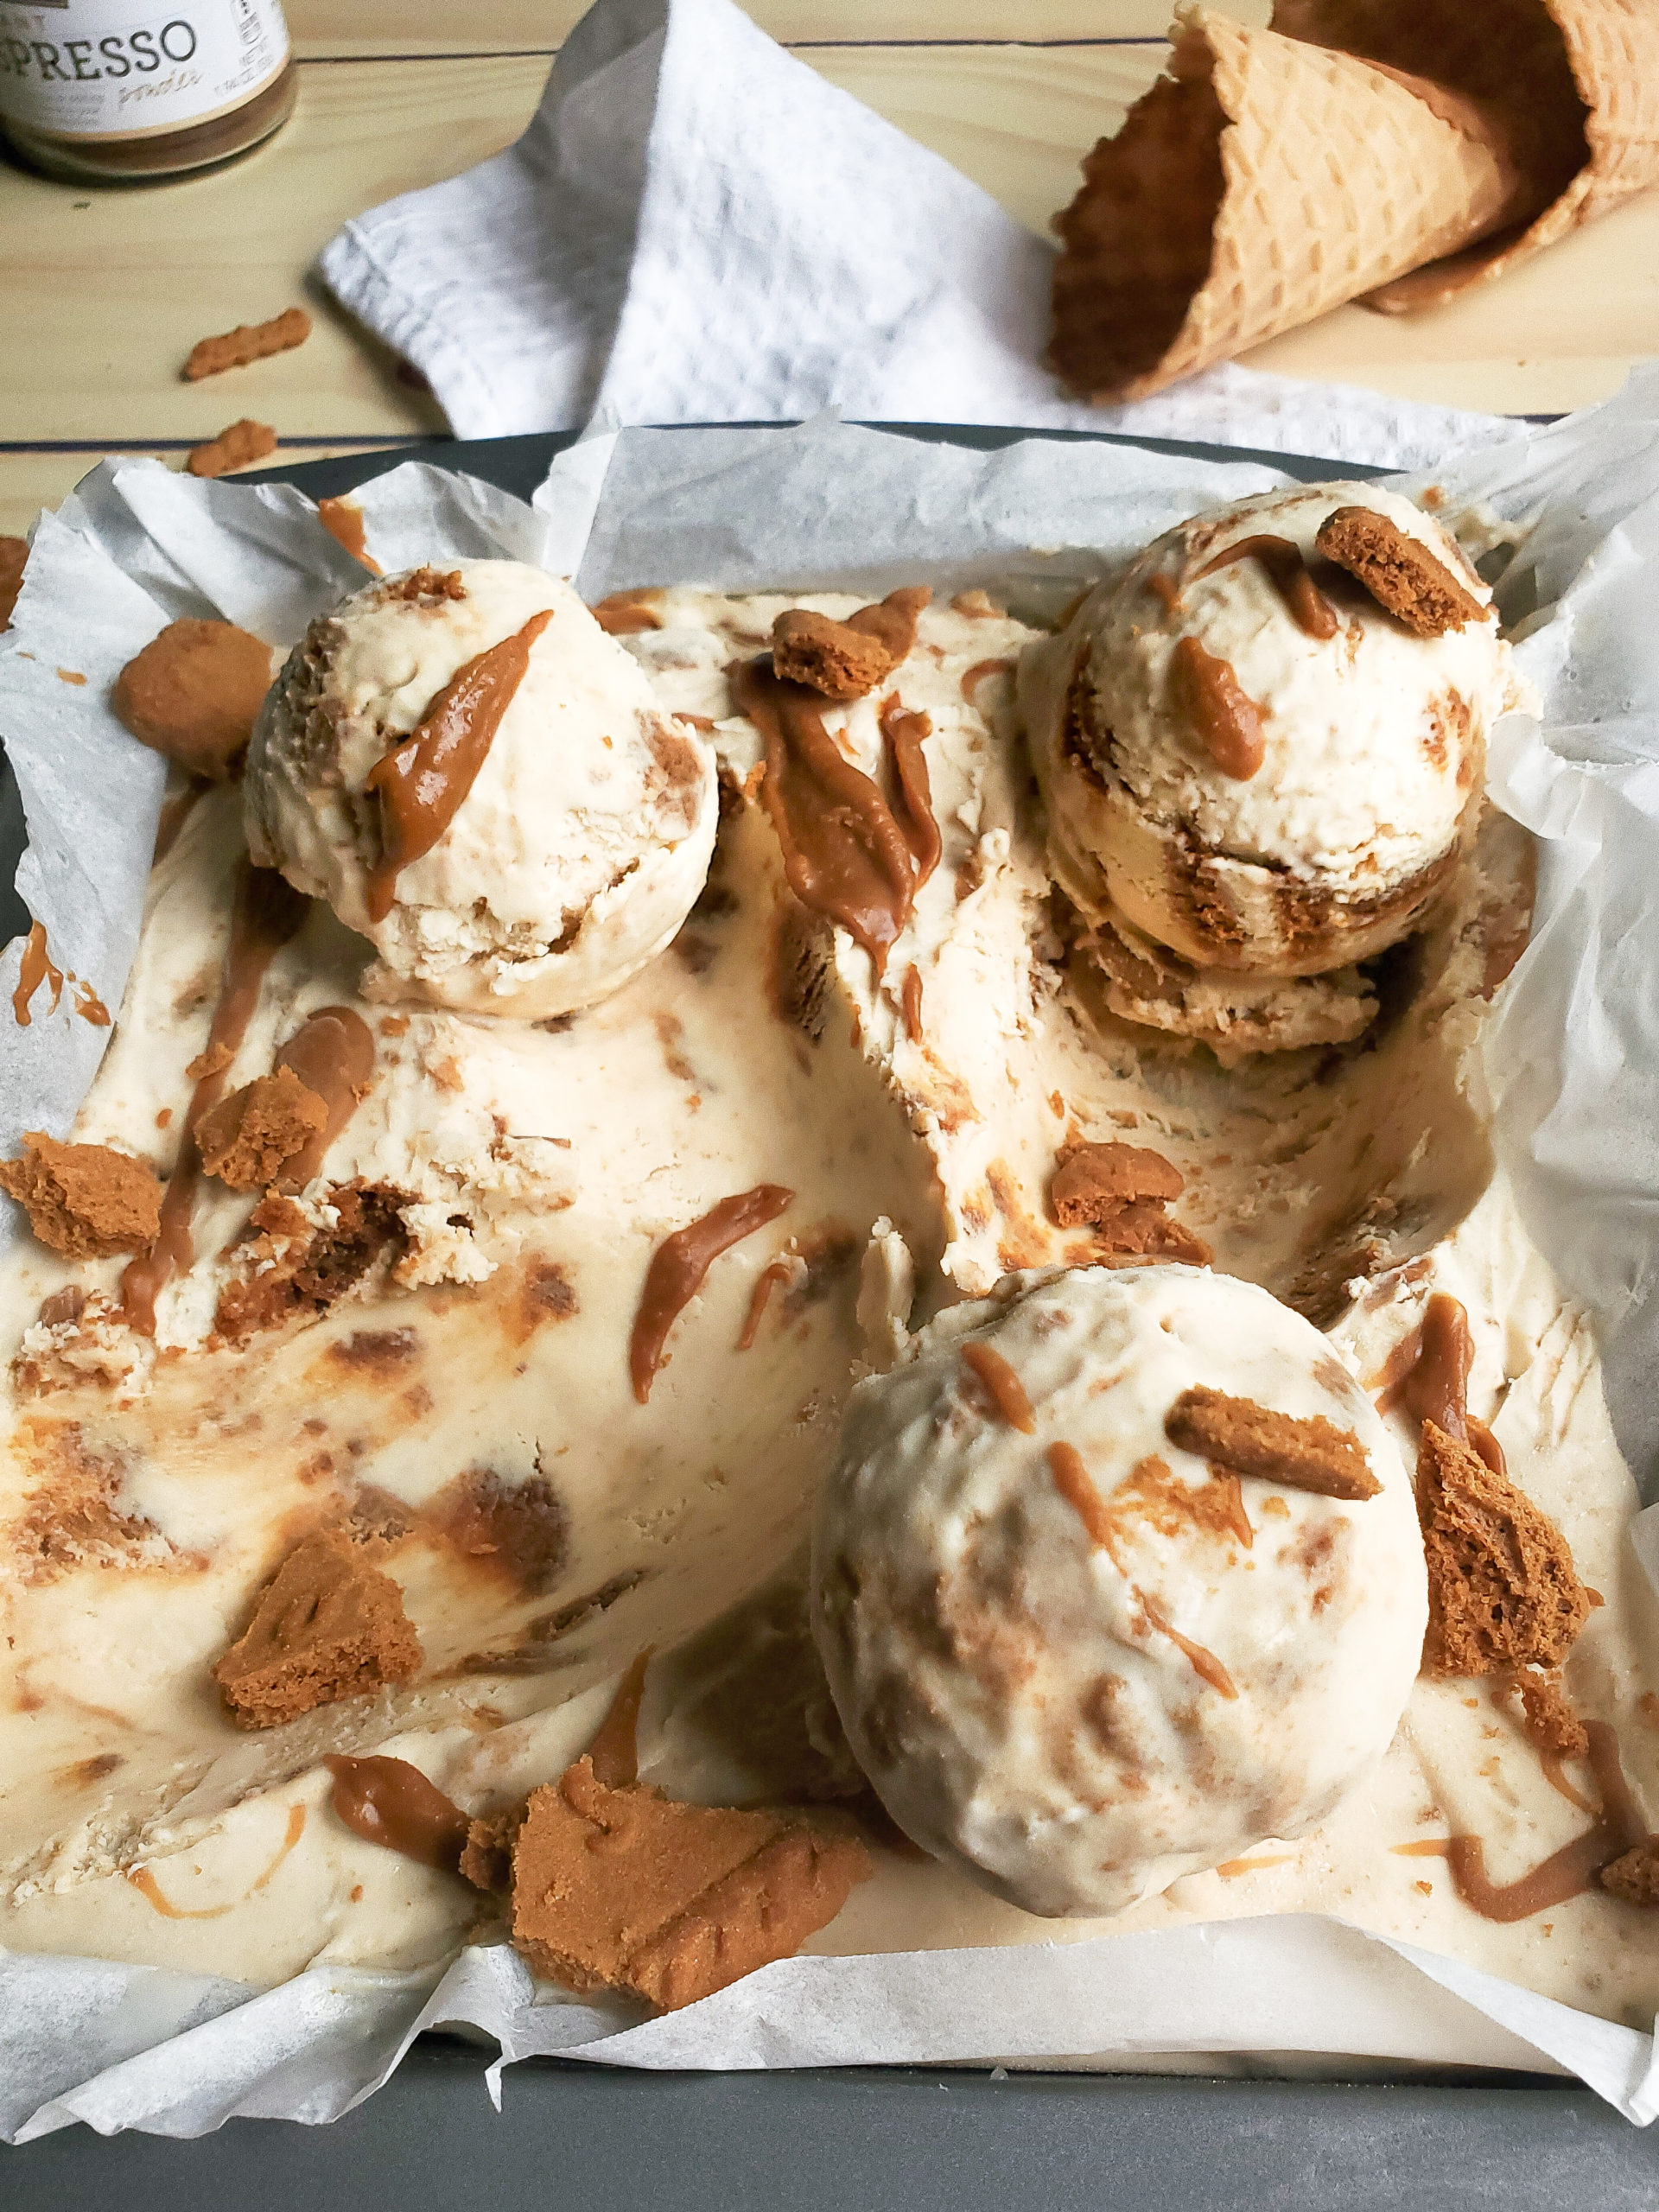
How do I make no-churn ice cream?
It’s soooo simple to make no-churn ice cream at home. So easy that you’ll question why you haven’t been doing this before!
To make no churn ice cream, you’ll do the following:
- Make a batch of whipped cream
- Mix in sweetened condensed milk and vanilla extract
- Gently fold in your ice cream topping(s) of choice
- Pour the ice cream mixture into a freezer safe container, cover with plastic wrap and lid, and freeze
How long does no churn ice cream take to make?
As you can see from the steps above, no churn ice cream is really easy to make. The ice cream base takes up to 10 minutes to whip together. Freezing then serving the ice cream will depend on the consistency you’re looking for:
For a softer no churn ice cream, similar to soft serve, freeze for 2 hours.
For a firmer texture, freeze for at least 4 hours.

How to store homemade ice cream
The great thing about this recipe is the way the ice cream is made is how it’s stored!
It’s best to store homemade ice cream in a freezer safe container with a tight fitting lid. Using an airtight container will help to prevent freezer burn. Take it an extra step by pressing a piece of parchment paper directly on top of the ice cream.
As far as age, I would recommend eating the ice cream within a month (if it lasts that long because ohemgee it’s good!). Most store-bought ice cream has preservatives extending the shelf life several weeks. That of course is not the case with ice cream made at home.
What type of toppings can I use for no churn ice cream?
The great thing about making ice cream in the comfort of your home is literally customizing it to your liking!
Add whatever toppings you’d like to the ice cream base. Be mindful to gently fold those toppings in so that they aren’t breaking up too much in the ice cream.
If you’re using nuts, chunks of candy, cookies, I highly suggest you chop them into as small of a piece as you can. While it sounds fun to bite into a spoonful of ice cream with huge chunks of your favorite topping, that topping will also be very hard to chew when frozen. It will hurt to bite into and we don’t want to lose any teeth. The larger chunks will also make the ice cream harder to scoop. So crush the toppings to the size of a chocolate chip, and you’re good to go!
I’m hoping you get to try (and fall in love with) my No Churn Cookie Butter Cheesecake Ice Cream with Espresso! If so, I’d love it if you left a review and star rating, along with tagging me on Instagram!
No Churn Cookie Butter Cheesecake Ice Cream with Espresso
Equipment
- Hand or stand mixer with whip attachment
- Rubber spatula
- Small mixing bowls
- Freezer safe container with an airtight lid
- Plastic wrap
Ingredients
- 2 cups heavy whipping cream
- ½ cup cookie butter
- 4 ounces cream cheese room temperature
- 14 ounces sweetened condense milk
- 1 tsp vanilla extract
- 2 ounces espresso room temperature
- 1 ounce Kahlua
- 20 Biscoff cookies
Instructions
- Whip the heavy cream on high, in a large bowl with a hand mixer or on a stand mixer, for 2-3 minutes. The whip cream is the right consistency when stiff peaks are formed.
- In a separate bowl, whip the cookie butter and cream cheese on high for 1 minute, or until smooth.
- Add the cookie butter mixture to the whipped cream, along with the sweetened condensed milk and vanilla extract. Whip on low for 1 minute.
- In a small bowl, mix together the espresso and Kahlua.
- Individually soak both sides of the cookies in the espresso and set aside. The cookies will soak up the liquid quickly, and will only need to be in the espresso for 1 second per side.
- Crush the cookies into chunks and add to the ice cream base. With a rubber spatula, gently mix in the cookies. (If there is leftover espresso, it can be added into the ice cream base)
- Pour the ice cream mixture into a freezer safe container. Press a layer of plastic wrap or parchment paper directly onto the ice cream.
- Cover the container with an airtight lid and freeze for 2 hours for a soft serve consistency, or at least 4 hours for a scoopable consistency.
Notes
I can tell you’re a huge fan of cookie butter! You should definitely try your hand at my Cookie Butter Tiramisu and Cookie Butter Chocolate Pudding Pie!!!
