How to Make Red Velvet Pancakes with Whipped Cream Cheese

Stack of red velvet pancakes with cream cheese topping

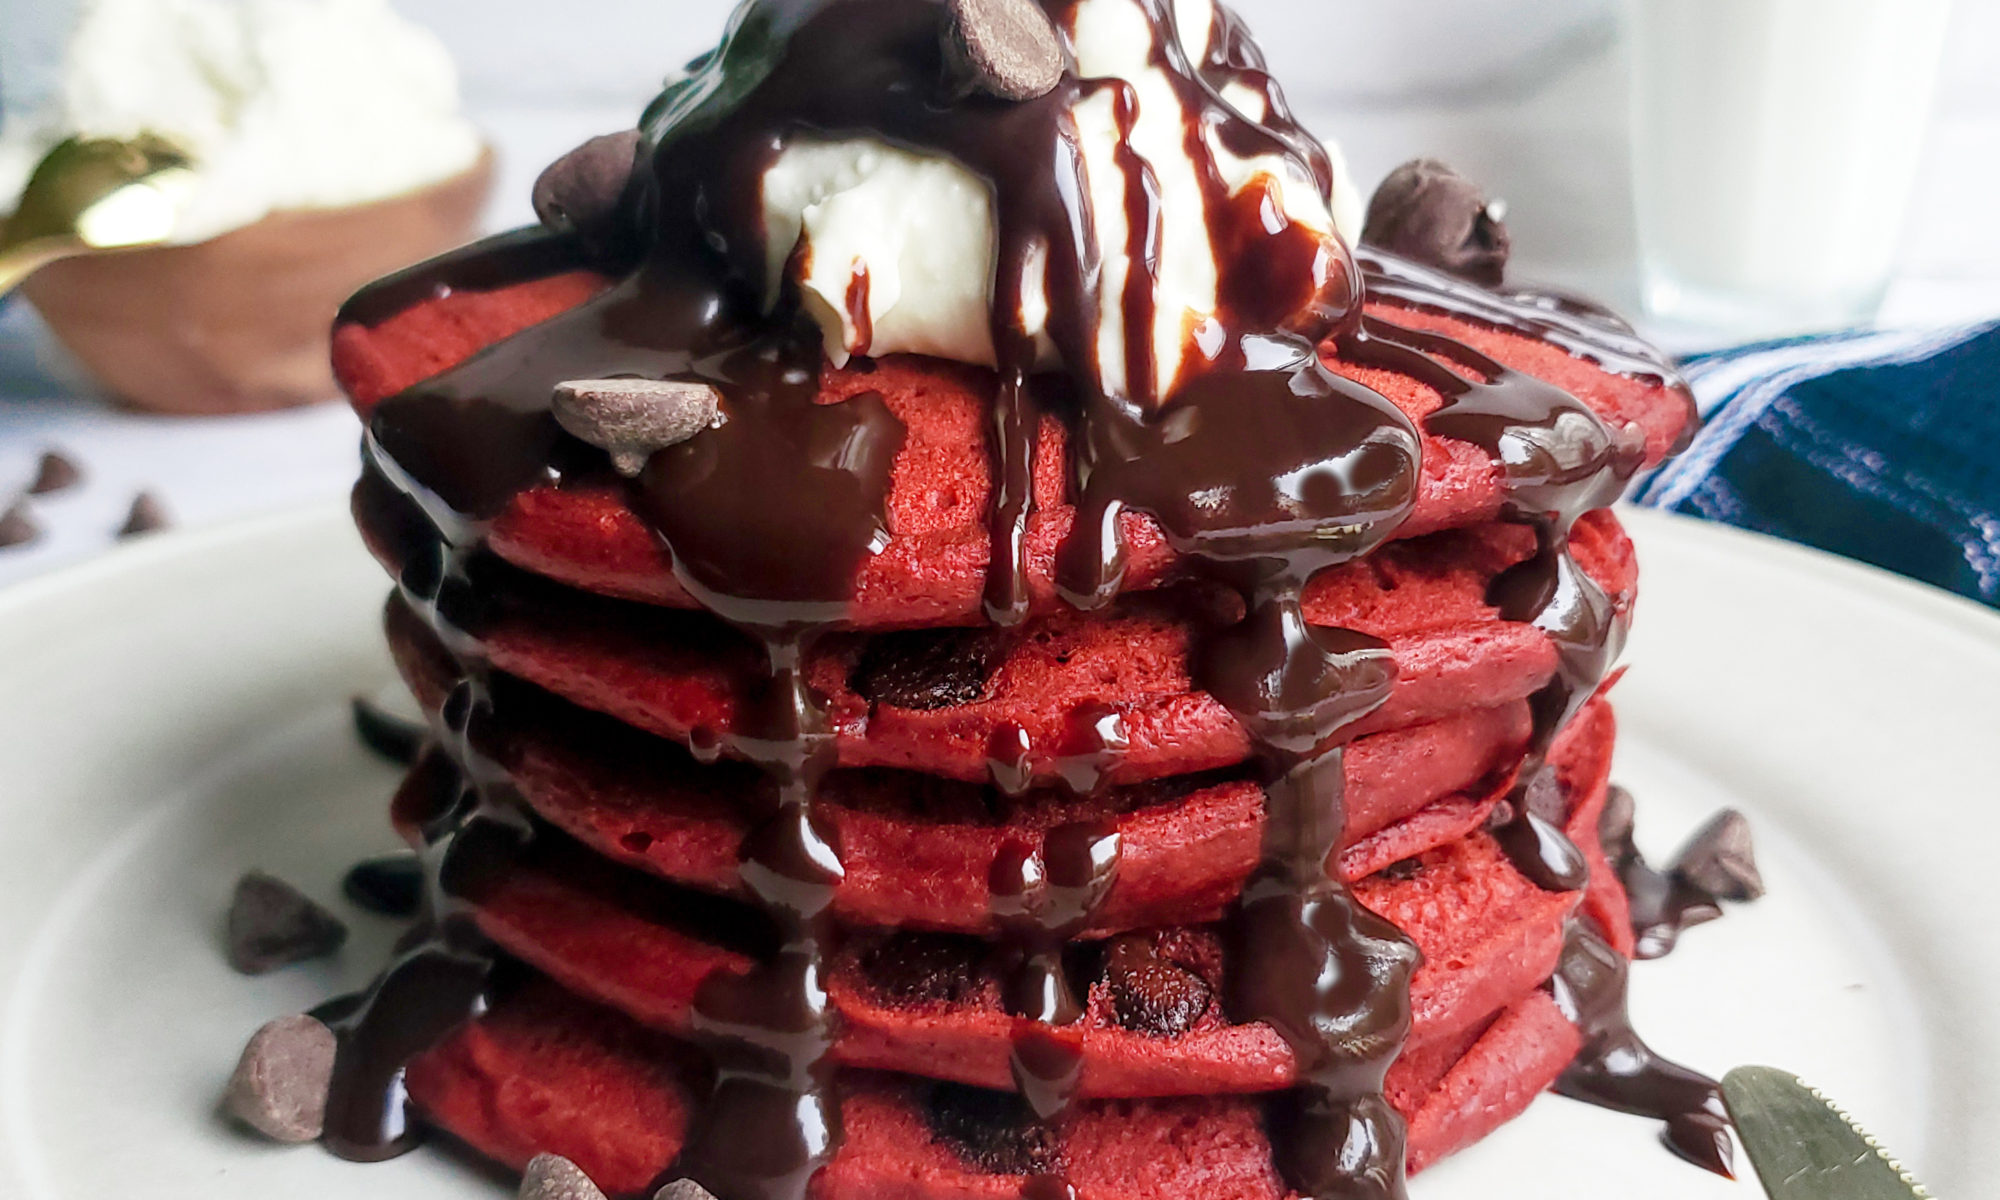
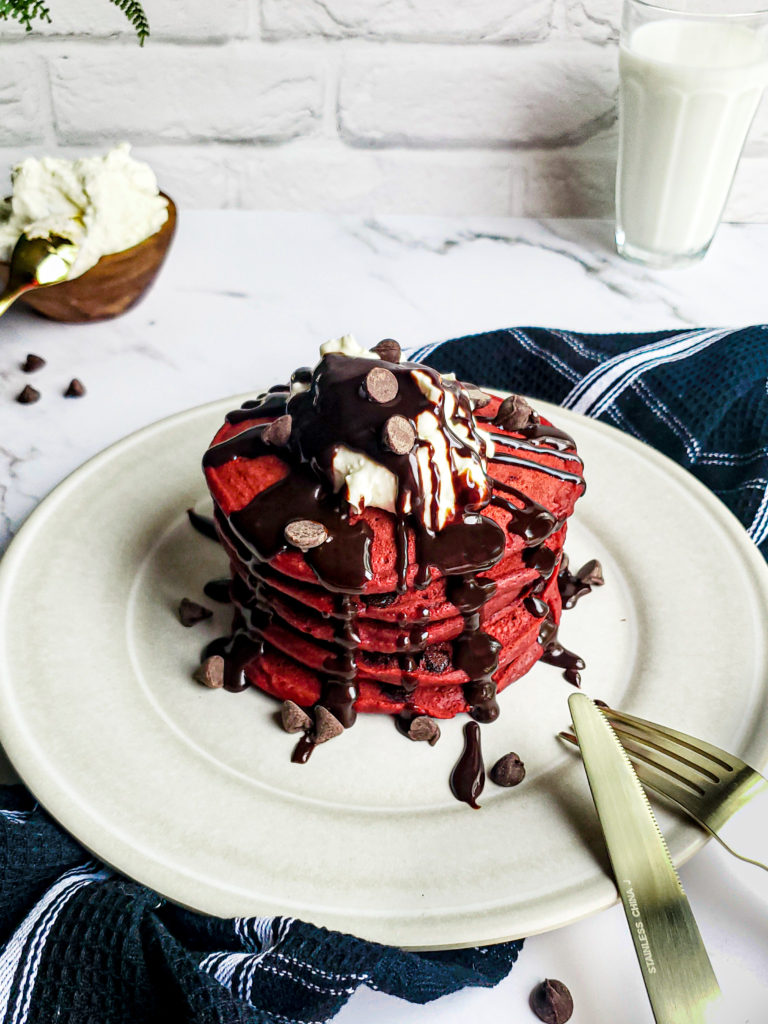
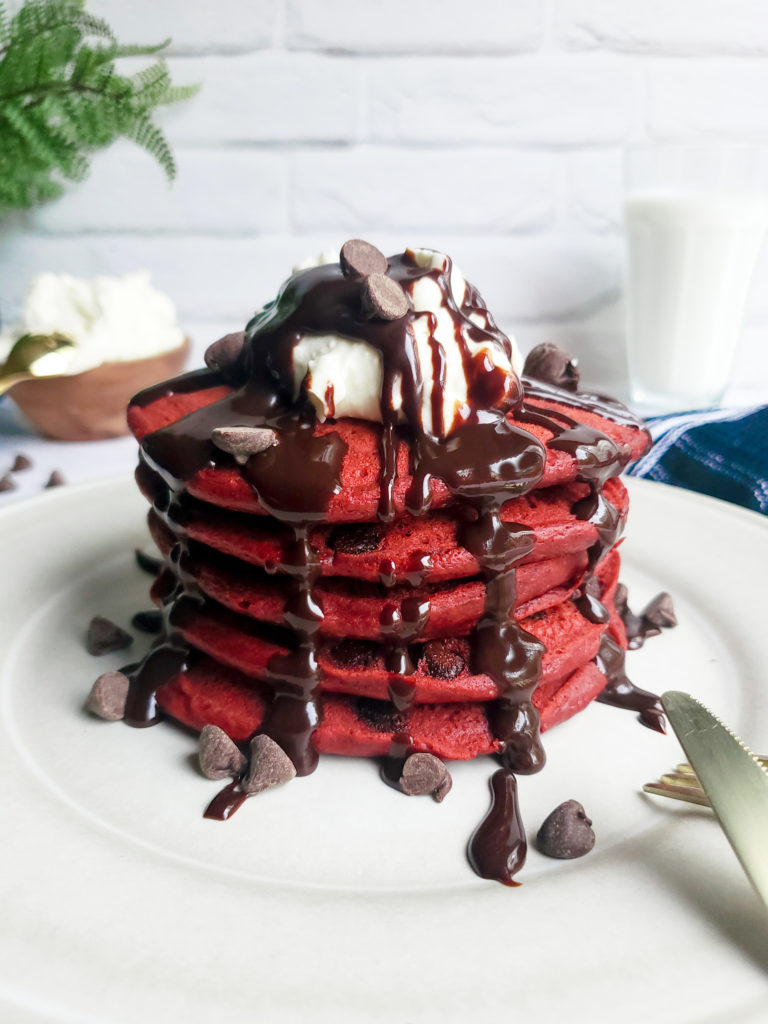
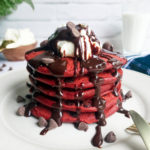
These red velvet pancakes are the perfect excuse to eat dessert for breakfast! Adding a dollop of whipped cream cheese topping to melt onto the warm pancakes takes this classic dessert to another level. 

I don’t know much about you, but what I do know is you love red velvet cake, which brought you to this recipe! My red velvet pancakes with whipped cream cheese is the fastest way to get your red velvet cake hankering taken care of! And the best part is that, unlike a slice of cake, this will be nice and warm, and in about 30 minutes! Mmmmmmmmm!

Read below on the tips and tricks to properly making and cooking pancake batter!

What is the best type of milk to use in pancake batter?

You’ll often find a lot of pancake recipes using buttermilk. That is because the acidity in the buttermilk helps to break down the gluten in the batter, which helps to make the pancake more tender and fluffy vs chewy.

Because of this, buttermilk is definitely the best milk to use for pancake batter! If you don’t have buttermilk available, no worries. Using regular milk is still an option.

Tricks to make the best pancake batter!!!

One of the easiest mistakes to make when making pancakes doesn’t even deal with the cooking process….it’s making the batter itself!

Don’t over mix your batter!

You want to be careful when making your pancake mix, which isn’t as hard to do as you may think. Mixing it too much creates too much gluten, which will result in a gummy, chewy pancake (ugh!). 

Easiest way to prevent this is by mixing your dry and wet ingredients separately, then gently combining them together. 

Lumps are okay in pancake batter!

This shows that the pancake mix was mixed together just long enough to combine all the ingredients. If there are a few chunks  in the batter, don’t stress! A super smooth batter isn’t needed. Also, trying to get the batter really smooth will cause overmixing.

Once your pancake batter is mixed, let it sit at room temperature for 10-15 minutes.

This technique works with ANY type of dough or batter. Once the batter (or dough) is mixed, wait a bit before cooking. You want the mix to settle a bit. I usually make my batter, then preheat my cast iron while the batter rests.

What’s the correct temperature setting to cook pancakes in a cast iron skillet?

I get that griddles are usually the go-to when it comes to cooking pancakes. But I’ve never owned one, thanks to my handy dandy cast iron skillet! Luckily, whatever way you cook things on griddles can be applied to a cast iron.

To cook your pancakes in a cast iron, heat the skillet a little to medium-low heat.

Let the pan heat for 10 minutes before cooking the pancakes. You want to ensure that the heat is evenly distributed. Hot spots are definitely not what you want when executing the perfect pancake, so give your cast iron some time to warm up. 

If you have a griddle, it should be warmed to medium heat. Cast irons warm and hold heat a little differently than griddles, so it’ll have to be preheated differently as well.

How do I know if my griddle is set to the proper temperature to cook pancakes. 

There are 2 ways you can test your griddle or cast iron to test if it’s ready for cooking pancakes:

  • Add a small spoonful of your pancake batter into the pan. After a minute, the top of the pancake should look slightly dry. Flip your tiny pancake. If the cooked side is nice and golden, you’re good to go! If the pancake takes more than a minute to look dry on the uncooked side, turn the heat up a verrryyy tiny amount. Same deal if the pancake cooks faster than a minute – turn your heat down a tiny amount. 
  • Add a couple of drops of room temperature water into the pan. The water should sizzle for a couple of seconds before evaporating. If so, the pan is ready to use! Adjust the temperature if the water just sits in the pan, or if it immediately evaporates. 

How do I properly cook pancakes

Once your griddle or cast iron has preheated and batter has rested, it (finally) time to cook your pancakes! It’s a lot less scarier than it seems:

Melt and evenly spread your fat of choice onto the pan

I prefer to use butter to cook my pancakes for flavor, but I occasionally use olive oil. It honestly depends on my mood.

While butter is more flavorful, it can burn easier. If you choose to use butter, make sure you wipe your griddle clean between each set of cooked pancakes to clean of little burned butter bits. With olive oil, cleaning the pan each time is not necessary.

Since cast irons and griddles are already sort of nonstick, you do not need to use too much fat to cook. With a pastry brush, evenly spread a thin layer of fat onto the bottom. Then add your batter, making the pancakes the size of your liking, leaving at least a half an inch between each pancake.

Let the pancake completely cook on one side before flipping

While the pancake batter is cooking, bubbles will form. Wait for those bubbles to pop and turn into small holes. This will show that the pancake is properly being cooked throughout. 

Only flip your pancakes once!!!

Eventually, the uncooked side of the pancake will no longer look wet and slightly dry, after 3-5 minutes of cooking. After bubbles no longer form and pop, it’s time to flip your pancake. Once flipped, you’ll see the first side of your pancake is cooked through, and it’ll only take an additional minute to cook the flipped side.

You do not need to flip the pancake more than once! If you’ve cooked the first side correctly, there is no reason to cook it back on that side again. 

Now that we’ve discussed pancake batter and cooking techniques, let’s talk about the recipe at hand….Red Velvet Pancakes with Whipped Cream Cheese Topping!

Stack of red velvet pancakes

Why is there sour cream in red velvet cake?

I made my red velvet pancake recipe similar to what can be found in red velvet cake. One of those ingredients is sour cream.

Similar to the use of buttermilk, sour cream helps to break down the gluten in pancake batter, which will make for pancakes that will not be chewy. 

The sour cream also adds creaminess and a little more flavor to the pancakes. Fat means flavor baby! And the sour cream is what I used instead of butter. If you do not have sour cream available, melted butter is a good replacement.  

What type of chocolate chips should I use for the red velvet pancakes?

The type of chocolate chips used for the red velvet pancakes are entirely up to you! For this recipe, I used semi-sweet chocolate chips. If you want to make something more visually appealing, white chocolate chips can be used!

I prefer to use semi-sweet chocolate chips. I love that it has some bitterness to it that isn’t as strong as dark chocolate, plus it still has some sweetness to it like milk chocolate. 

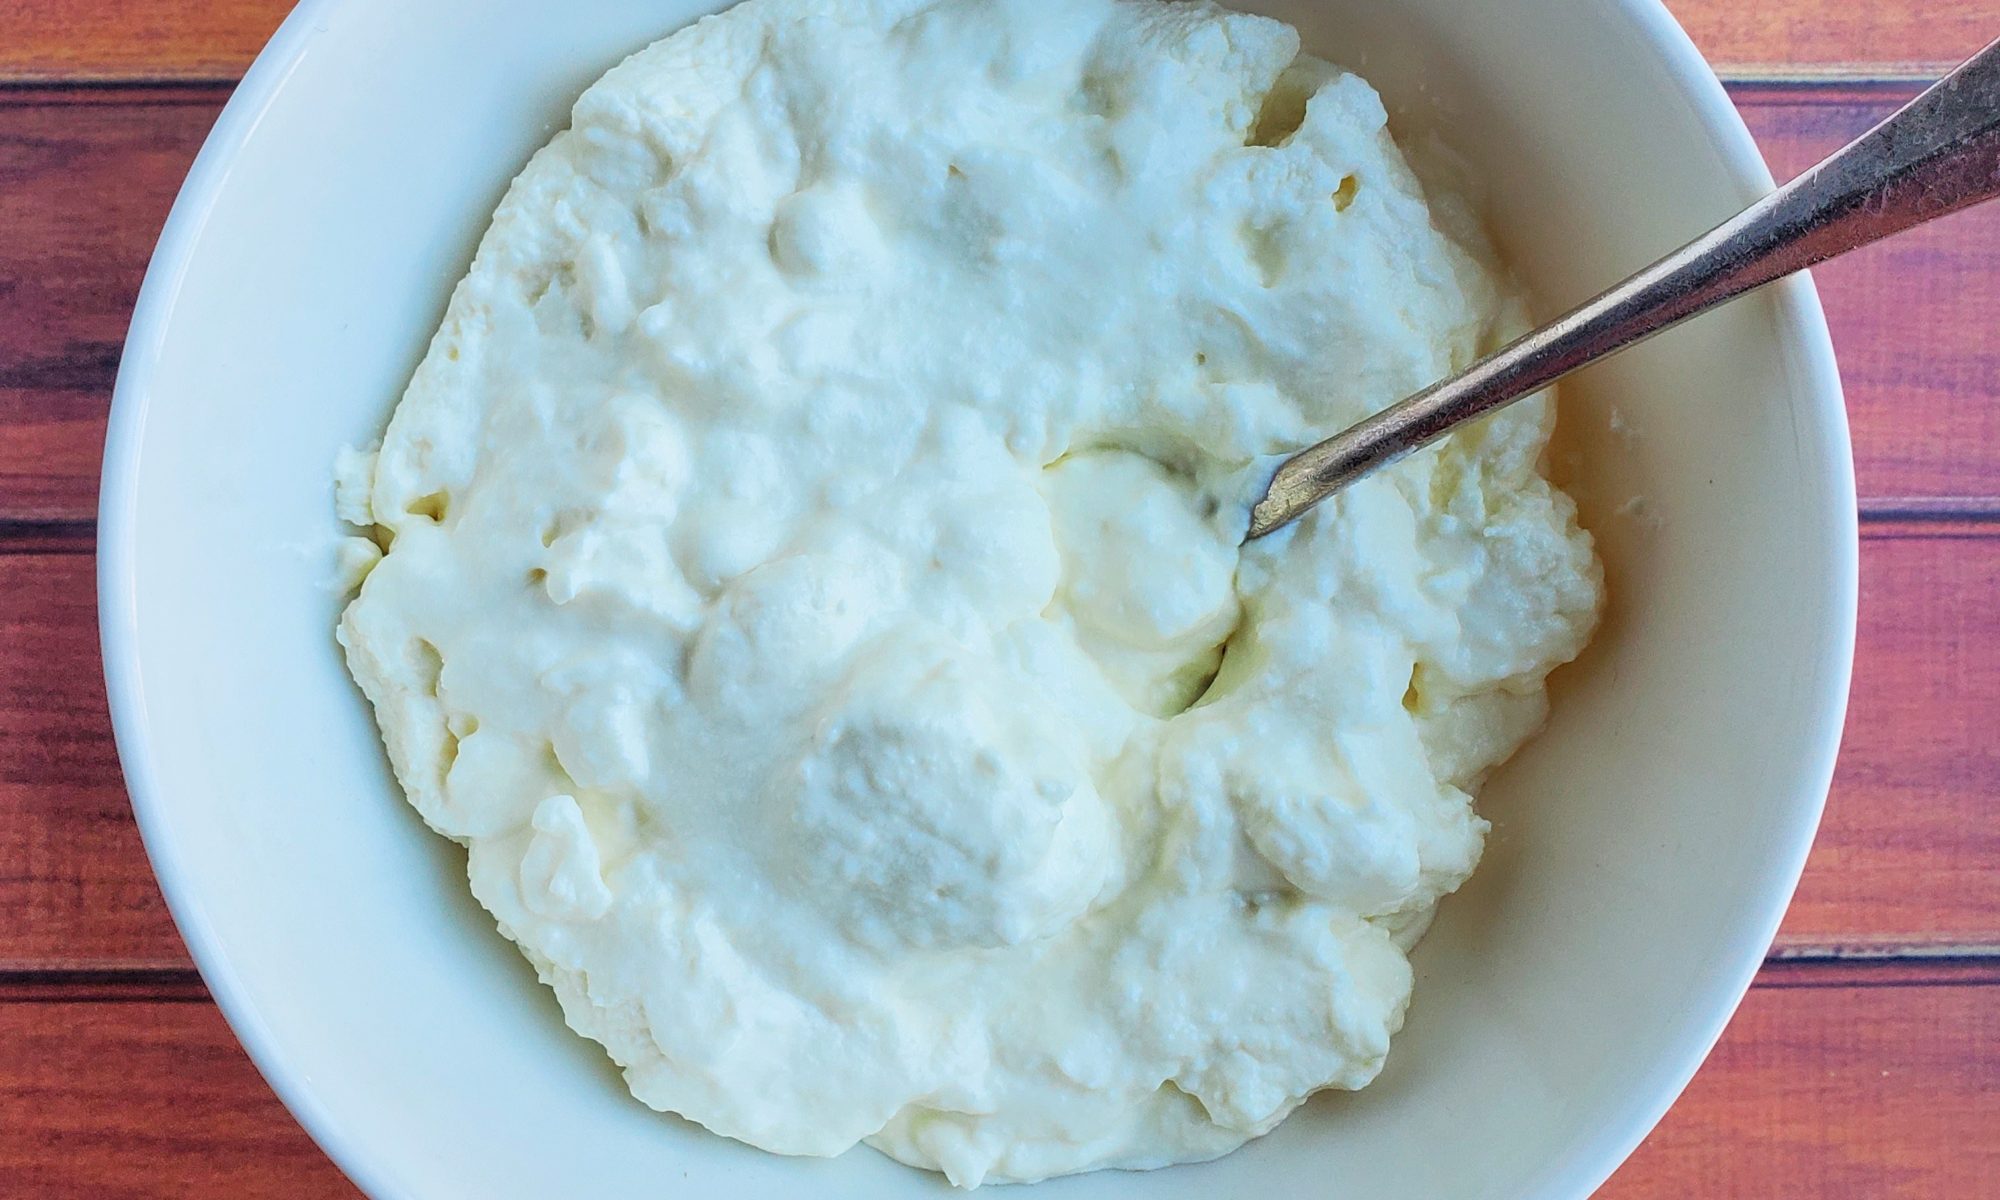
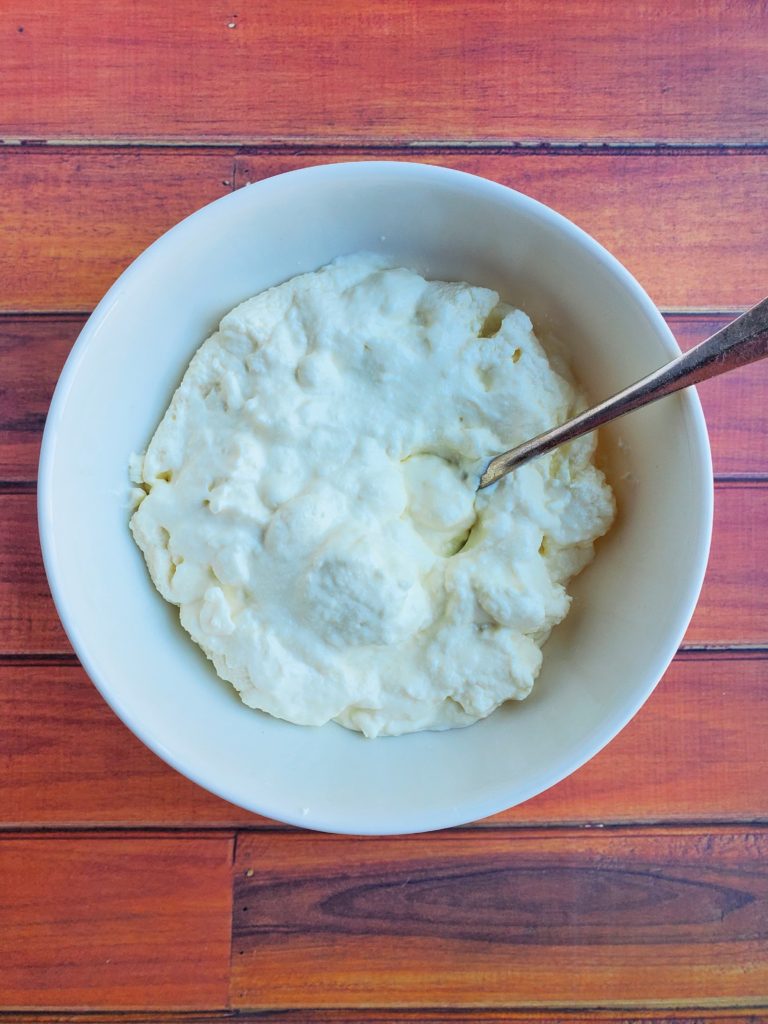
How do I make my whipped cream cheese topping without lumps

As you can see, I  really stuck to the theme of red velvet by making a whipped cream cheese topping. I’ve added butter to mine as well so it’ll melt easier on the warm pancakes. 

The key to making the whipped cream cheese topping is to make sure both the cream cheese and butter are at room temperature. It’ll not only make the whipped topping easier to make, it’ll ensure the topping doesn’t have chunks.

Taking both of these ingredients out of the fridge at least an hour before use. At minimum, sit them at room temperature when you begin making your pancake batter.

If your cream cheese and butter are not quite at room temp, don’t worry. The topping can still be made. Just be prepared for it to be on the chunkier side. The flavor will still be there, and the chunks will melt a little bit when it’s on the pancakes. 

Stack of red velvet pancakes with cream cheese topping

Additional toppings for red velvet pancakes

While the red velvet pancakes already taste amazing with the whipped cream cheese topping, you aren’t limited to just using that.

I drizzled mine with chocolate syrup to add more chocolate to my plate. I’m also a fan of texture, so I threw a few chocolate chips on top!

If you get to make my red velvet pancakes with whipped cream cheese topping, I’d love it if you left a review!!! Feel free to also share your creation by tagging me on Instagram!!!

Red Velvet Pancakes with Whipped Cream Cheese Topping

These red velvet pancakes are the perfect excuse to eat dessert for breakfast!
Prep Time20 minutes
Cook Time20 minutes
Total Time40 minutes
Course: Breakfast
Cuisine: American
Keyword: breakfast, cream cheese, cream cheese icing, dessert, pancakes, red velvet, red velvet pancakes
Servings: 8 pancakes
Author: Crystal

Equipment

  • Cast iron skillet or griddle
  • Mixing bowls
  • Whisk
  • Ladle
  • Pancake spatula

Ingredients

Red Velvet Pancakes

  • 1 cup all purpose flour
  • ¼ tsp kosher salt
  • 3 ½ tbsp granulated sugar
  • t tsp baking powder
  • ½ tsp baking soda
  • 1 ½ tbsp cocoa powder
  • 1 cup buttermilk
  • 2 tbsp sour cream
  • 1 egg
  • 1 ½ tsp vanilla extract
  • 1 tbsp red food coloring
  • ½ cup chocolate chips
  • 1 tbsp melted butter plus extra, kept separate for cooking

Whipped Cream Cheese Topping

  • ½ cup heavy whipping cream
  • ½ tsp vanilla extract
  • 2 ounces cream cheese room temperature
  • 2 ounces unsalted butter room temperature
  • 2 tbsp powdered sugar

Instructions

How to make the red velvet pancakes

  • In a large bowl, whisk together the flour, salt, sugar, baking powder, baking soda, and cocoa powder. Set aside.
  • In a small bowl, whisk together the buttermilk, sour cream, egg, vanilla extract, and food coloring.
  • Pour the milk mixture in with the flour mixture. Gently whisk for about a minute to combine.
  • Add the chocolate chips and 1 tablespoon of melted butter to the mixture. Stir until just incorporated. Batter should be slightly lumpy and thick.
  • Let the batter sit for 10-15 minutes before cooking. While the batter is resting, preheat a griddle (medium heat) or cast iron pan on a stove (medium-low heat) . (The cream cheese topping can be made while the griddle is heating.)
  • Melt and spread a small amount of butter in the griddle, just enough to coat the surface.
  • Pour a quarter cup of the pancake mixture onto the griddle. Spread out the mixture to make pancakes a little thinner and rounder. If cooking multiple pancakes at a time, be sure to keep them at least an inch apart.
  • Cook pancakes for 3-4 minutes on it’s first side. The uncooked side will create little holes and look a little dry. Once it’s at that point, flip and cook for 1 more minute. Wipe the griddle clean before cooking another set of pancakes.
  • Serve warm with a dollop of whipped cream cheese and chocolate syrup . Enjoy!

How to make the whipped cream cheese topping

  • In a small bowl, beat the heavy cream with a hand mixer on high for 4-5 minutes, to make a soft whipped cream.
  • Add in the vanilla extract, cream cheese, and butter. Beat to combine on high for 30 seconds, or until smooth.
  • Add the powdered sugar, and beat for an additional 30 seconds.
  • Dollop on top of the warm pancakes.

Notes

The whipped cream cheese topping can be store in an airtight container in the fridge for up to 2 weeks.
Freeze cooked pancakes in a ziploc bag for up to 2 months.

If you’re looking for another pancake recipe, check out these Lemon Ricotta Pancakes!!!

How to make homemade ricotta cheese in one hour

Homemade ricotta cheese in a bowl

I’m here to let you know that fresh ricotta cheese can be made very easily at home. It’s basically a fool proof recipe that takes just an hour to prepare!

Homemade ricotta cheese in a bowl

What exactly IS ricotta cheese?

Ricotta translates to “recooked”. This is from cooking pasteurized milk and adding an acid. This causes some science-y shit where the liquid, called whey, separates from the milk solids, called curds. Think of old milk curdling. Same deal, but you’re doing it deliberately with milk that ain’t old. Everything gets strained for several minutes, and what’s left is fresh ricotta!

What tools and equipment do I need to make fresh ricotta?

While it is super easy to do, there are a couple of tools that you’ll need to execute this correctly that you may not have in your home:

-Mesh strainer: A colander (pasta strainer) works really well with this as well.

-Cheesecloth: You’ll need this to properly separate the curds from the whey. You can get this really cheap at your local grocery store. It definitely comes in handy when you need to strain liquids to catch solids that a regular strainer can’t catch. 

Aside from that, you’ll also need a wooden spoon for stirring, a small pot for heating the milk, and a bowl to fit the mesh strainer

What to do if you can’t find cheesecloth?

Cheesecloth can sometimes be hard to find. Or maybe you want to save a trip to the grocery store. No worries! I’ve strained the ricotta cheese with a clean dish towel when don’t have cheesecloth available.

I’ve also tested this out using 3 paper towels. Not the best option for straining excess liquid out of the cheese. But if you’re fine with your ricotta being very creamy, the paper towel option does work! Just be sure to use durable paper towels and not the cheaper stuff!

Ricotta cheese straining in a bowl

Is old milk safe to cook with?

To go back to the comment of old milk curdling: Don’t toss out that milk that expired a couple of days ago…..you can cook with it folks! Now, wouldn’t go as far as keeping milk in your house 3 weeks after it’s expired. But, if you so happen to have older milk (or even half and half, or cream), and have plans to cook something with it, you’ll be safe! 

Now, only do this for dishes where the food will be cooked in some way. You can also get away with using it for baked goods. Overall, it’s best to use expired milk for things where the milk isn’t one of the main ingredients. 

For example, I’ll use older milk and cream for mac n cheese sauce. While the milk is a big component in the sauce, it isn’t the absolute main ingredient. It’s a star, but not THE star for the cheese sauce. In turn, I will NOT use expired milk or cream to make chicken alfredo. The cheese to milk ratio isn’t as close as it is for mac cheese. So basically, do not use this for your cereal or your hot chocolate or else you’ll be mad AF.

Long story short: if the milk doesn’t stink, it’s still safe to use for cooking. The furthest I go past an expiration date is 1 week for milk, and 2 weeks for half and half and cream. 

If you don’t feel safe doing this, don’t worry. I’m just tryna help everyone and save some money or a trip to the grocery store. 

What is the best type of milk to use for homemade ricotta?

I’ve made this recipe with both whole and 2% milk, and it all comes out pretty good! However, my recipe does also use heavy cream to help the cheese come out creamier. But with that being said, use whatever milk you have on hand!

It’s best not to use skim milk, since there’s hardly any milk fat left to create the curds.

Spoonful of fresh homemade ricotta cheese

Can I make fresh ricotta cheese without the heavy cream?

You most certainly can! Just replace the heavy cream in my recipe with the milk of your choice.

Again, my recipe does make a creamier ricotta cheese, so omitting the heavy cream will make the recipe a little less creamy. But cooking this with just milk still comes out pretty good! If you go this route, whole milk is the more flavorful option.

What should I do with the leftover liquid from straining ricotta?

Whey, that leftover liquid from straining your fresh ricotta, does not have to be thrown out! If you have a pastry recipe that uses water, use the whey instead! It’s like a flavorful water. Think of it like using chicken stock instead of water for a soup.

Lemon juice substitution for homemade ricotta

I get that not everyone has fresh lemons on hand to make ricotta cheese. No worries! You can use equal parts vinegar! White vinegar or apple cider vinegar works best.

Vinegar of course has a stronger taste than lemon juice. If I make a batch of ricotta cheese this way, the vinegar taste is present, but not super strong. So I prefer to use this ricotta cheese for savory dishes that will be cooked even further (like lasagna). Ricotta made with lemon juice works for any cooked recipe as well as fresh.

Homemade Fresh Ricotta Cheese

Prep Time5 minutes
Cook Time5 minutes
Resting time50 minutes
Total Time1 hour
Course: Appetizer, Main Course
Cuisine: Italian
Keyword: cheese, fresh cheese, homemade, ricotta, ricotta cheese
Servings: 1 cup
Author: Crystal

Equipment

  • Mesh strainer or colander
  • Cheesecloth
  • wooden spoon
  • Small saucepot

Ingredients

  • 2 cups milk
  • 1 cup heavy cream
  • ¼ tsp salt
  • 2 tbsp lemon juice

Instructions

  • On medium high heat, combine milk, cream, and salt into a small pot.
  • As soon as the mixture comes to a boil, immediately remove from heat.
  • Add the lemon juice to the milk. Stir once with a wooden spoon. Keeping the milk in the pot, set aside for 20 minutes. Lumps will begin to form in the milk, but do not touch this mixture at all while it’s sitting.
  • While the milk is sitting, prepare to strain the liquid. Place a mesh strainer or colander into a bowl. Cover the strainer with 2 layers of cheesecloth.
  • After the milk has sat, slowly pour it onto the cheesecloth in the strainer. Once all the liquid has been poured, set the bowl aside for 30 minutes. The ricotta can be left to strain for an additional 30 minutes if you’d like a thicker ricotta cheese.

Notes

Whole or 2% milk can be used for this recipe.
If you don’t have lemon juice available, it can be substituted with vinegar. 

Check out my lemon ricotta pancake recipe! Perfect way to use up ricotta cheese, whether homemade or store-bought!

Garlic Confit Recipe with Infused Garlic Oil

Garlic Confit In A Baking Dish

Garlic confit and infused oil is super duper easy to make.

This garlic confit recipe with infused garlic oil is something you’d definitely want to keep on hand in your home, as it can be used in a variety of ways!

Just get an oven safe dish or pan, add your garlic, herbs of choice, let it swim in olive oil, cover with foil, and bake until soft.  The type of pan or dish you use will make a difference in the cooking time. But in general this will take 30-45 minutes when baked at 300 degrees. 

The end result is basically spreadable garlic. Similar to roasted garlic but without the caramelization.

Ok, but what IS confit?

“Confit” is a French culinary technique that involves a food being submerged in an oil, then cooked slow at a low temperature. It results in that cooked food being tender and melting in yo mouf, versus is being cooked in oil at a higher temperature and the food having more texture and crunch.

What kind of oil should I use for my garlic confit recipe?

Garlic confit is usually cooked in olive oil, but you can use any oil you’d like. I highly suggest using an oil that you do not mind using in recipes. I’ve made mine with avocado oil before and it was still delicious!

Garlic Confit With Bay Leaf In A Baking Dish

What can I use the garlic confit cloves for?

Garlic confit is great for spreading on toasted bread to make, well, garlic bread obviously lol.

If you need a sauce or spread that isn’t cooked but want that garlic flavor, this will come in handy. Also great when it’s spread on some chicken or fish. (Steak too, but roasted garlic is the preferred garlic for me when there’s red meat.)

How long can you store garlic confit?

Once cooked and cooled, store the garlic confit and it’s oil in an airtight container. It can be stored in your fridge for 2-3 weeks.

The garlic confit and oil should not be stored at room temperature. There is a risk of botulism and bacteria that can form if stored this way, and we don’t want that.

What should I do with the oil that the garlic cooked in?

Guess what….not only did you make garlic confit, you also made a garlic infused oil!

The garlic oil can be used for cooking, salad dressings, or as a finishing oil.  Issa double win!

Garlic Confit In A Baking Dish
Print Recipe
5 from 1 vote

Garlic Confit and Infused Garlic Oil

Prep Time5 minutes
Cook Time40 minutes
Total Time45 minutes
Course: Appetizer, Salad, Side Dish, Soup
Cuisine: American, French
Keyword: confit, garlic, garlic confit
Servings: 1 cup
Author: Crystal

Equipment

  • oven safe dish
  • aluminum foil

Ingredients

  • 1 cup peeled garlic cloves
  • 1 cup olive oil
  • ¼ tsp kosher salt
  • tsp black pepper corns
  • 1 bay leaf

Instructions

  • Preheat oven to 300 degrees.
  • In a small oven safe dish or pan, combine all ingredients. Garlic should be completely submerged in the oil. Add more oil if needed.
  • Cover the dish tightly with aluminum foil. Bake for 40 minutes.
  • To test if the garlic is ready, press into a clove with a butter knife. The garlic should be soft like butter. If not, cover and bake for an additional 10 minutes.
  • Let cool to room temperature before pouring into a container and refrigerating. Can be stored in the fridge for up to 2 weeks.

Pin It on Pinterest